
You can use Clipchamp to trim videos to shorten them or remove parts of your video from the start or end of video clips.
Note: The screenshots in this article are from Clipchamp's personal version. The same principles apply to Clipchamp for work accounts.
How to trim a video in Clipchamp
Step 1. Drag and drop the media item onto the timeline
After importing files, drag and drop your media from the media library onto the timeline.
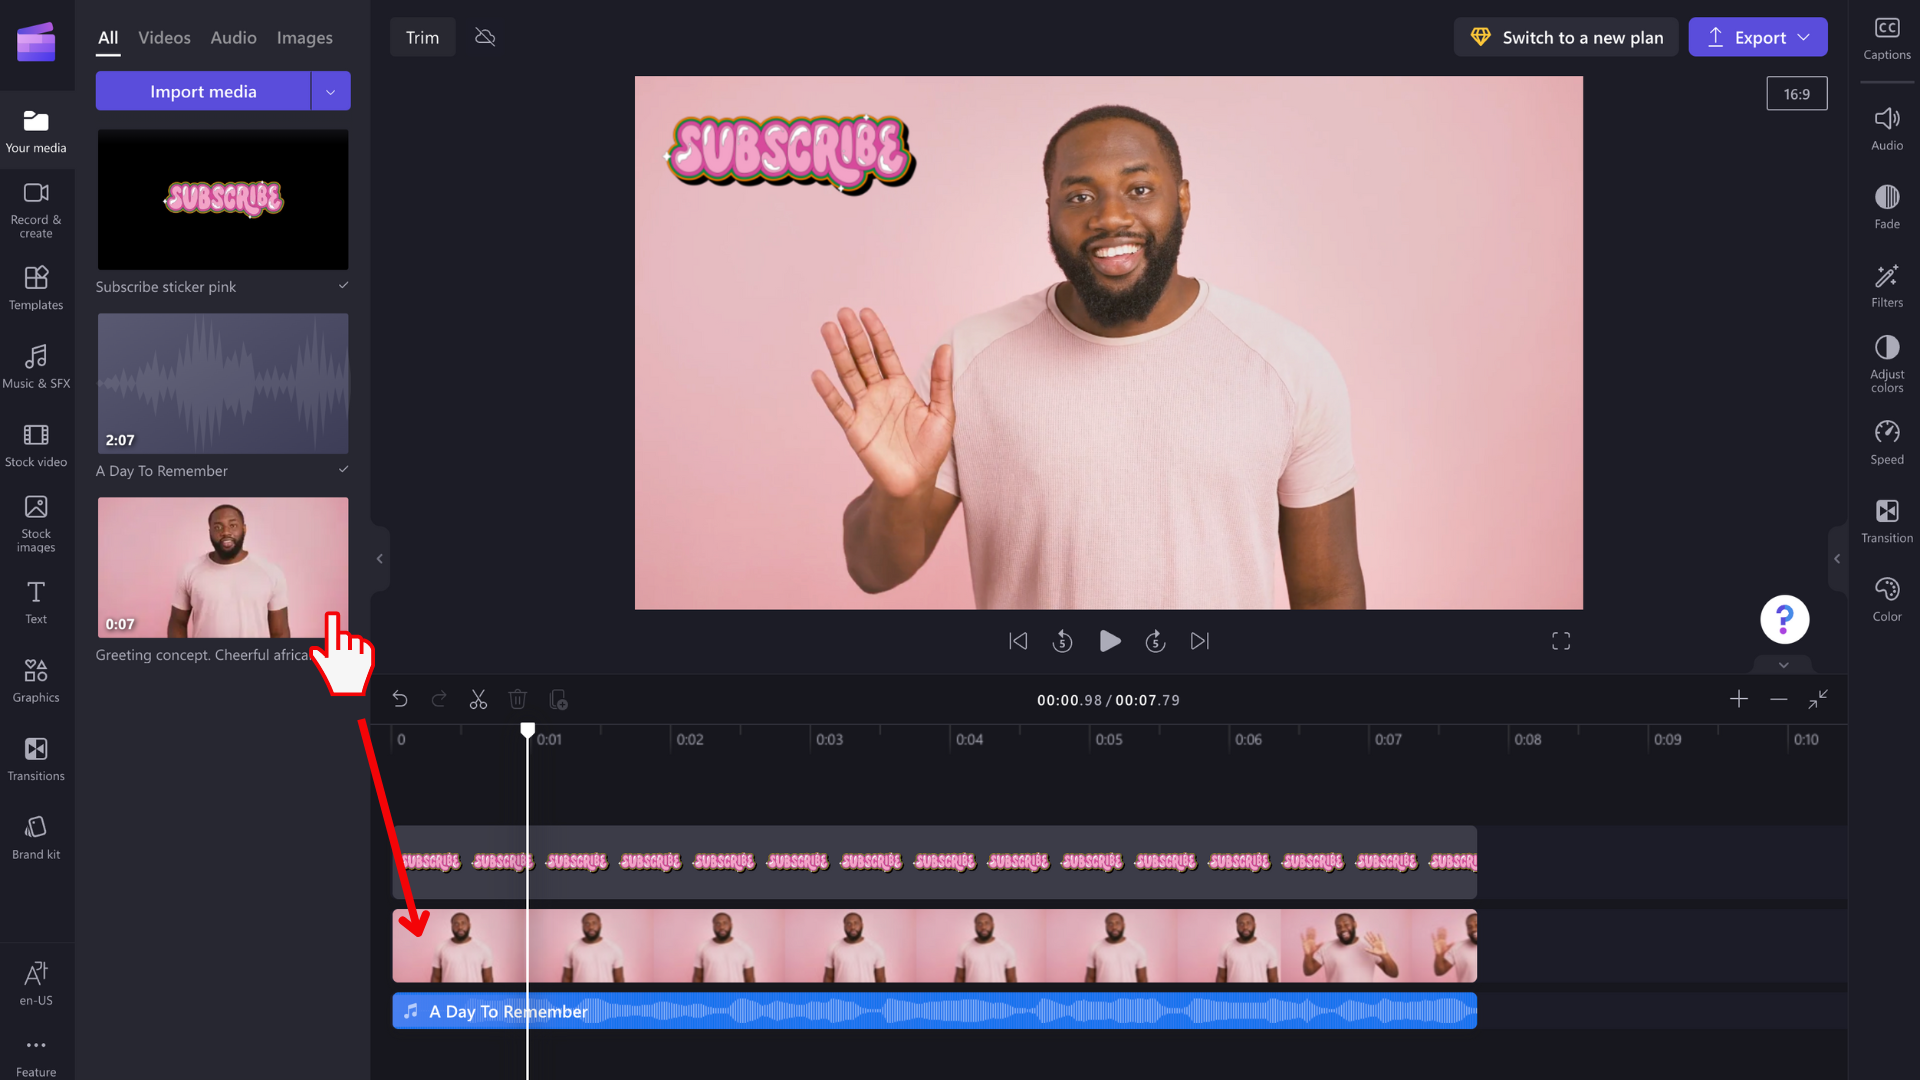
Select the media asset you'd like to trim and make sure it's highlighted.
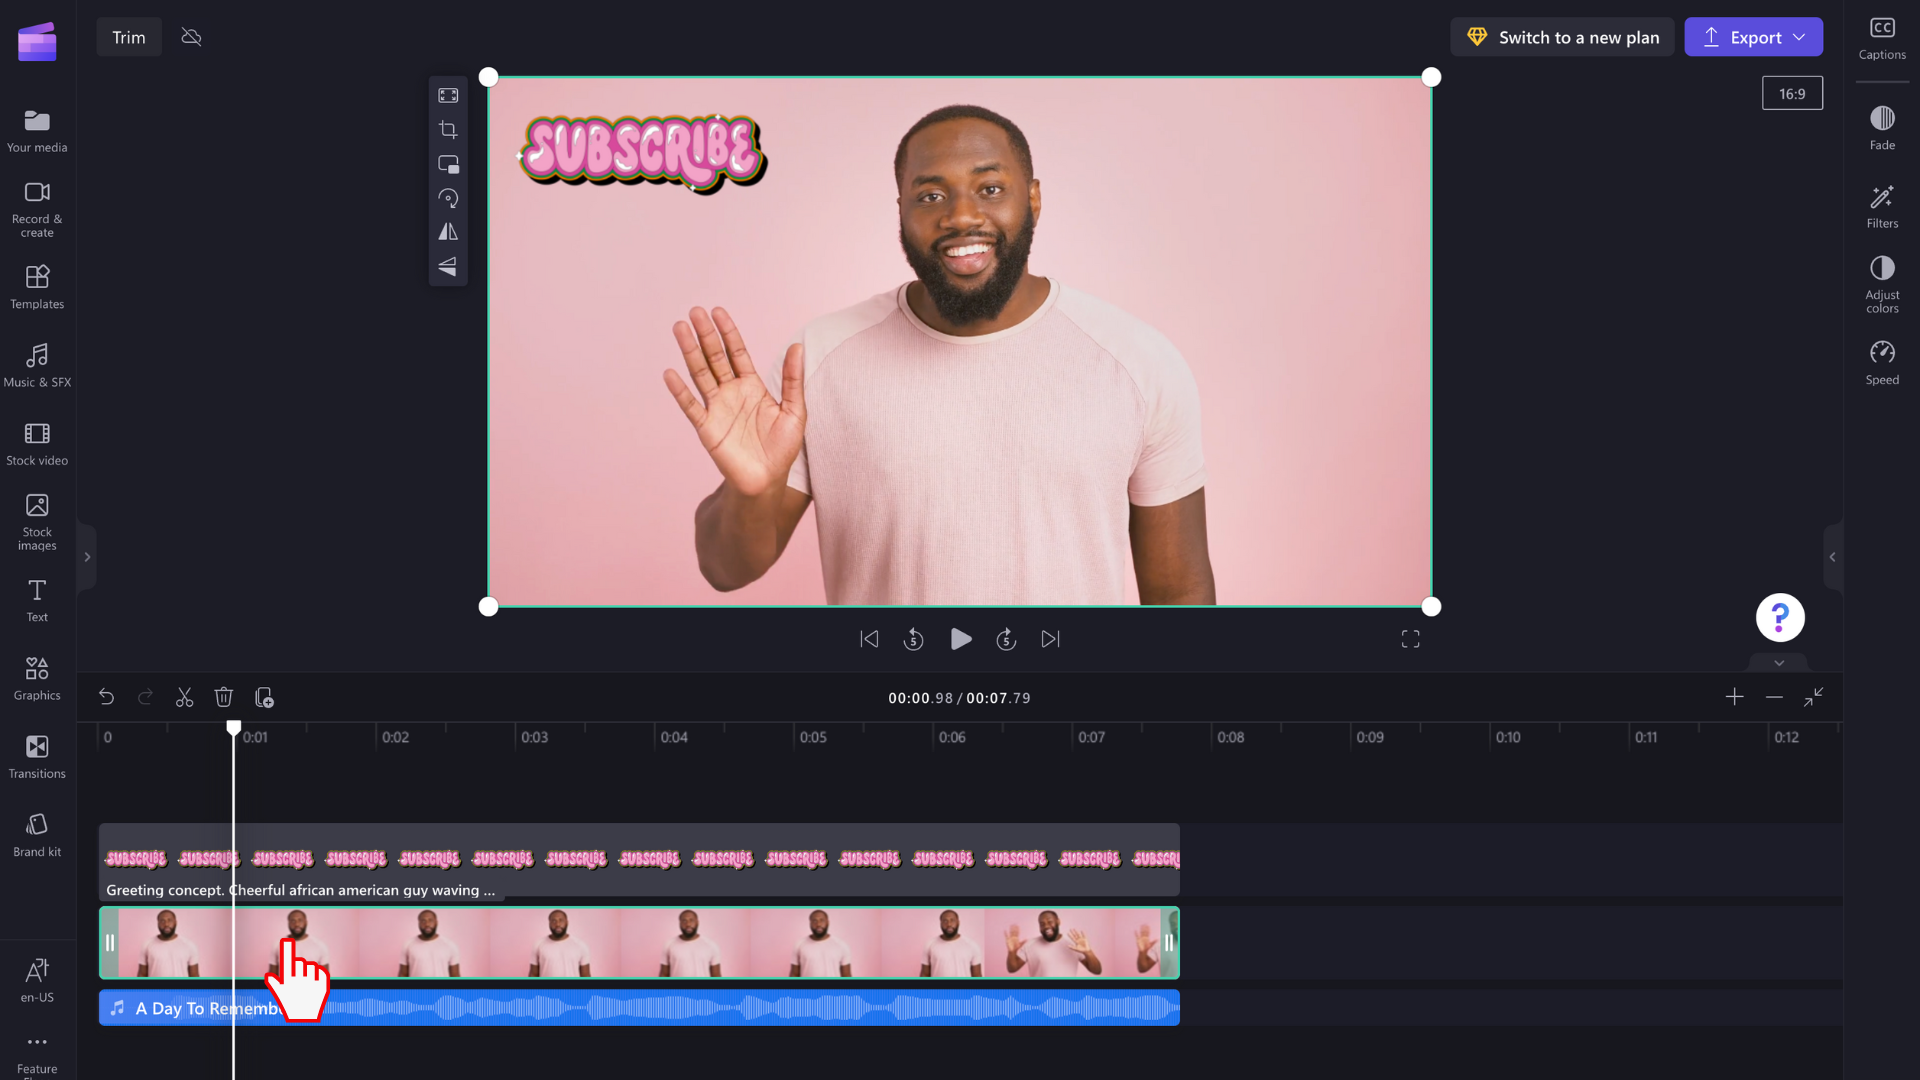
Step 2. Drag the sidebars of the clip to trim or extend the duration
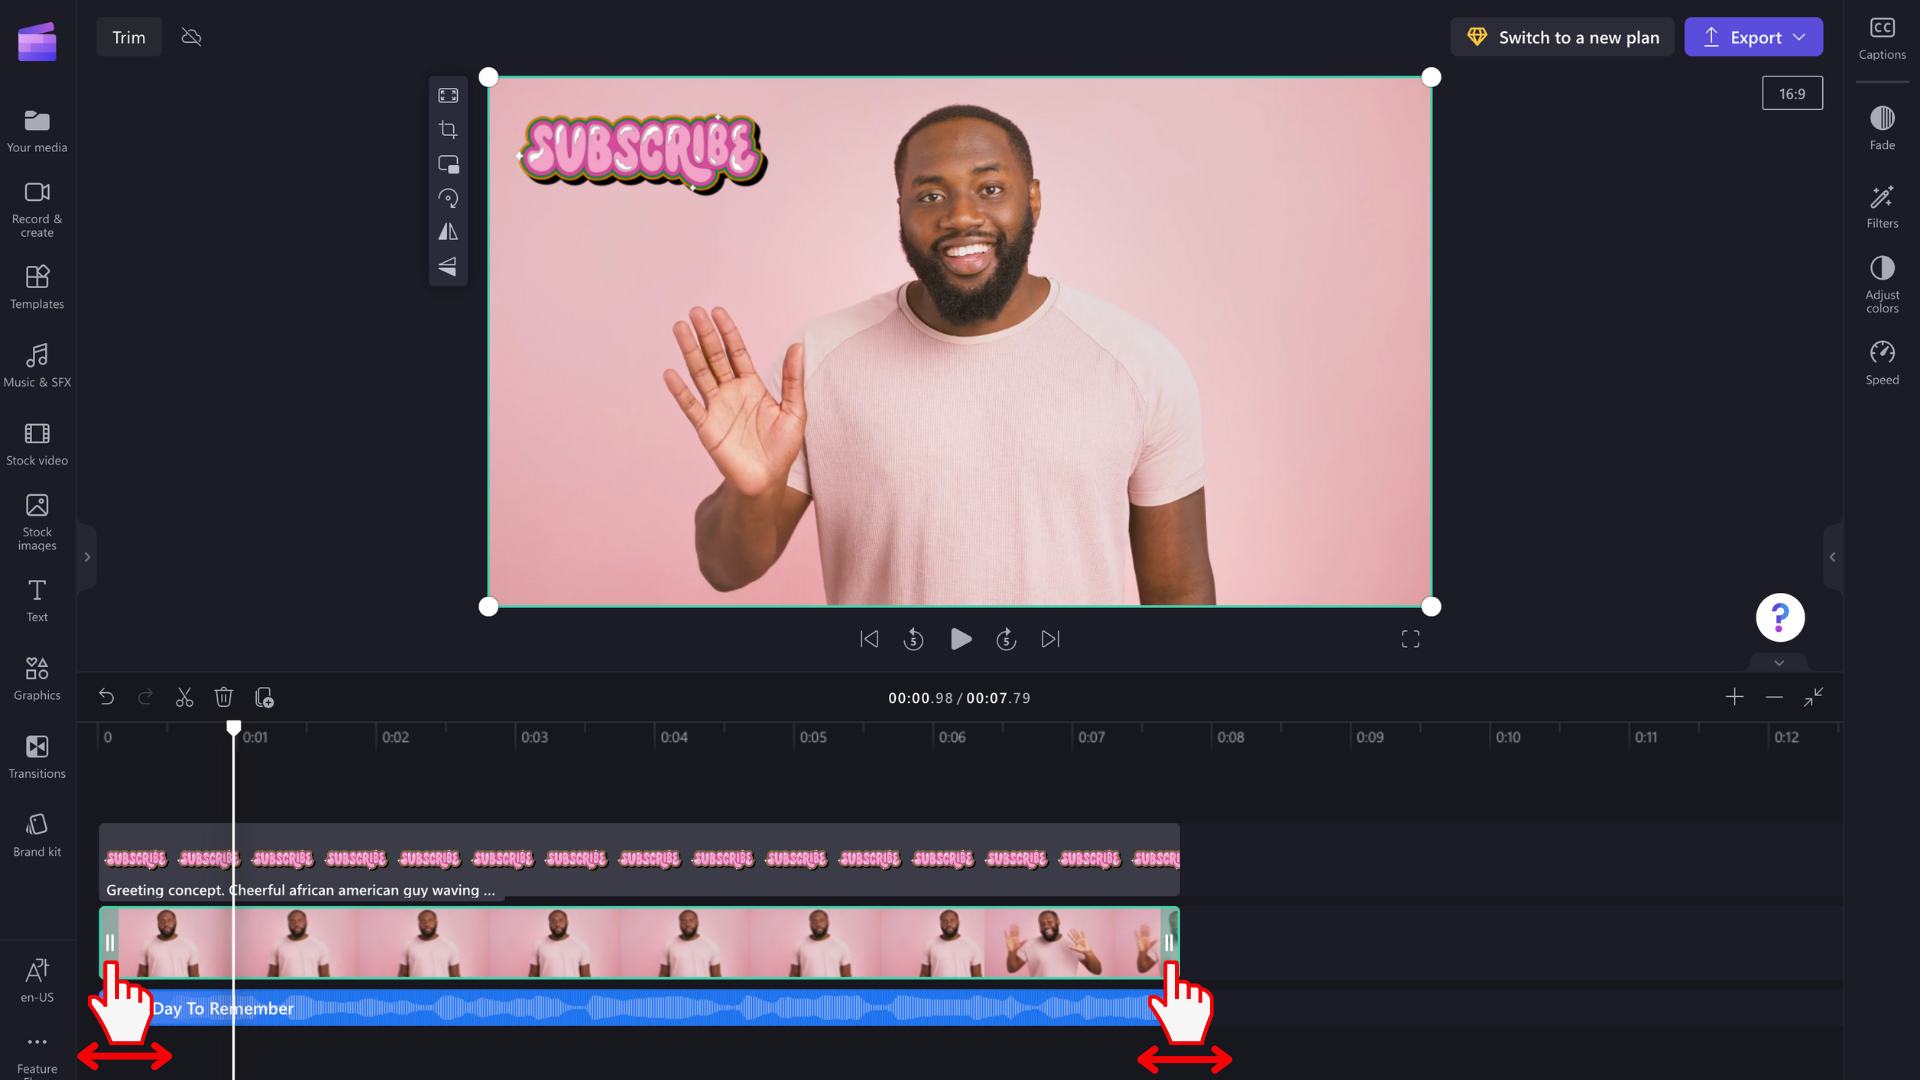
When your item is highlighted on the timeline, sidebars will appear on each end of the clip. Use your cursor to drag the sidebars left and right to trim or extend the media asset.
Note that images can get extended beyond their original duration that they were added with onto the timeline. Videos and audio tracks can't get extended beyond their actual length but you can shorten them.
Use the timestamps displayed on the top of the timeline as a guide if you want to trim or extend your media item to a precise time.
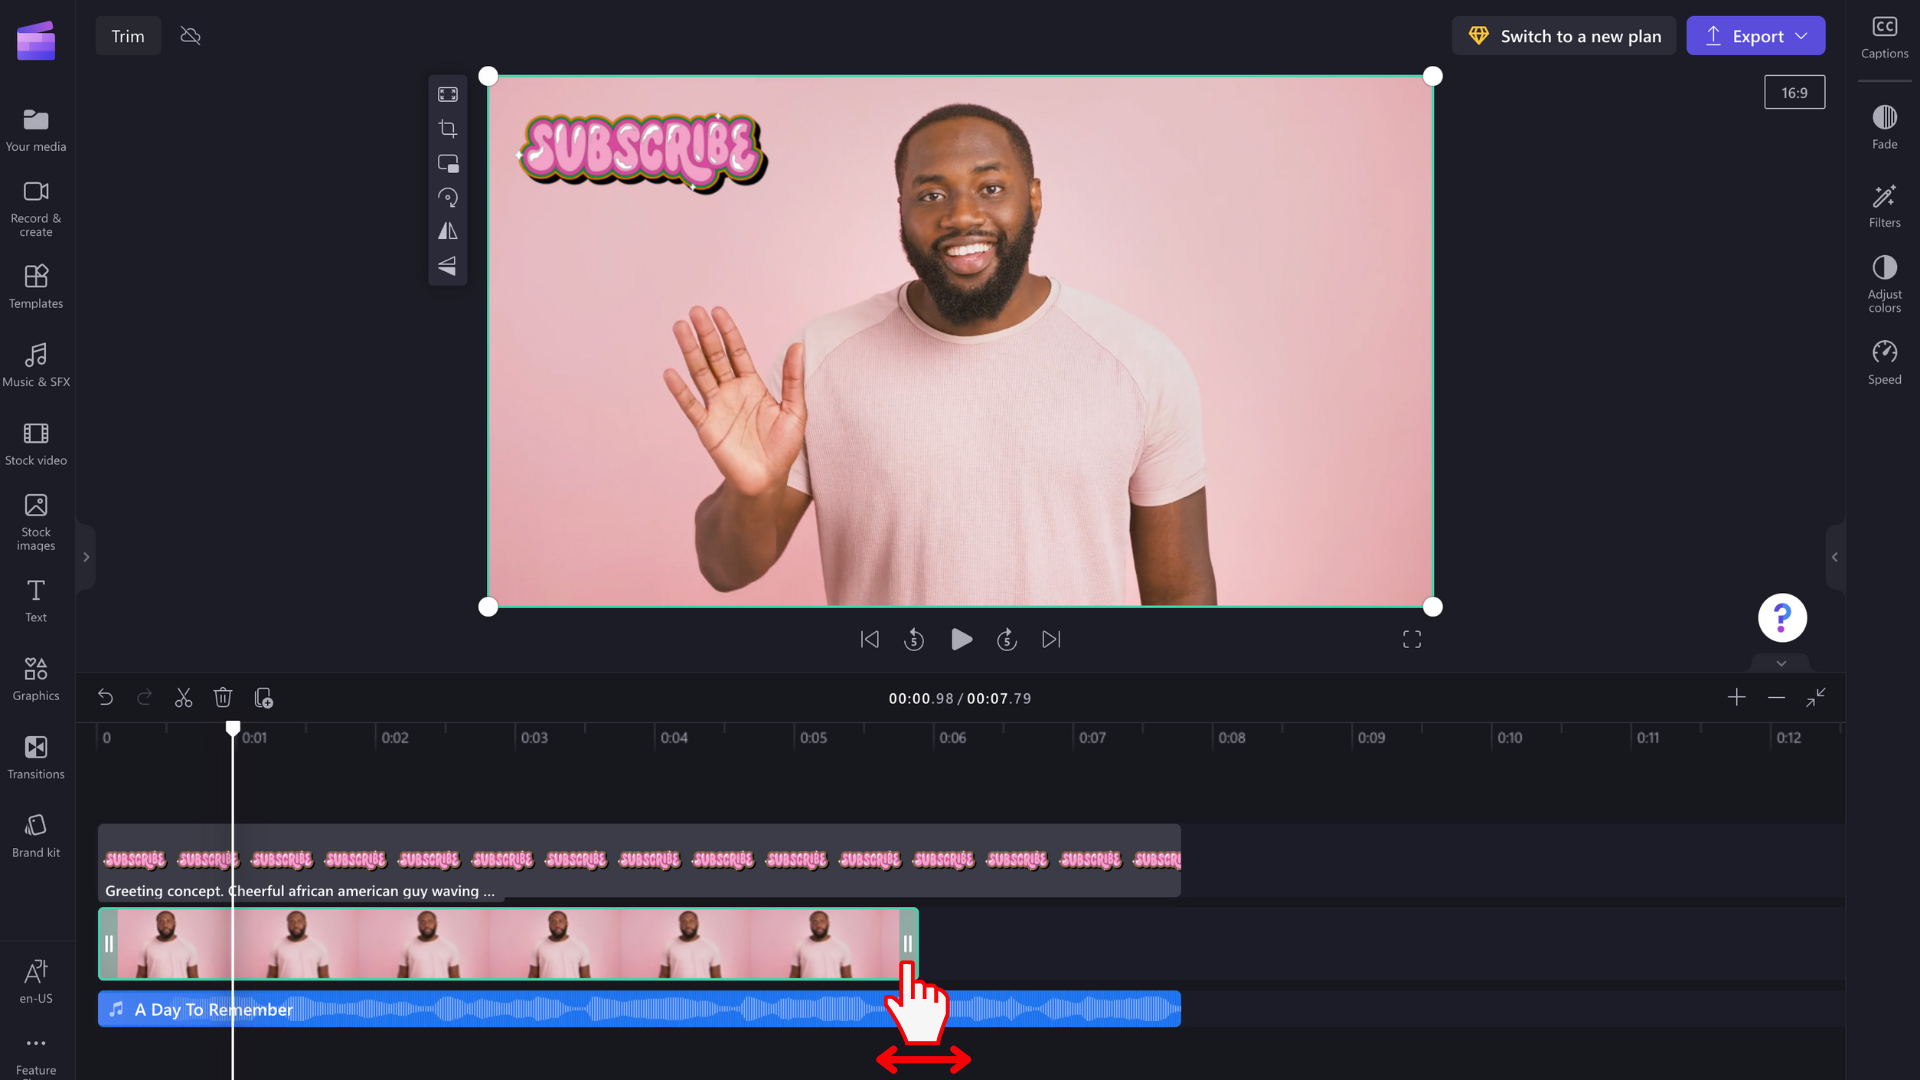
In our example, we have trimmed our media by dragging the right sidebar to the left.
How to trim multiple assets at once
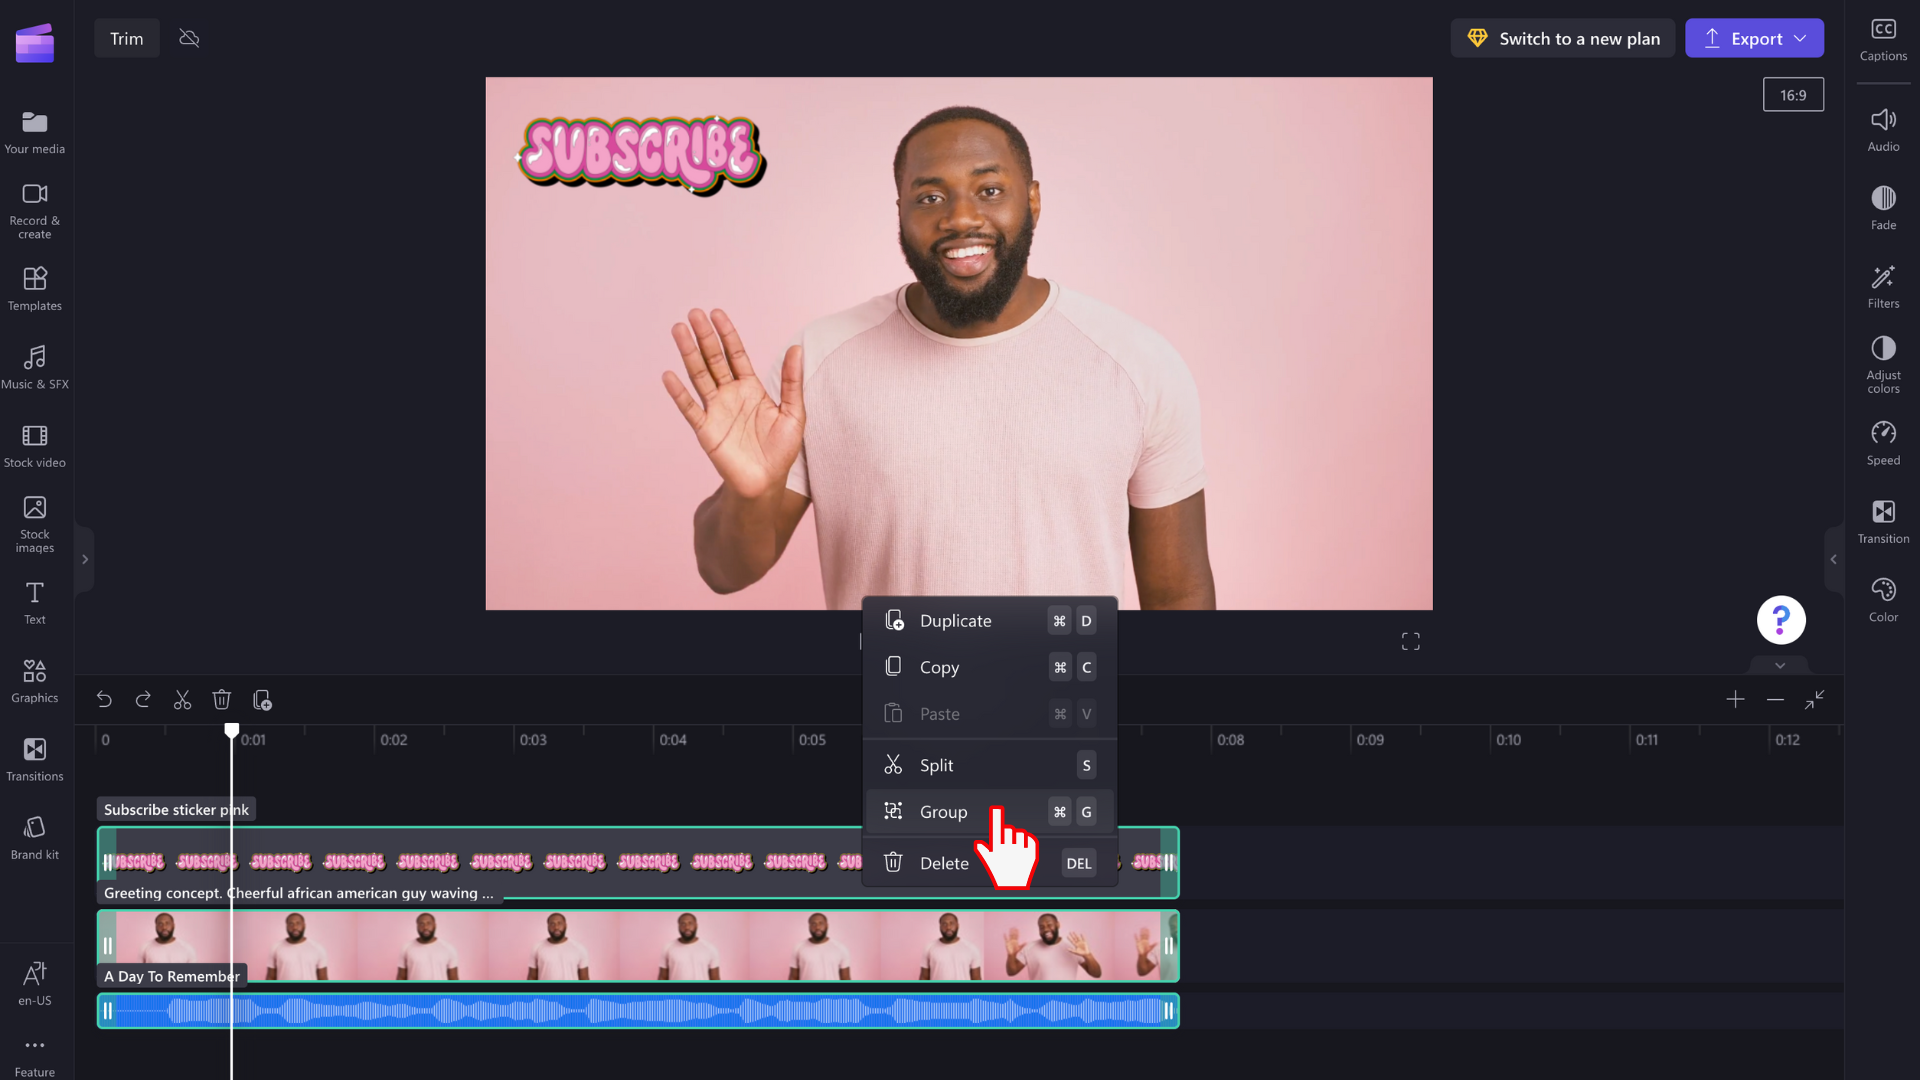
If you want to trim all of your timeline assets at once, simply group the media together first.
Hold down the shift key on your keyboard, then select all of your media on the timeline. Next, right-click and select Group.
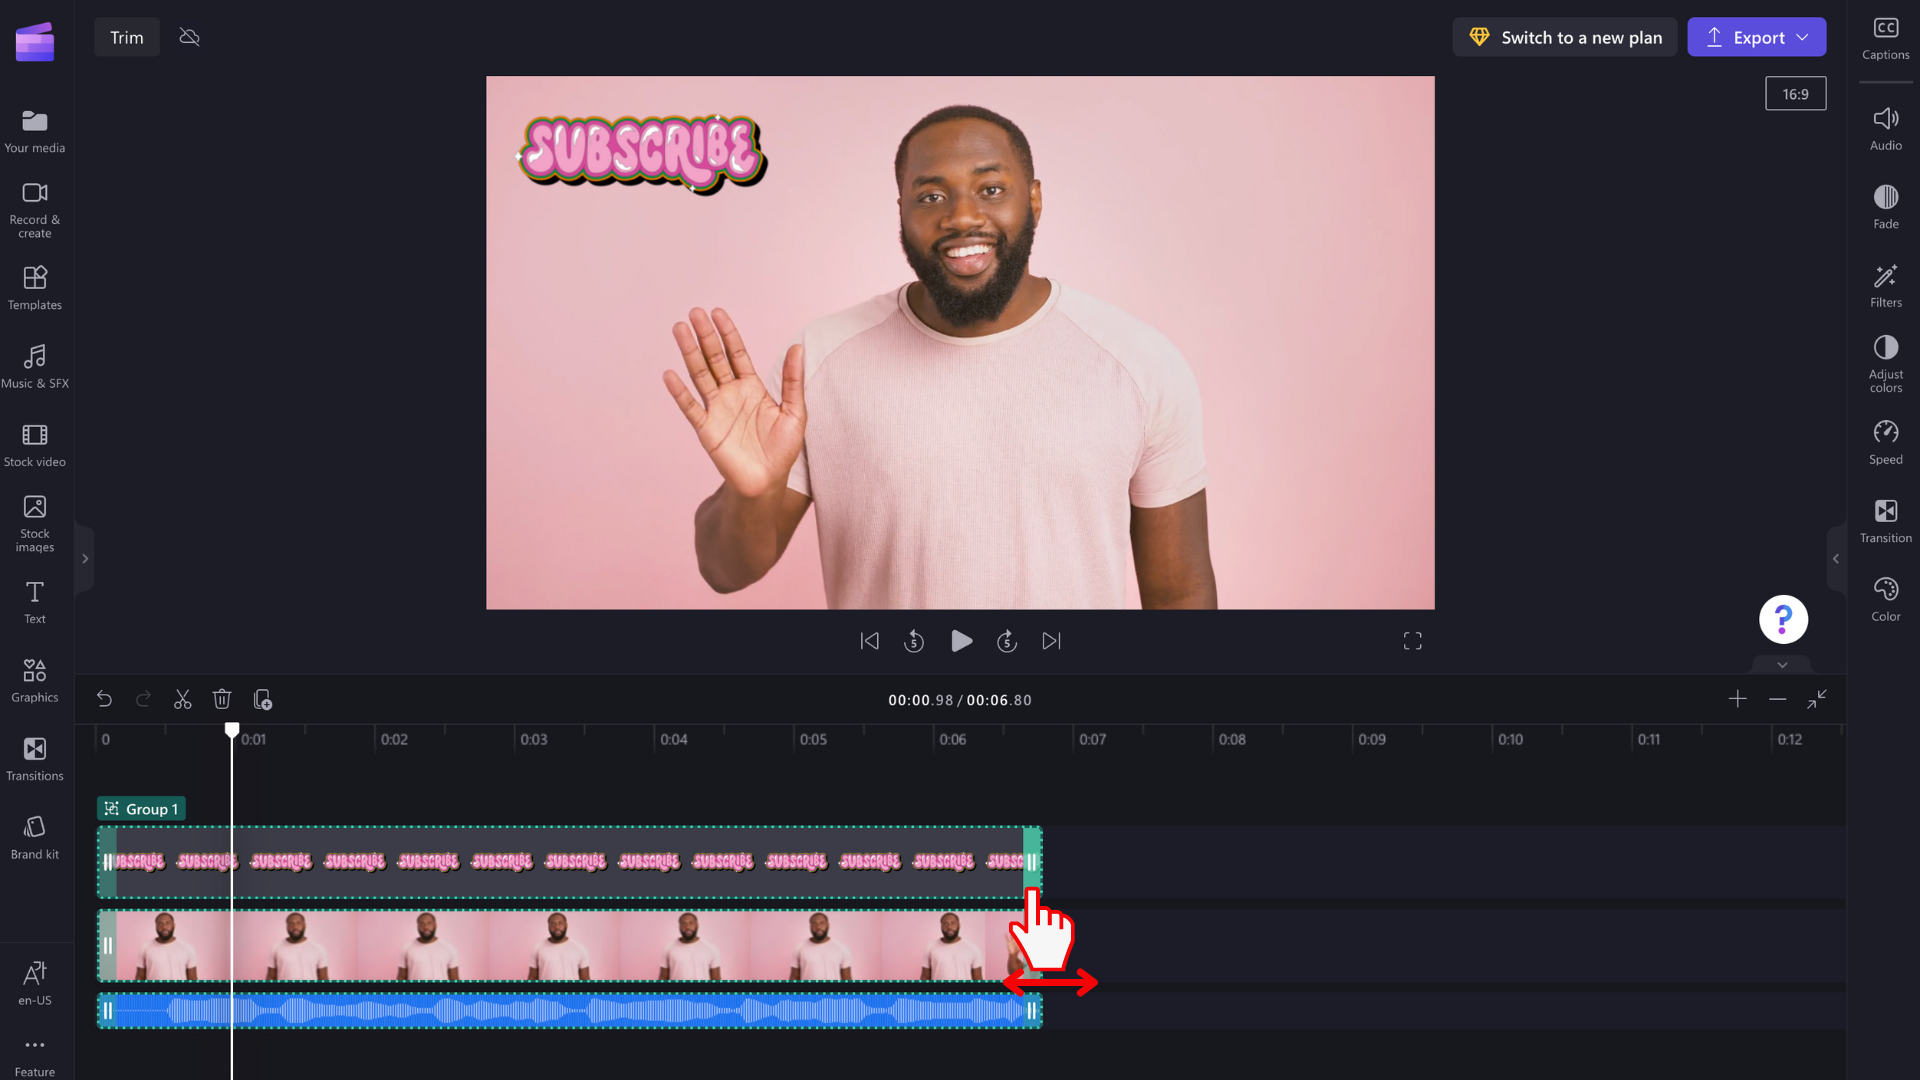
Once your items are grouped, use your cursor to drag the sidebars left and right to trim or extend the entire group.
How to zoom in or out of the timeline
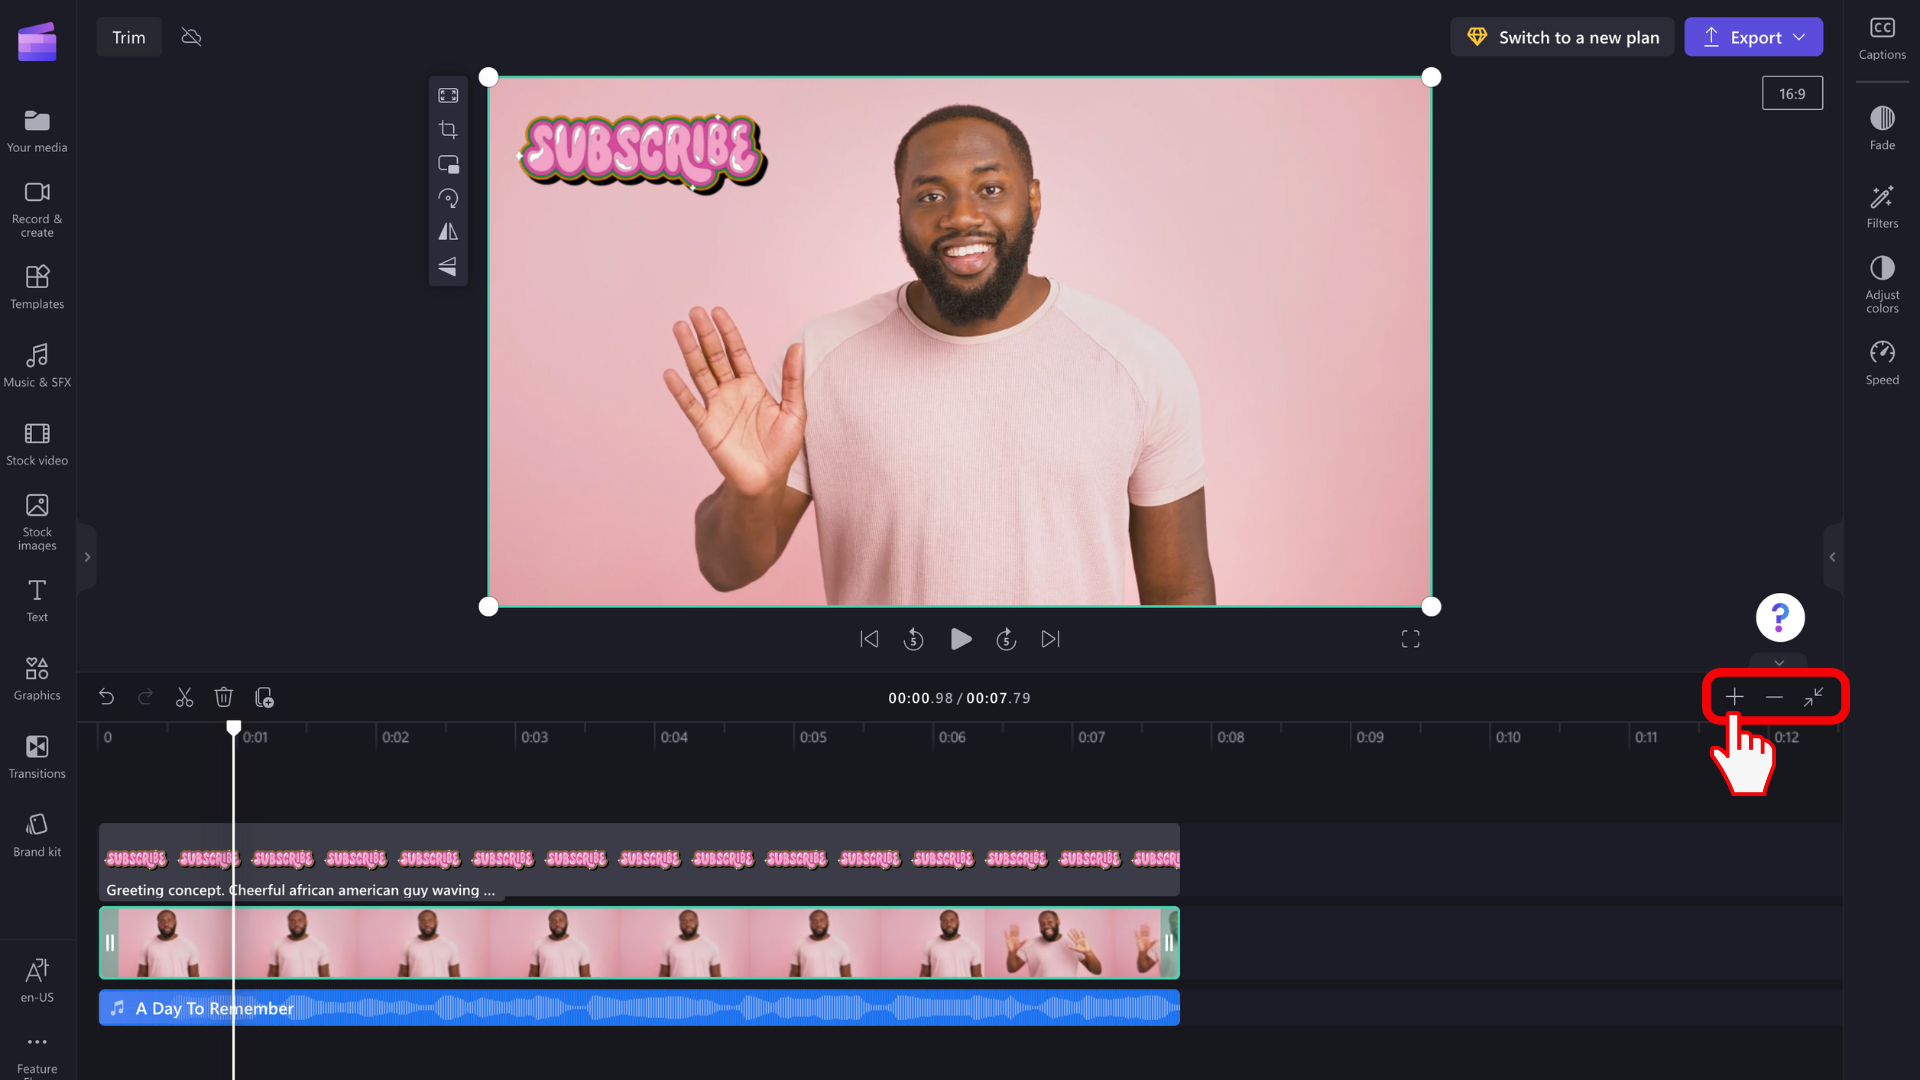
Use the zoom-in and zoom-out buttons to help trim your items more precisely.
To do this, select the plus (+) and minus (-) icons in the top right corner of the timeline.
For more information on how to use the timeline, see working with the timeline.
How is trimming different from splitting and cropping a video?
Splitting a clip allows you to cut it at a specific point and move the two parts separately. You can also use this method to 'trim' by splitting the clip and then deleting the remaining part. To learn how to split a clip, see Splitting or cutting video and audio clips.
Cropping a clip allows you to remove unwanted edges or black bars you see in the frame of a video or image to "zoom in" on it. It is different from trimming, which is shortening the duration of a clip. To learn how to crop a media asset, see Cropping a video.


