
Cropping is a video editing technique that lets you choose the visible part of a video or image frame. You can cut out unwanted elements or lines at the edges of a video or fit an image to a different aspect ratio.
Read on to learn how to crop videos or images, for instance to remove black bars (also called "letterboxing"). In addition to cropping, Clipchamp also lets you trim, zoom, or change the aspect ratio of a video.
Note: The screenshots in this article are from Clipchamp's personal version. The same principles apply to Clipchamp for work accounts.
To start, add media assets to the timeline
Drag and drop the videos or images you'd like to crop from the media library of your video editing project onto the timeline. Then, select one of them so it is highlighted.

Select fit-to-frame or freehand-crop
There are two different ways to crop your media file.
Option 1
Select the Fit option that appears in the tools menu next to the preview window (see screenshot above) to crop your clip. This will lead to it filling the whole of the frame of your project and is a good option to remove any black bars that might be showing above, below, to the left or right of your media file.
These kinds of black bars usually appear in videos if there is a mismatch between the dimensions of your media asset and the aspect ratio of the editing project.
The Fit toolzooms in on the media item, filling the visible space and therefore removing black bars. If you want to change your media's position to make a different portion of it visible, freely move it up and down or left and right on the preview window.
Option 2
Using the freehand crop tool, you can freely crop unwanted areas of a media item. It is also a great way to crop items such as an overlay to make the underlying editing layer visible. Click on the Crop button next to the preview window to use the freehand crop tool.
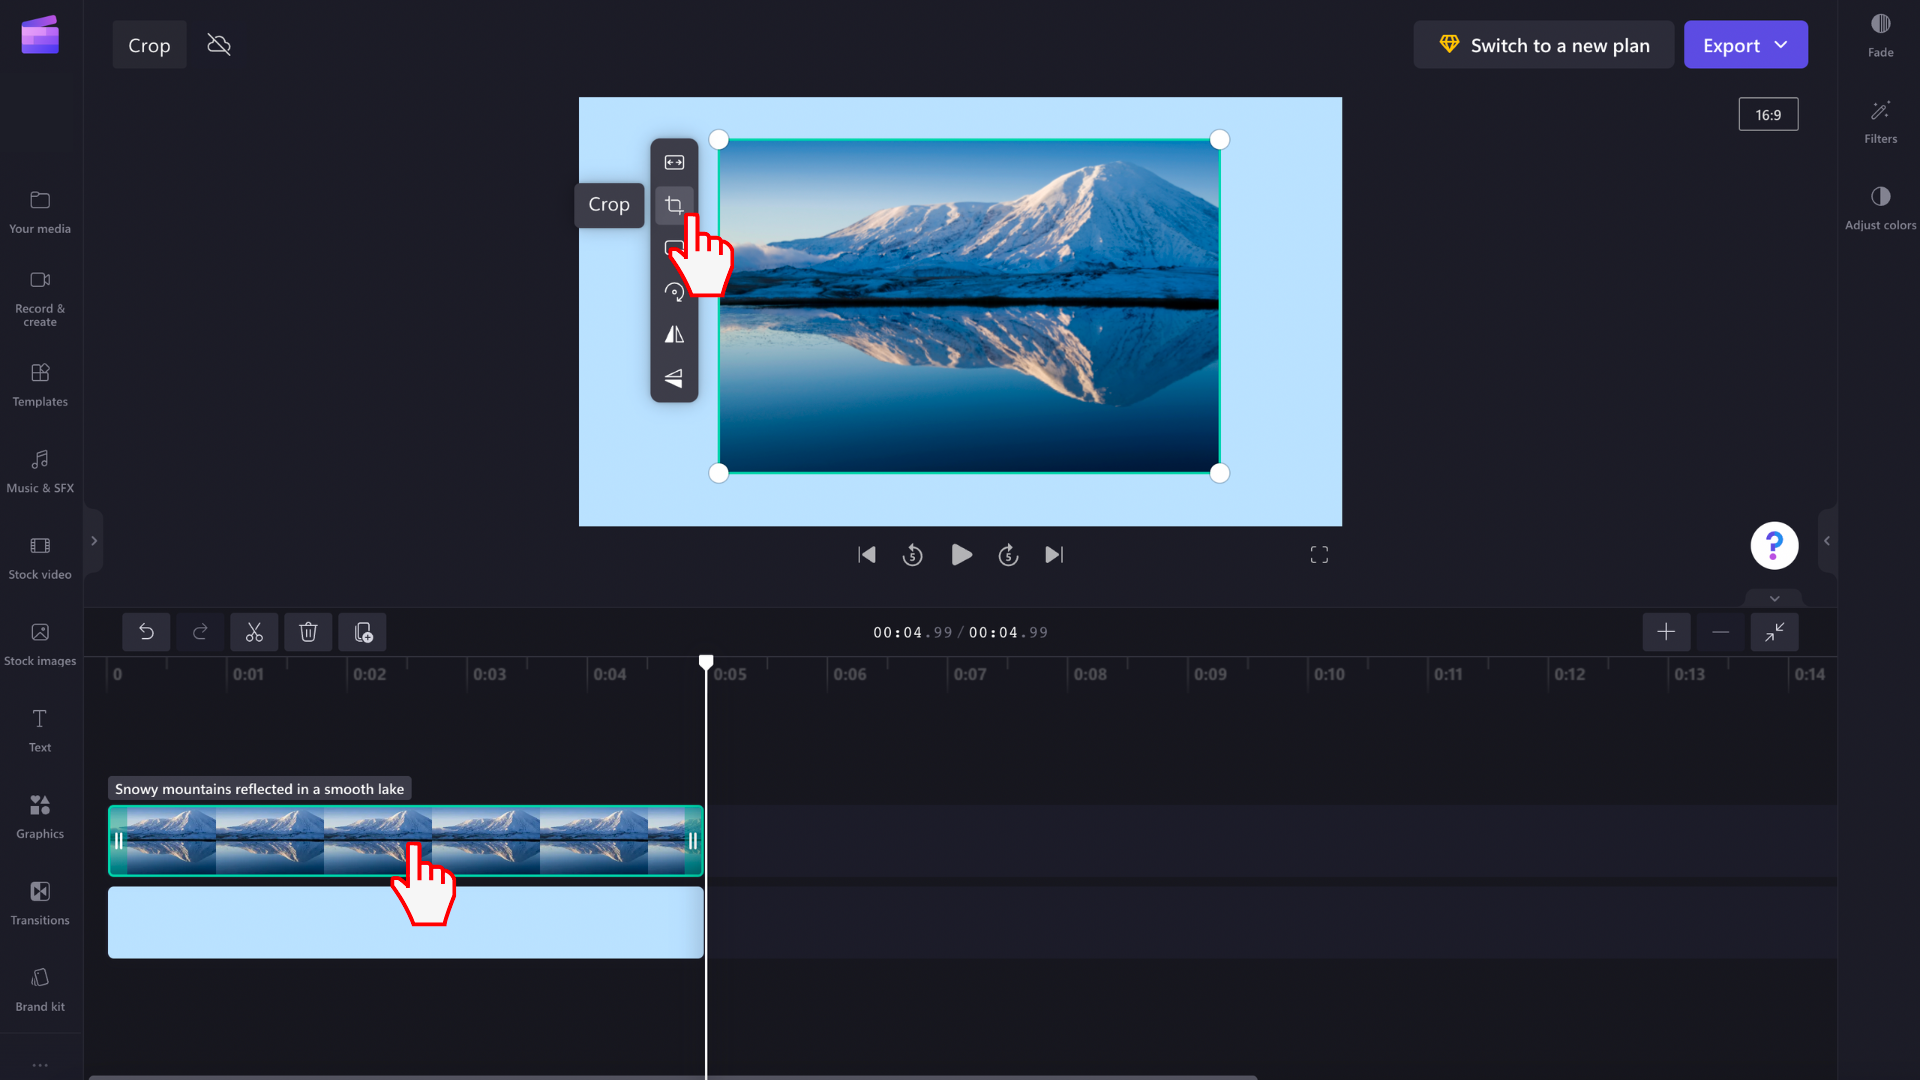
Handles will appear on the sides, top, and bottom of your clip in the preview window. Drag these handles left and right or diagonally to crop your asset.

You can also move the media item around the preview window to center or reposition it.
When you are happy with your crop selection, click on the Done button to save your edits.

To undo the changes before saving, click on the Revert to original button.
Save the completed video
When you're finished editing and would like to save the video to your computer, select Export in the top right of the user interface and follow the prompts.


