
When you add video clips, images, and audio files to your video editing project, Clipchamp temporarily saves copies of these files in your browser cache or in a temp folder on your computer.
If the cache has been emptied, or these temp working files have been removed for some other reason (for example, there is not enough space in the cache or if there's low memory), Clipchamp might ask you to locate them again when you re-open the video.
In Clipchamp's personal version, note that you can avoid locating files in the future by using our content backup feature. You can also reduce the risk of the browser evicting your media files from the cache by closing other browser tabs and applications on your computer to free up some extra memory.
If you’re using Clipchamp for work accounts, media files are automatically uploaded to the Assets folder (in the Clipchamp project folder on OneDrive/SharePoint) and it’s best to keep them there in case you’re asked to locate them. If your files are in that folder, Clipchamp can retrieve them automatically. If you move them, you may be asked to locate them.
Another option that can help is to reduce the file size of the video files you're editing by compressing your source videos and then using the smaller file versions in Clipchamp. Smaller files take up less memory space and reduce the chance of the browser cache or temp folder getting too full.
How to locate your files
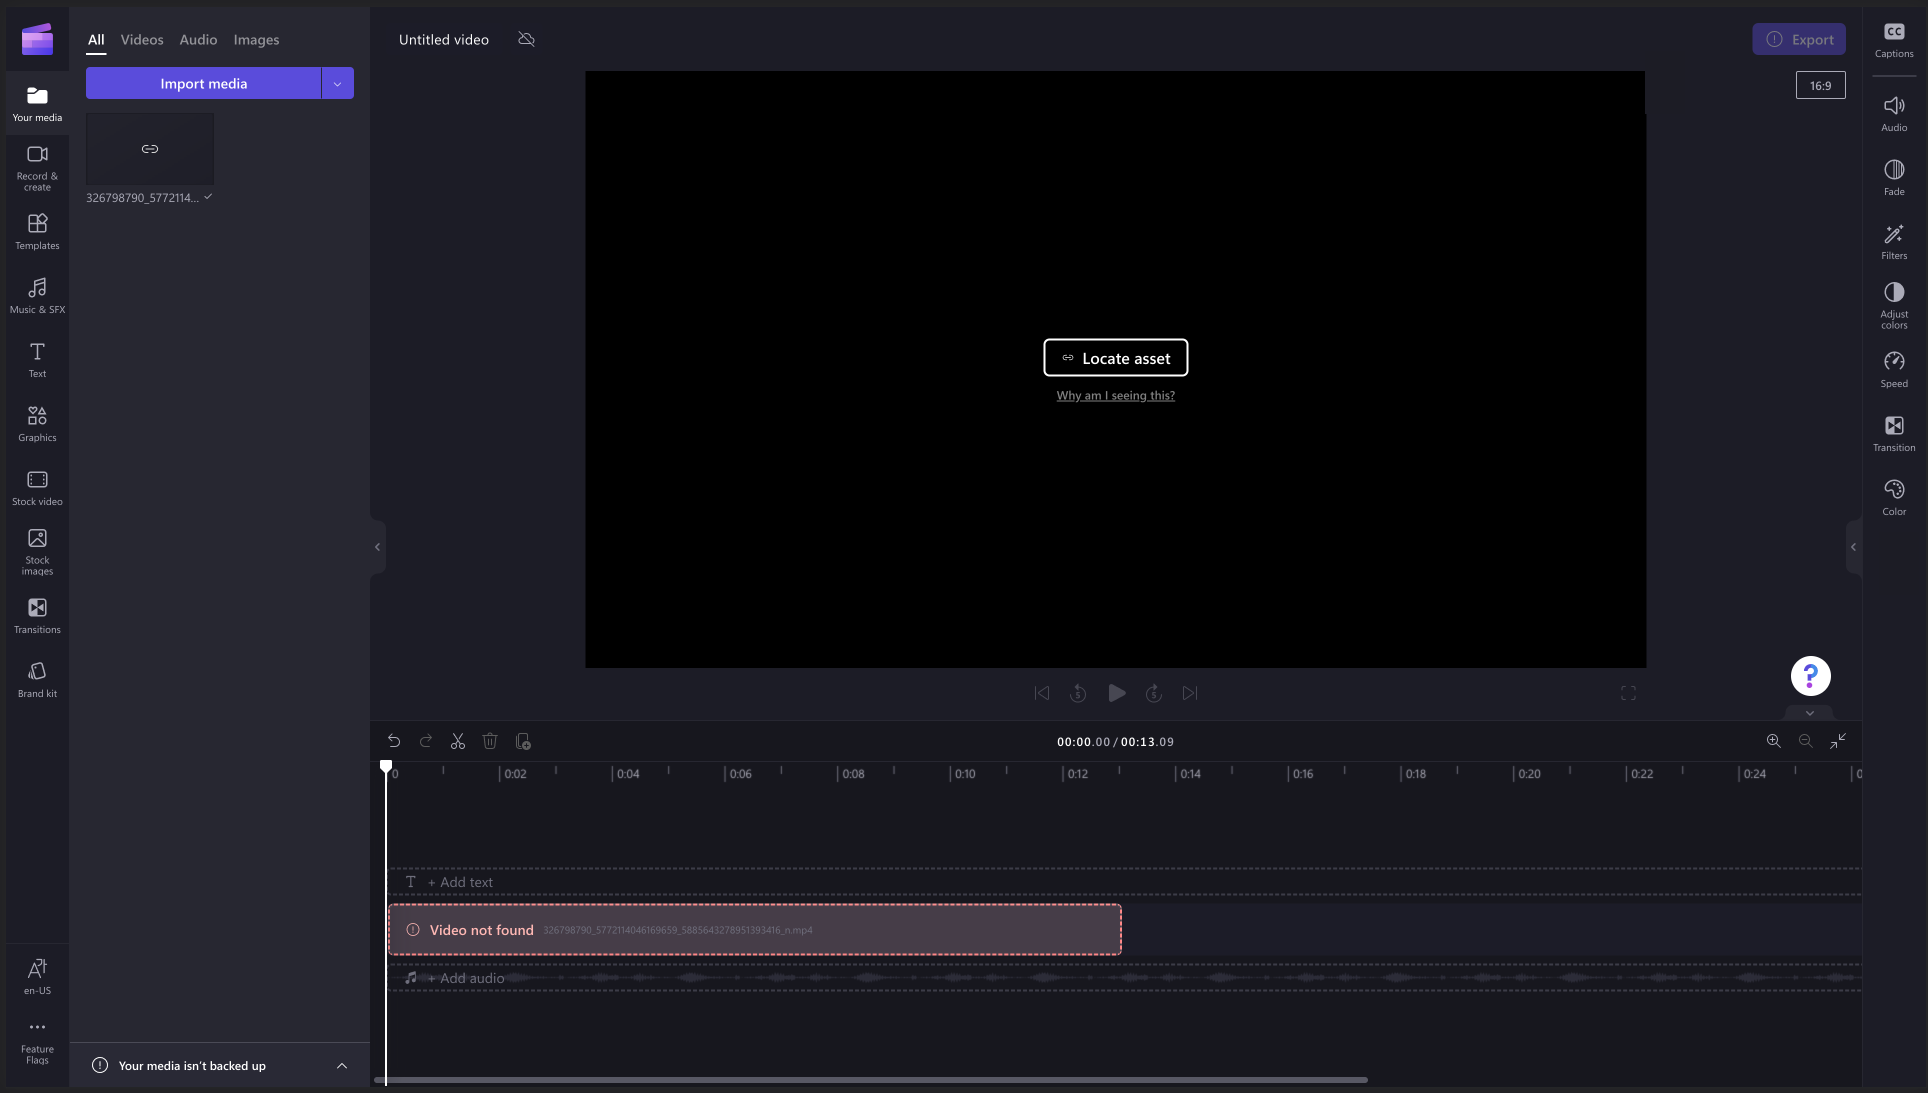
1. To restore your files to a video, select the Locate asset button on the video preview window.
2. In the window that appears, select Locate folder.
3. In the file search window, locate the folder with the original files and select Upload to connect them to your project again.
4. Confirm that you want to upload the files.
5. You can also choose to locate files individually if you don't want to upload a whole folder. Simply select a file in the list.
6. Next, find the file on your computer and select Upload.
7. Repeat this process until all files are located. Located files will be added automatically to the your media library and they will appear in your timeline if they were there before.
8. After all your files are located, the window will close automatically and you'll be able to edit your video again. If you'd like to go back to the editor without locating all files, select return to editor at the bottom of the window.
NOTE: If you've used stock footage and audio in your project, you won't need to locate these stock assets. They are always available online.
What if I can't find my files?
Clipchamp is fast and private because it doesn't upload your video, image, or music files to an online location for processing by default. In Clipchamp for personal accounts, your files always stay on your computer, unless you choose to back them up online using our content backup feature.
In Clipchamp's work version, media files are stored in the project's Assets folder in OneDrive/SharePoint and are getting downloaded to your computer from there if the local browser cache evicted the local copies. If you removed the files from the Assets folder, you'll need to locate copies elsewhere, otherwise it's not possible to keep editing the project.
This does mean you have to keep your original files, and if you've lost them, we have no way of retrieving them for you. If you've deleted them, we suggest retrieving the files from your original source (for example, many smartphones keep backups of deleted videos for a certain number of days).
Problems with locating files
If you have added an unsupported file type this can sometimes cause problems when locating the files. If this happens we suggest reloading the page, or signing out of Clipchamp and signing in again, then attempting to reopen the project.


