
If you're new to this topic, the following introduction to working with an editing timeline will help you understand how to get started with a video editing project. Note that the same principles apply to both Clipchamp for personal accounts and Clipchamp for work accounts.

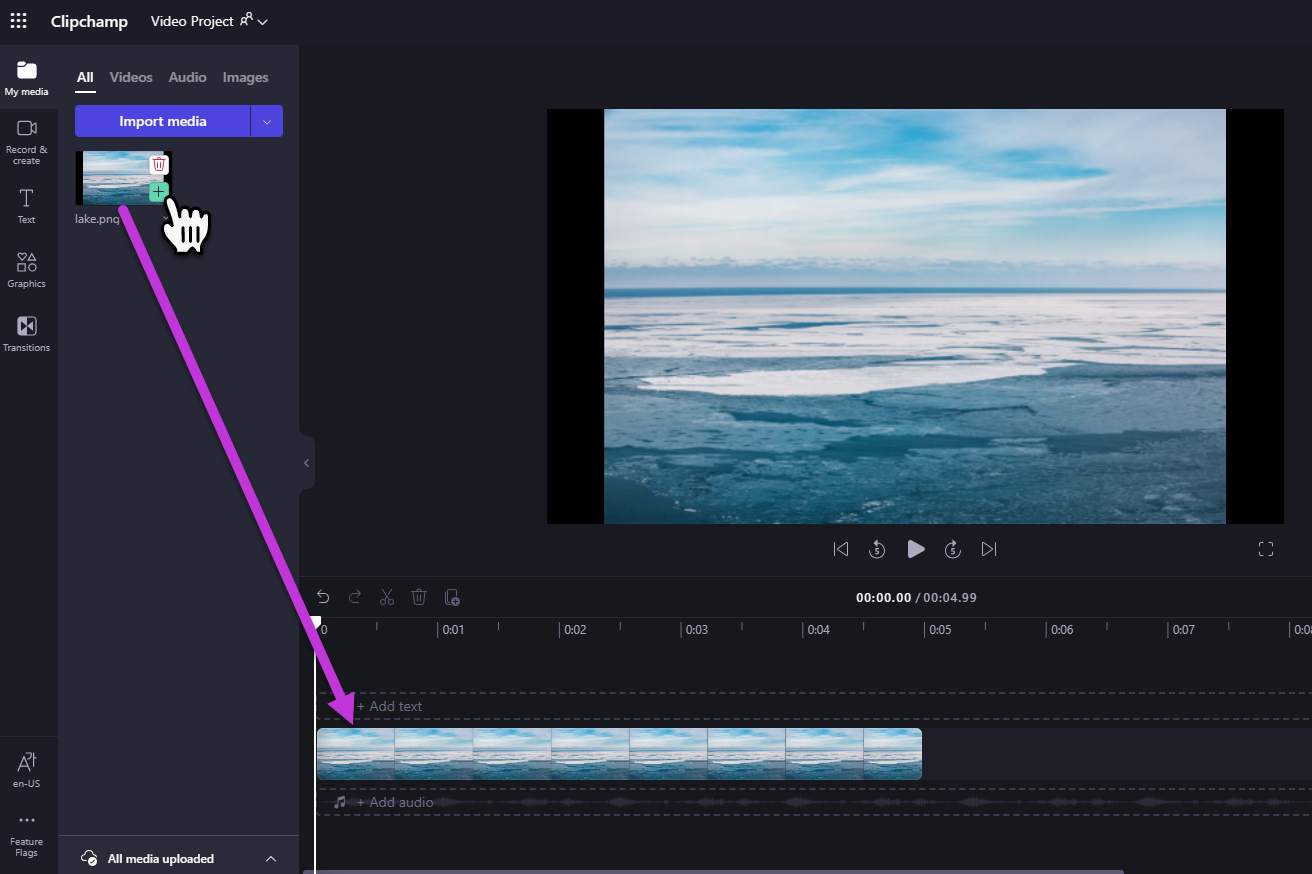
After you've added files to Your media library, you'll need to move them to the timeline to start editing your video.
-
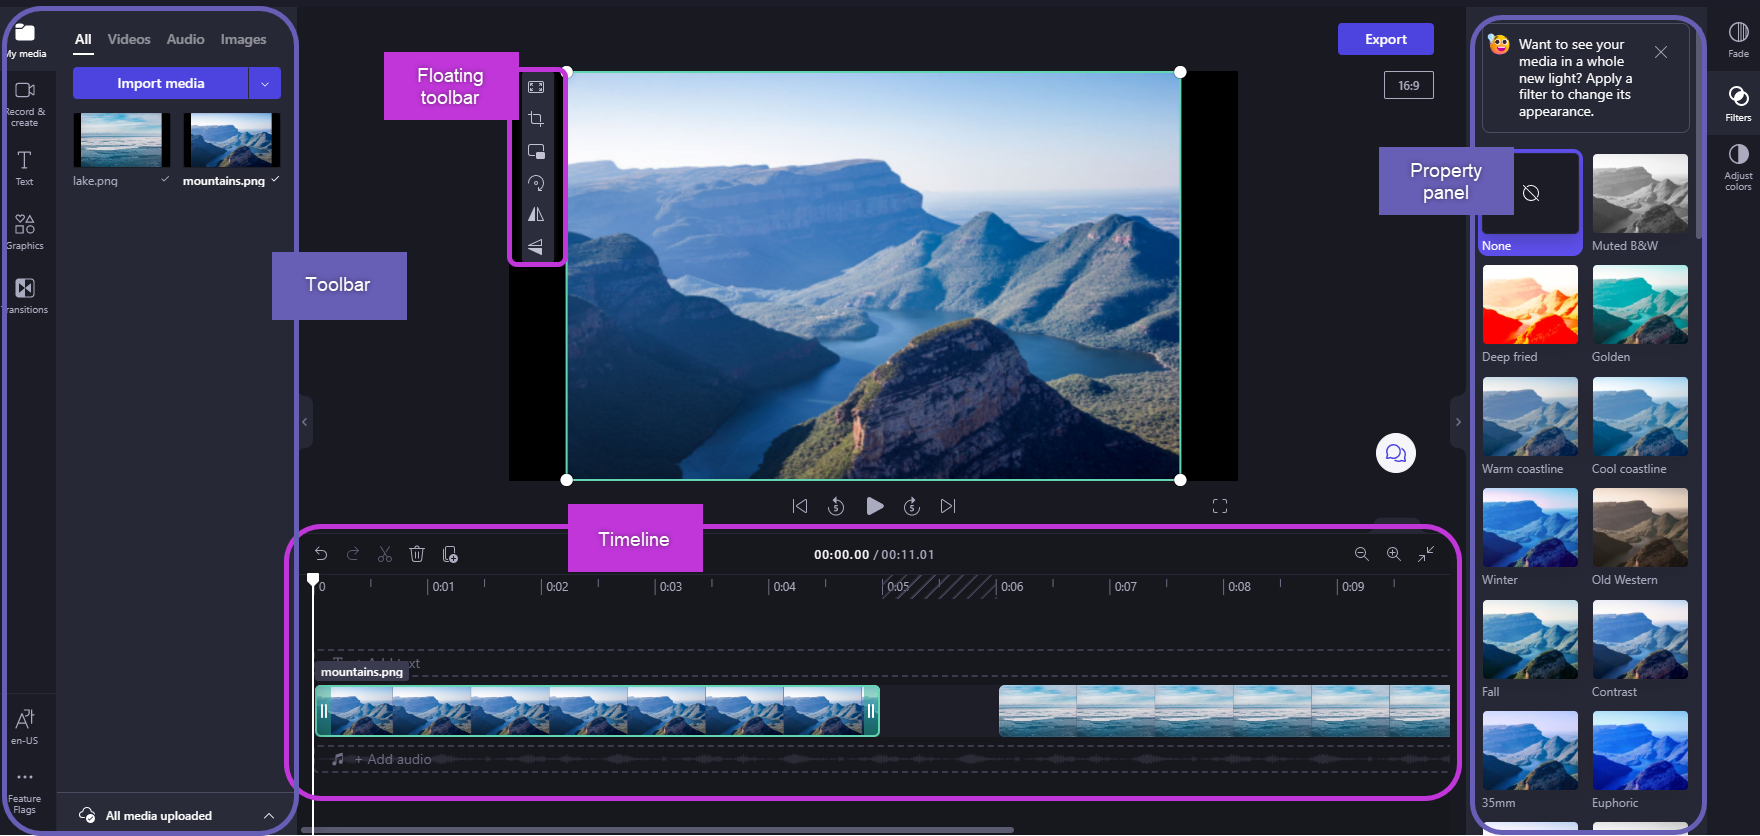
This is the space where you edit together video, image, or audio clips to create your final video, and where you can add texts and effects.
-
What you add to the timeline is what will be exported when you click export and save your finished video.
Adding media to your timeline
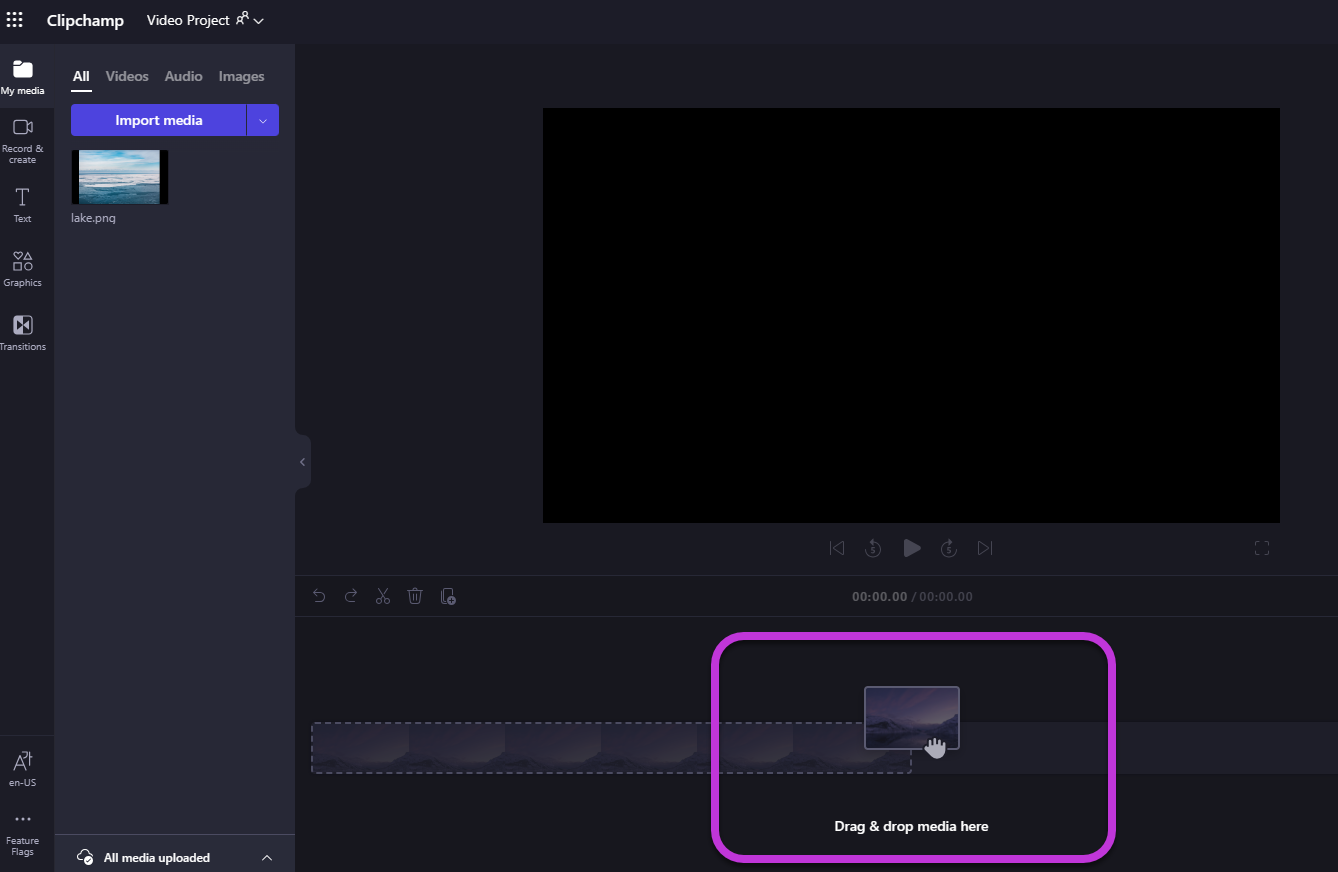
Your video timeline is located at the bottom of the editor. If it is empty, it will have a drag and drop media here symbol and message in the center.
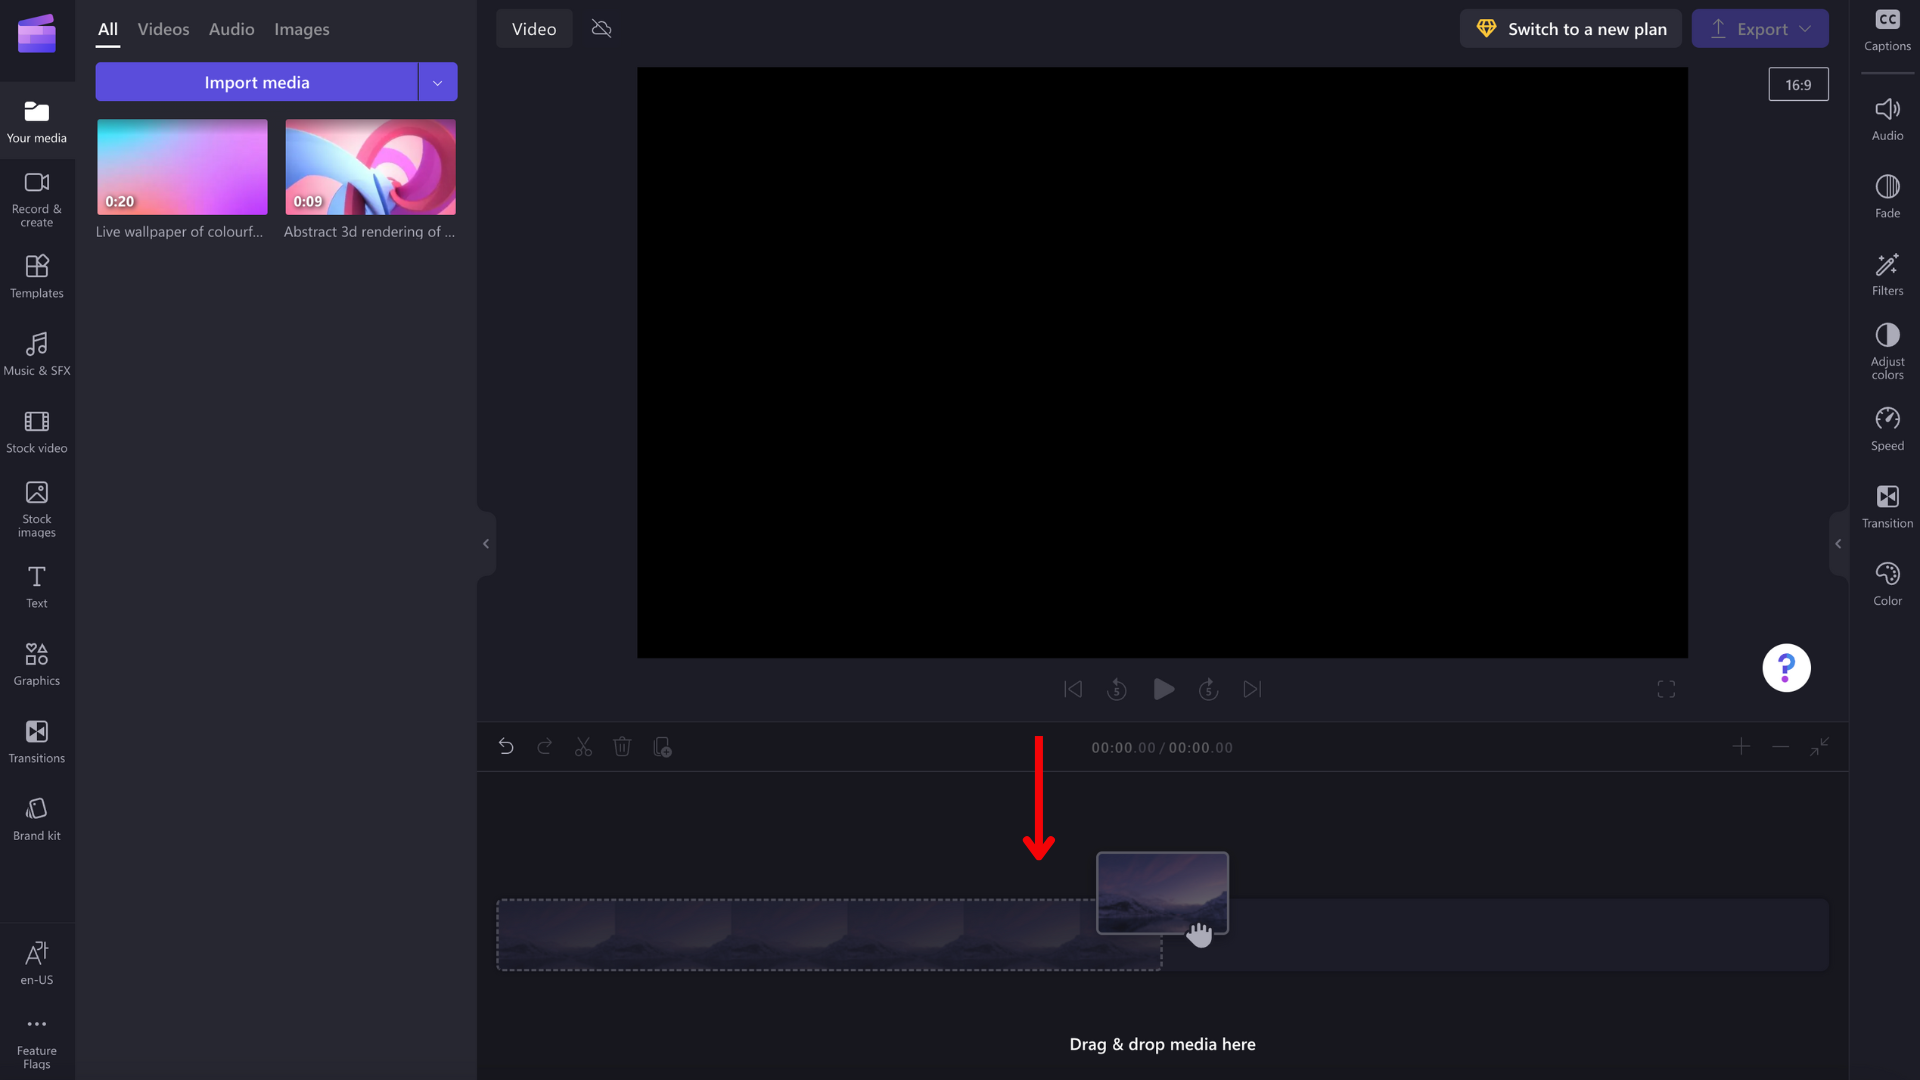
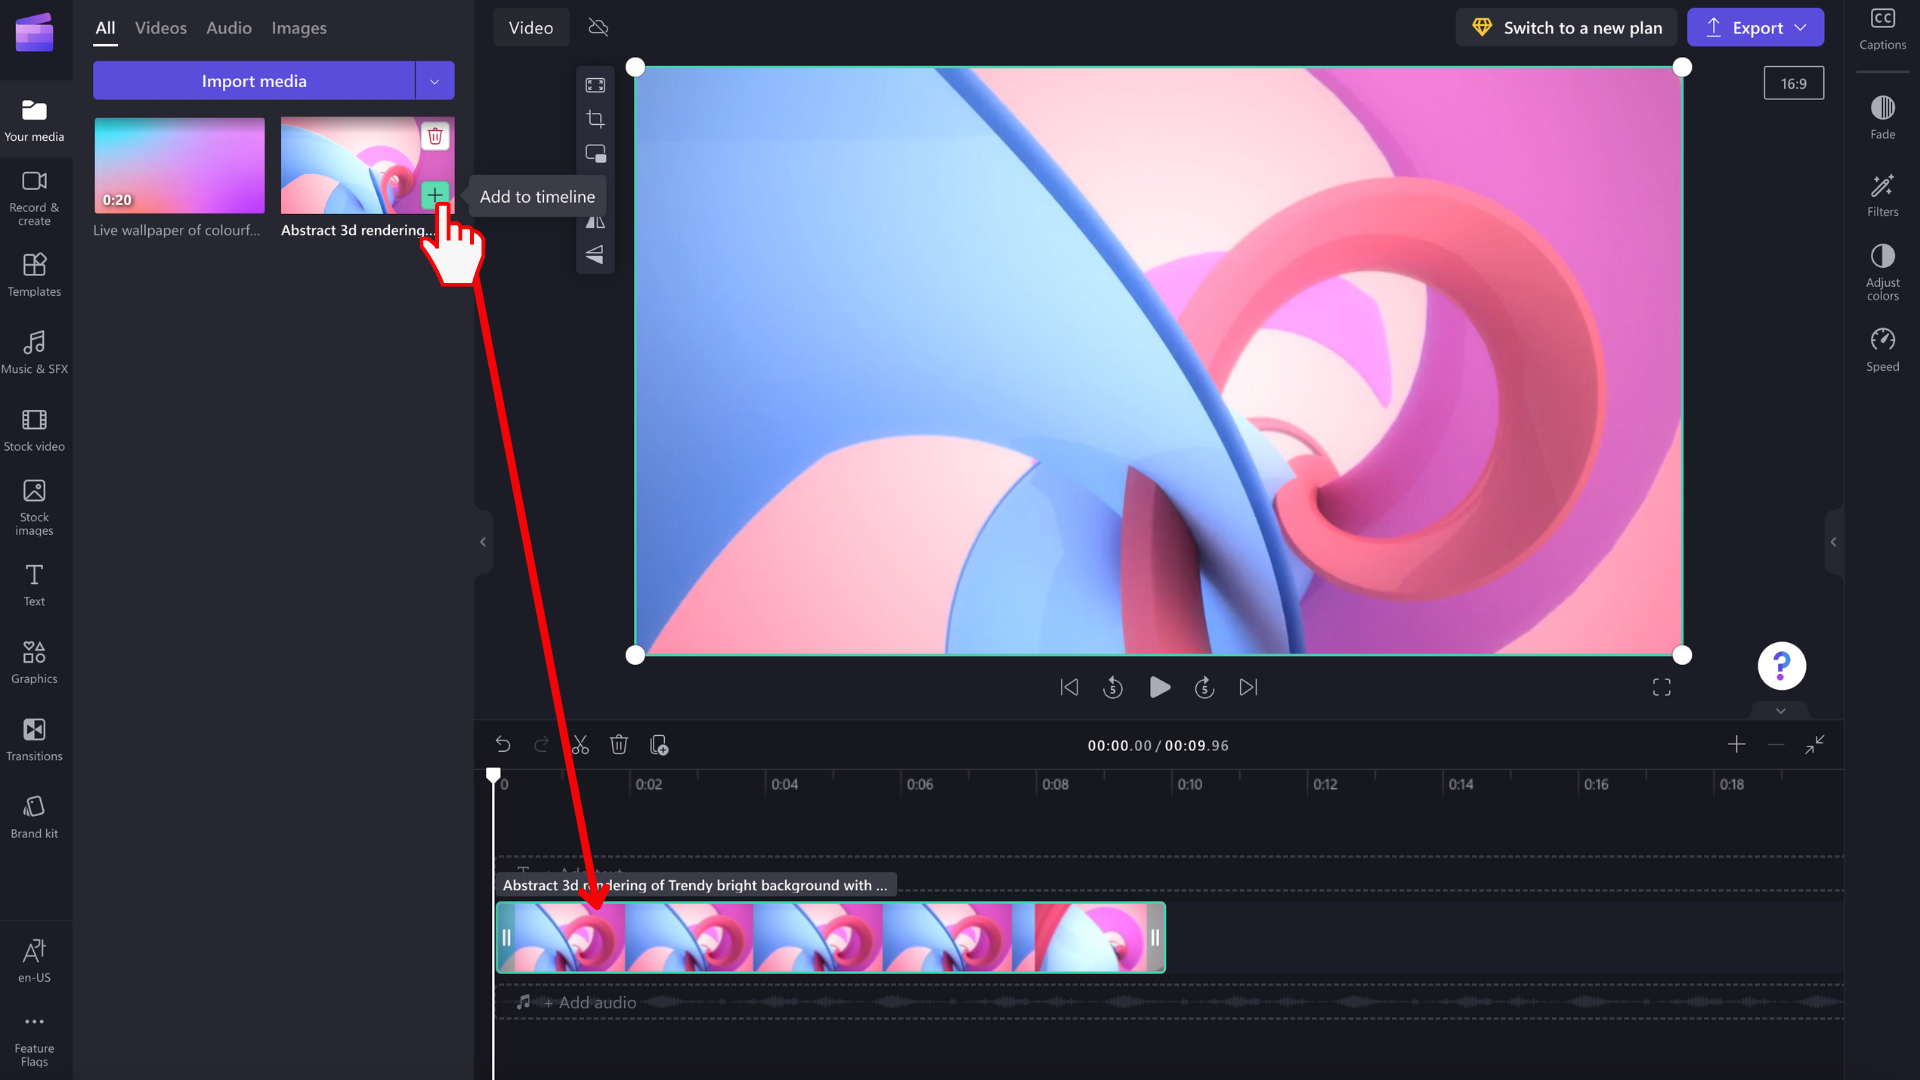
To add your media assets to the timeline, either drag and drop the media onto the timeline or click on the green + button.
Zooming in and out
If you add several clips to the timeline, they may disappear off the right edge of the screen. In this case, you might want to zoom out to see all your clips at once and add more clips. Alternatively, you might want to zoom in to more easily edit a specific clip.
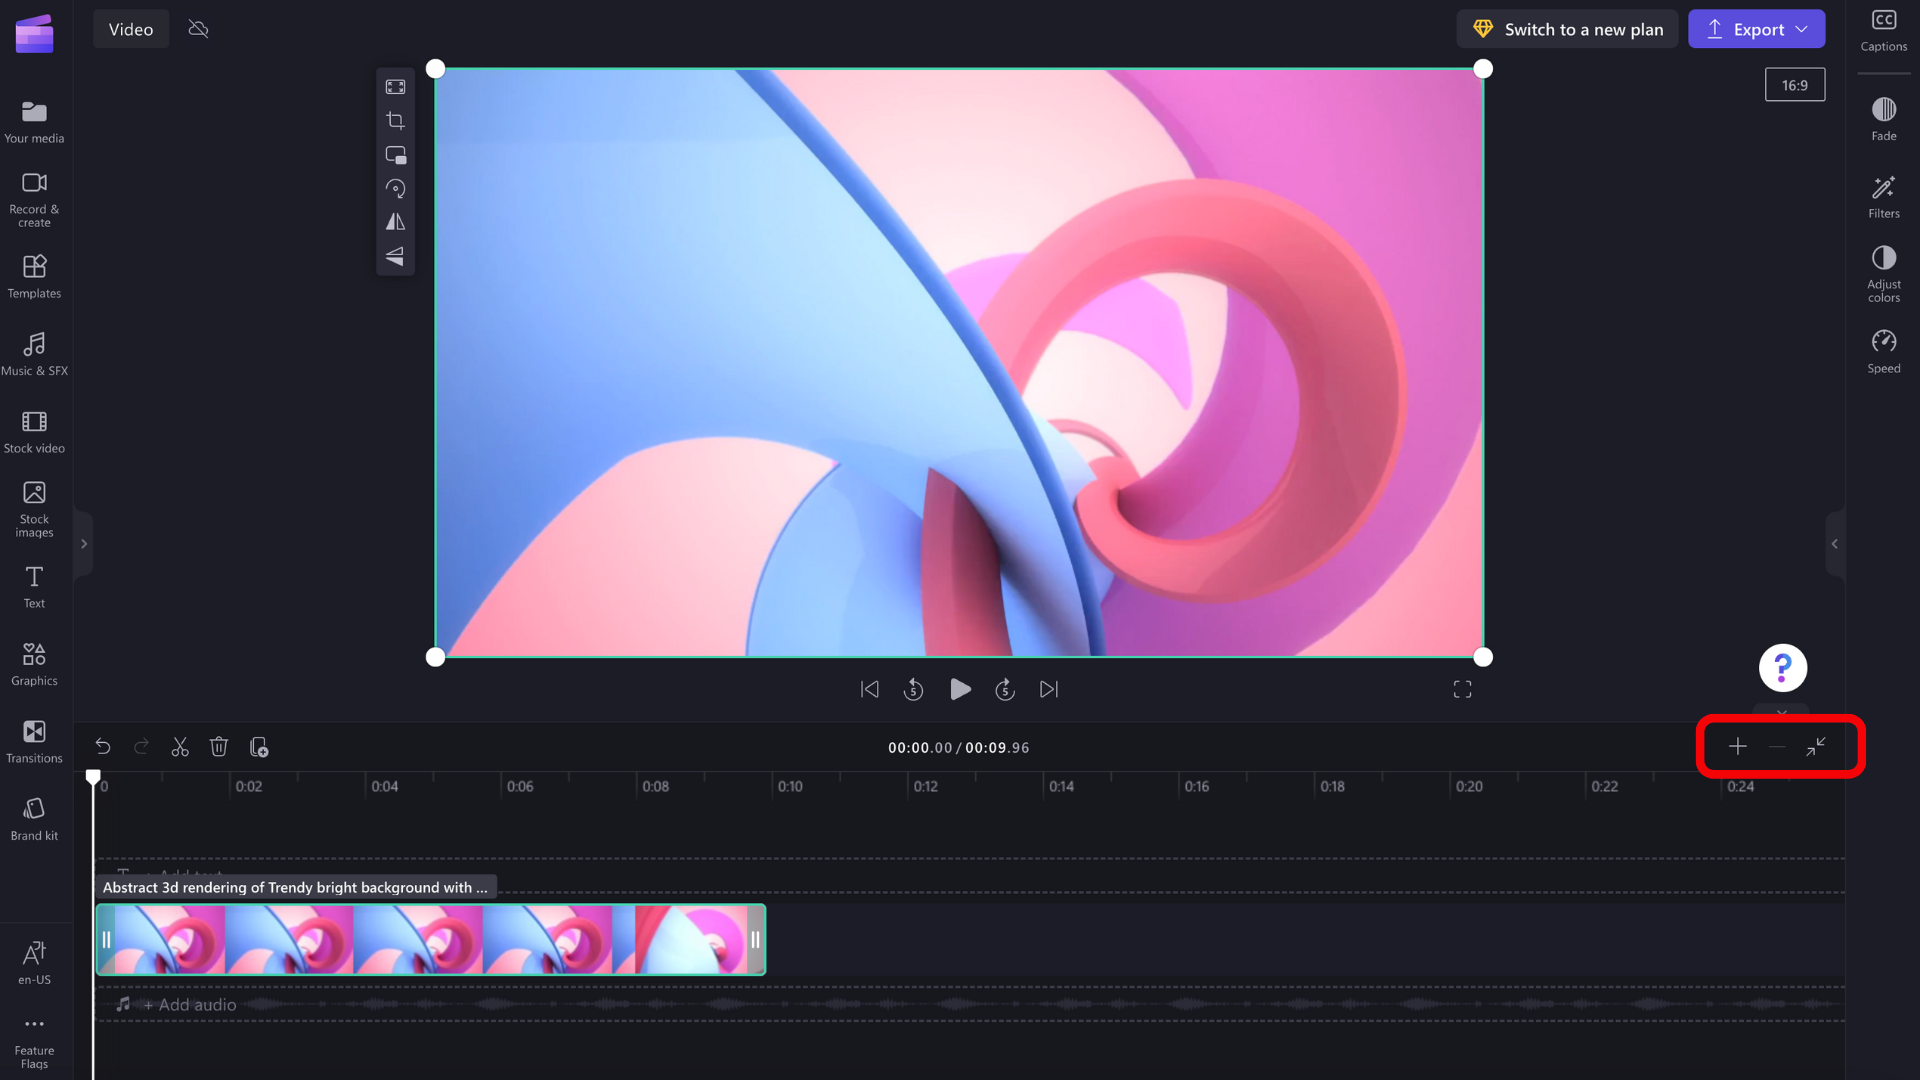
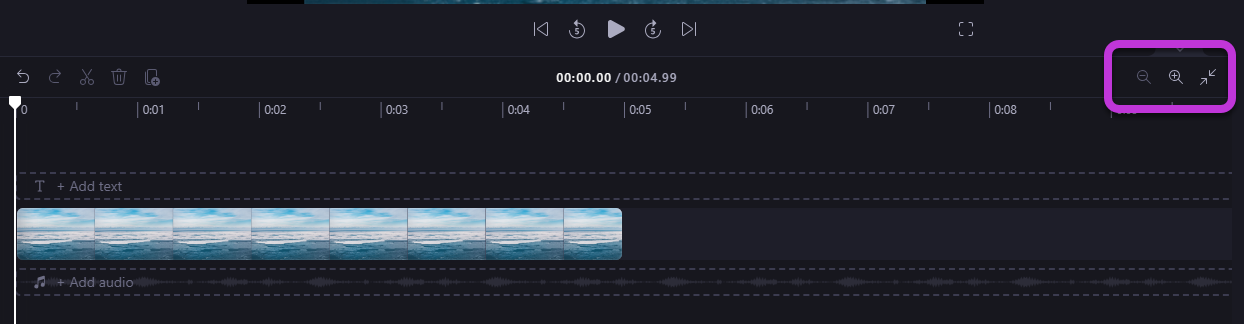
To do this, use the zoom buttons in the top right-hand corner of the timeline:
Use the plus (+) button to zoom in, and the (–) button to zoom out. Or use the fit to screen button (–><–) to fit everything that's in the timeline to the visible area.
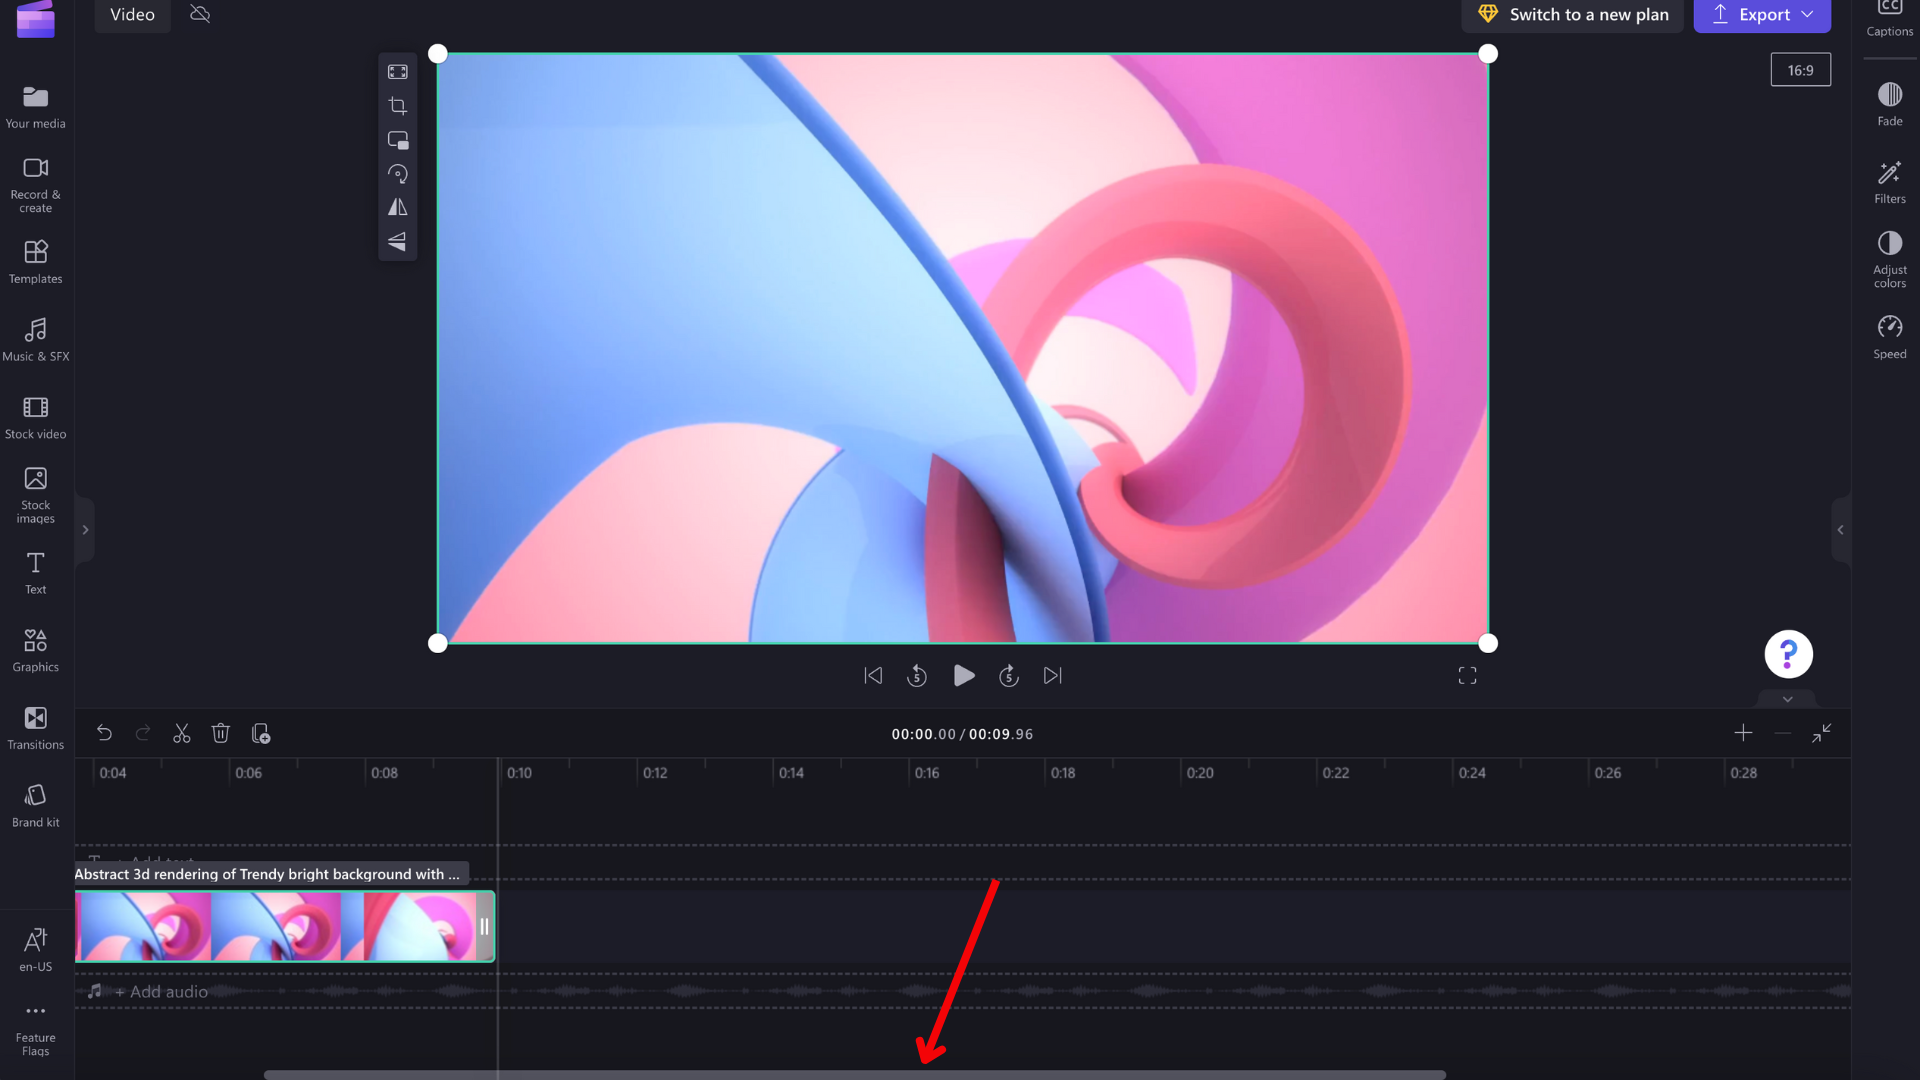
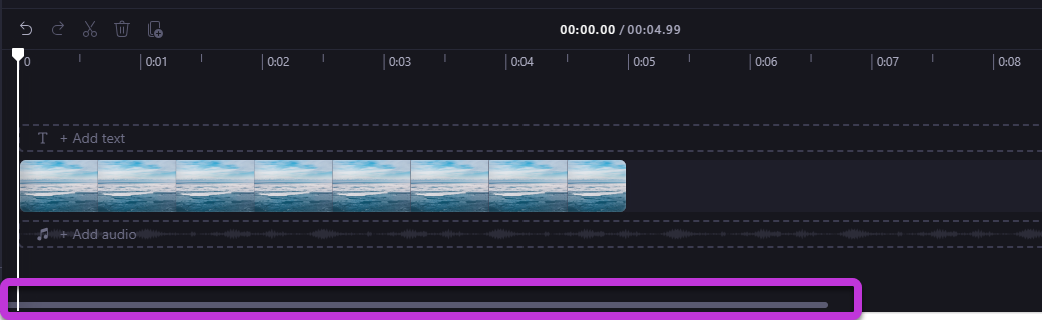
You can also use the scroller at the bottom of the screen to scroll to the left or right to view different parts of the timeline.
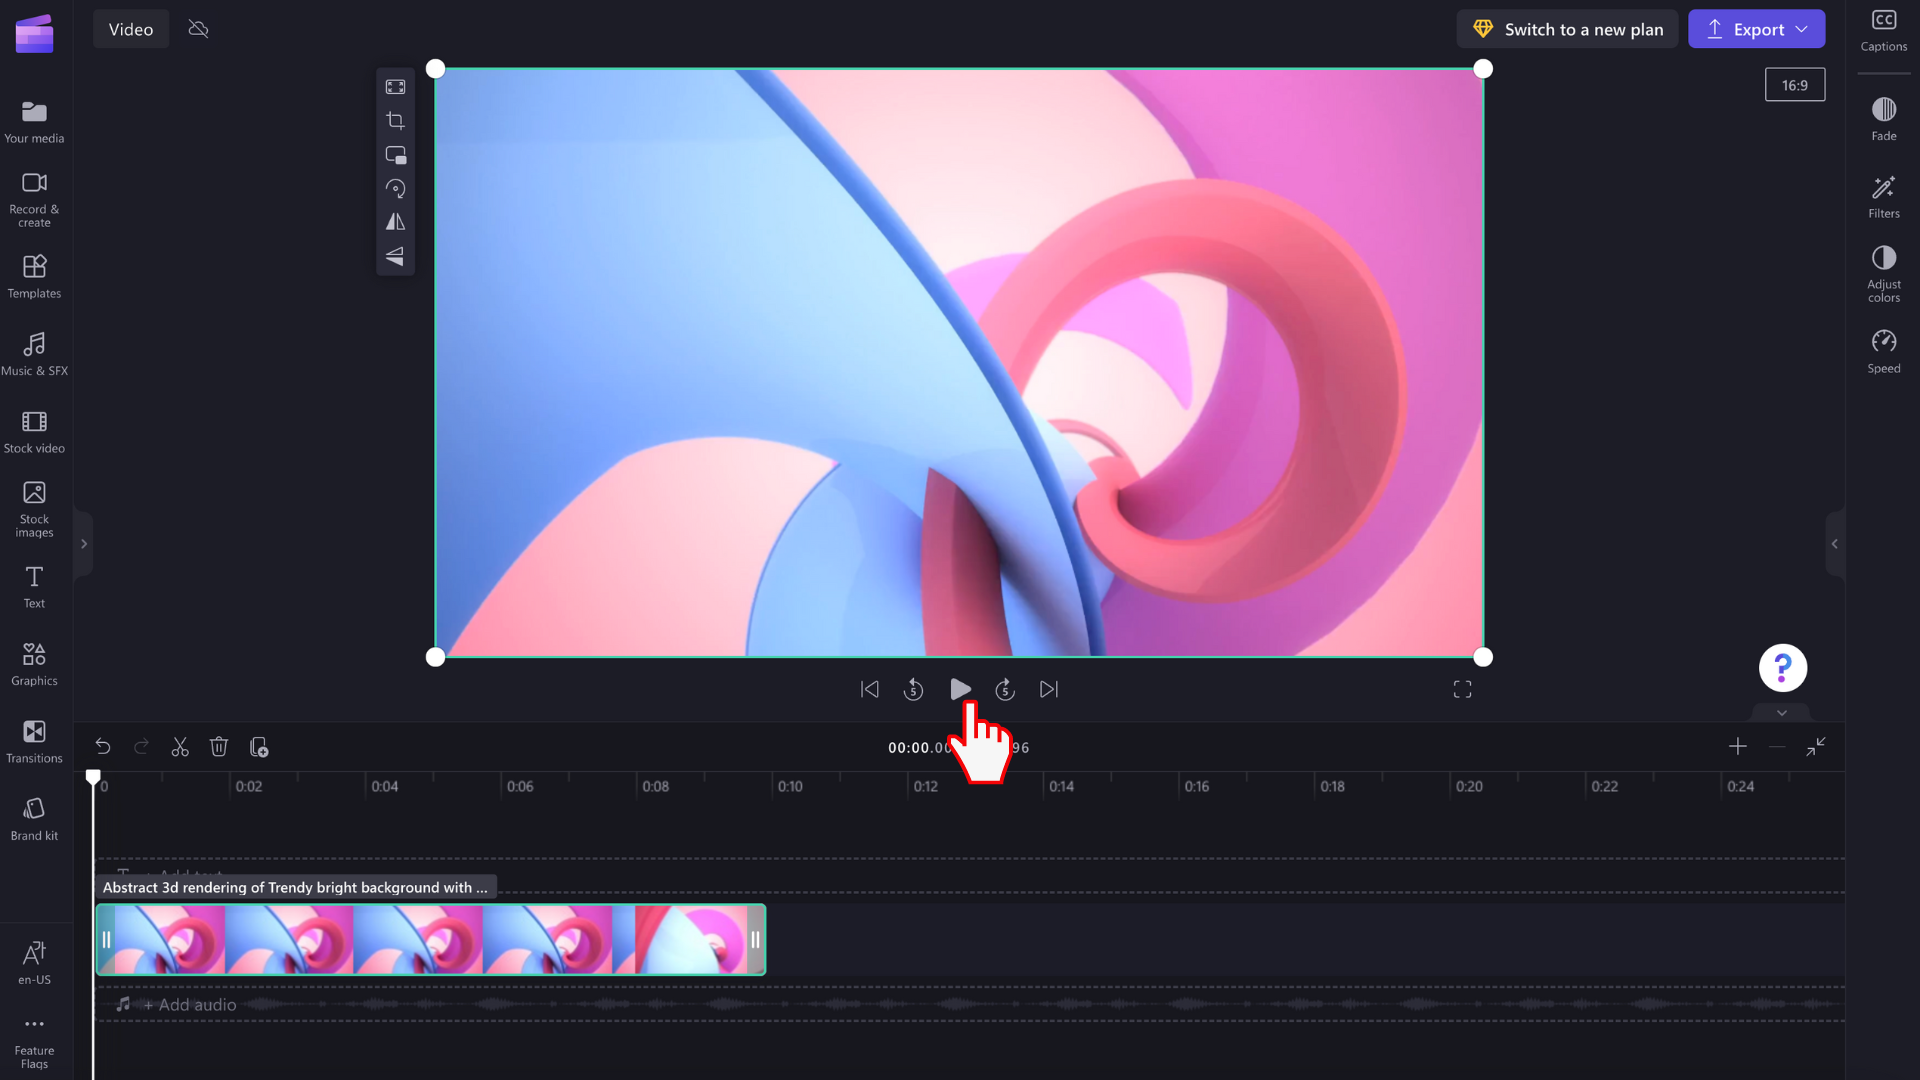
Playing what's on the timeline
To view the videos, images, or music you are putting together in the timeline, move the scrubber (the white line with the circle at the top) to the start of the timeline, or to wherever you want the video to start playing from.
Then click the Play button that appears at the base of the preview window when you hover over it or hit the space bar on your keyboard. The video will start playing.
Working with tracks
The timeline can contain multiple tracks. For example, video clips will appear in a separate track from audio clips in the timeline. Titles will also appear in their own track. This is so you can layer things like music and titles over your videos.

You can have multiple videos, titles, or audio tracks if you like. Simply drag a clip up or down to drop it into a new track or to add it to an existing one.
If you have several visual tracks (tracks with videos and images in them), the upper track will always be the 'topmost visible one, and lower tracks will be covered (i.e. not visible when there is a clip above them). Their sound will still be heard unless they are muted.
However, if the clip in the upper track does not fill the entire frame (e.g. it's a video or image that hasn't been cropped to fill) or is partially transparent (e.g. it's a title with a transparent background, a logo, or png image, a semi-transparent 'background' or a video that fades) you will see the unobscured parts of the clips in the tracks below it.
Editing in the timeline
If you would like to know how to trim, split and add effects to your clips once they're in the timeline, see: How to edit your video.
If your files won't add to the timeline
If you have problems adding media assets to your project or your timeline or playing back your video in the preview, see: What to do if your assets aren't loading.
Try it out
Head over to Clipchamp to try it out for yourself.
After you've added files to the media library, you'll need to move them to the timeline to start editing your video.
-
This is the space where you edit video, image, or audio clips to create your final video, and where you can add texts and effects.
-
What you add to the timeline is what will be exported when you select Export and save your finished video.
Adding media to the timeline
The video timeline is located at the bottom of the editor. If it is empty, it will have a drag and drop media here symbol and message in the center.
To add your media assets to the timeline, either drag and drop the media onto the timeline or select the green + button.
Zooming in and out
If you add several clips to the timeline, they may disappear off the right edge of the screen. In this case, you might want to zoom out to see all your clips at once and add more clips. Alternatively, you might want to zoom in to more easily edit a specific clip.
To do this, use the zoom buttons in the top right-hand corner of the timeline:
Use the plus (+) button to zoom in, and the (–) button to zoom out. Or use the fit to screen button (–><–) to fit everything that's in the timeline to the visible area.
You can also use the scroll bar at the bottom of the screen to scroll to the left or right to view different parts of the timeline.
Playing what's on the timeline
To view the videos, images, or music you are putting together in the timeline, move the scrubber (the white line with the circle at the top) to the start of the timeline, or to wherever you want the video to start playing from.
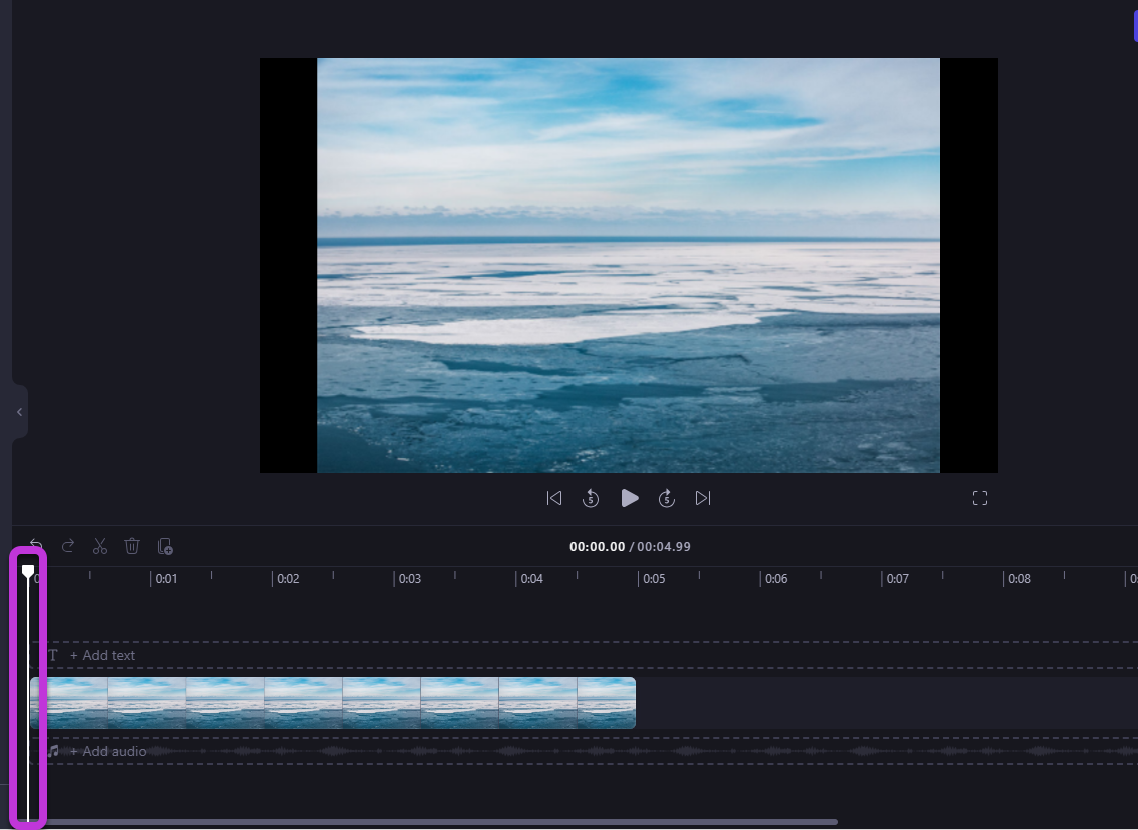
Then select the Play button that appears at the base of the preview window when you hover over it or hit the space bar on your keyboard. The video will start playing.
Working with tracks
The timeline can contain multiple tracks. For example, video clips will appear in a separate track from audio clips in the timeline. Titles will also appear in their own track. This is so you can layer things like music and titles over your videos.
You can have multiple videos, titles, or audio tracks if you like. Simply drag a clip up or down to drop it into a new track or to add it to an existing one.
If you have several visual tracks (tracks with videos and images in them), the upper track will always be the topmost visible one, and lower tracks will be covered (not visible when there is a clip above them). Their sound will still be heard unless they are muted.
However, if the clip in the upper track does not fill the entire frame (for example, if it's a video or image that hasn't been cropped to fill) or is partially transparent (for example, if it's a title with a transparent background, a logo, or png image, a semi-transparent background or a video that fades) you will see the unobscured parts of the clips in the tracks below it. you will see the unobscured parts of the clips in the tracks below it.
Editing on the timeline
If you would like to know how to trim, split and add effects to your clips after they're on the timeline, see: How to edit your video.
If your files won't appear on the timeline
If you have problems adding media assets to your project or your timeline or playing back your video in the preview, see: What to do if your assets aren't loading.


