Note: The information in this article applies to Clipchamp for personal accounts. The "credit roll" text option is not available in Clipchamp's work version yet.
It's easy to add rolling end credits to your video using Clipchamp's video editor. Simply find the "credits roll" motion title in the text tab and add it to your timeline.
You can also add a static credit with a list of names, e.g. cast and crew, or a series of static credits with names, by adding other title styles.
How to add rolling credits
Step 1. Add the 'Credits Roll' title from the Text menu
Open the text tab in the toolbar and scroll until you see a title called credits roll.
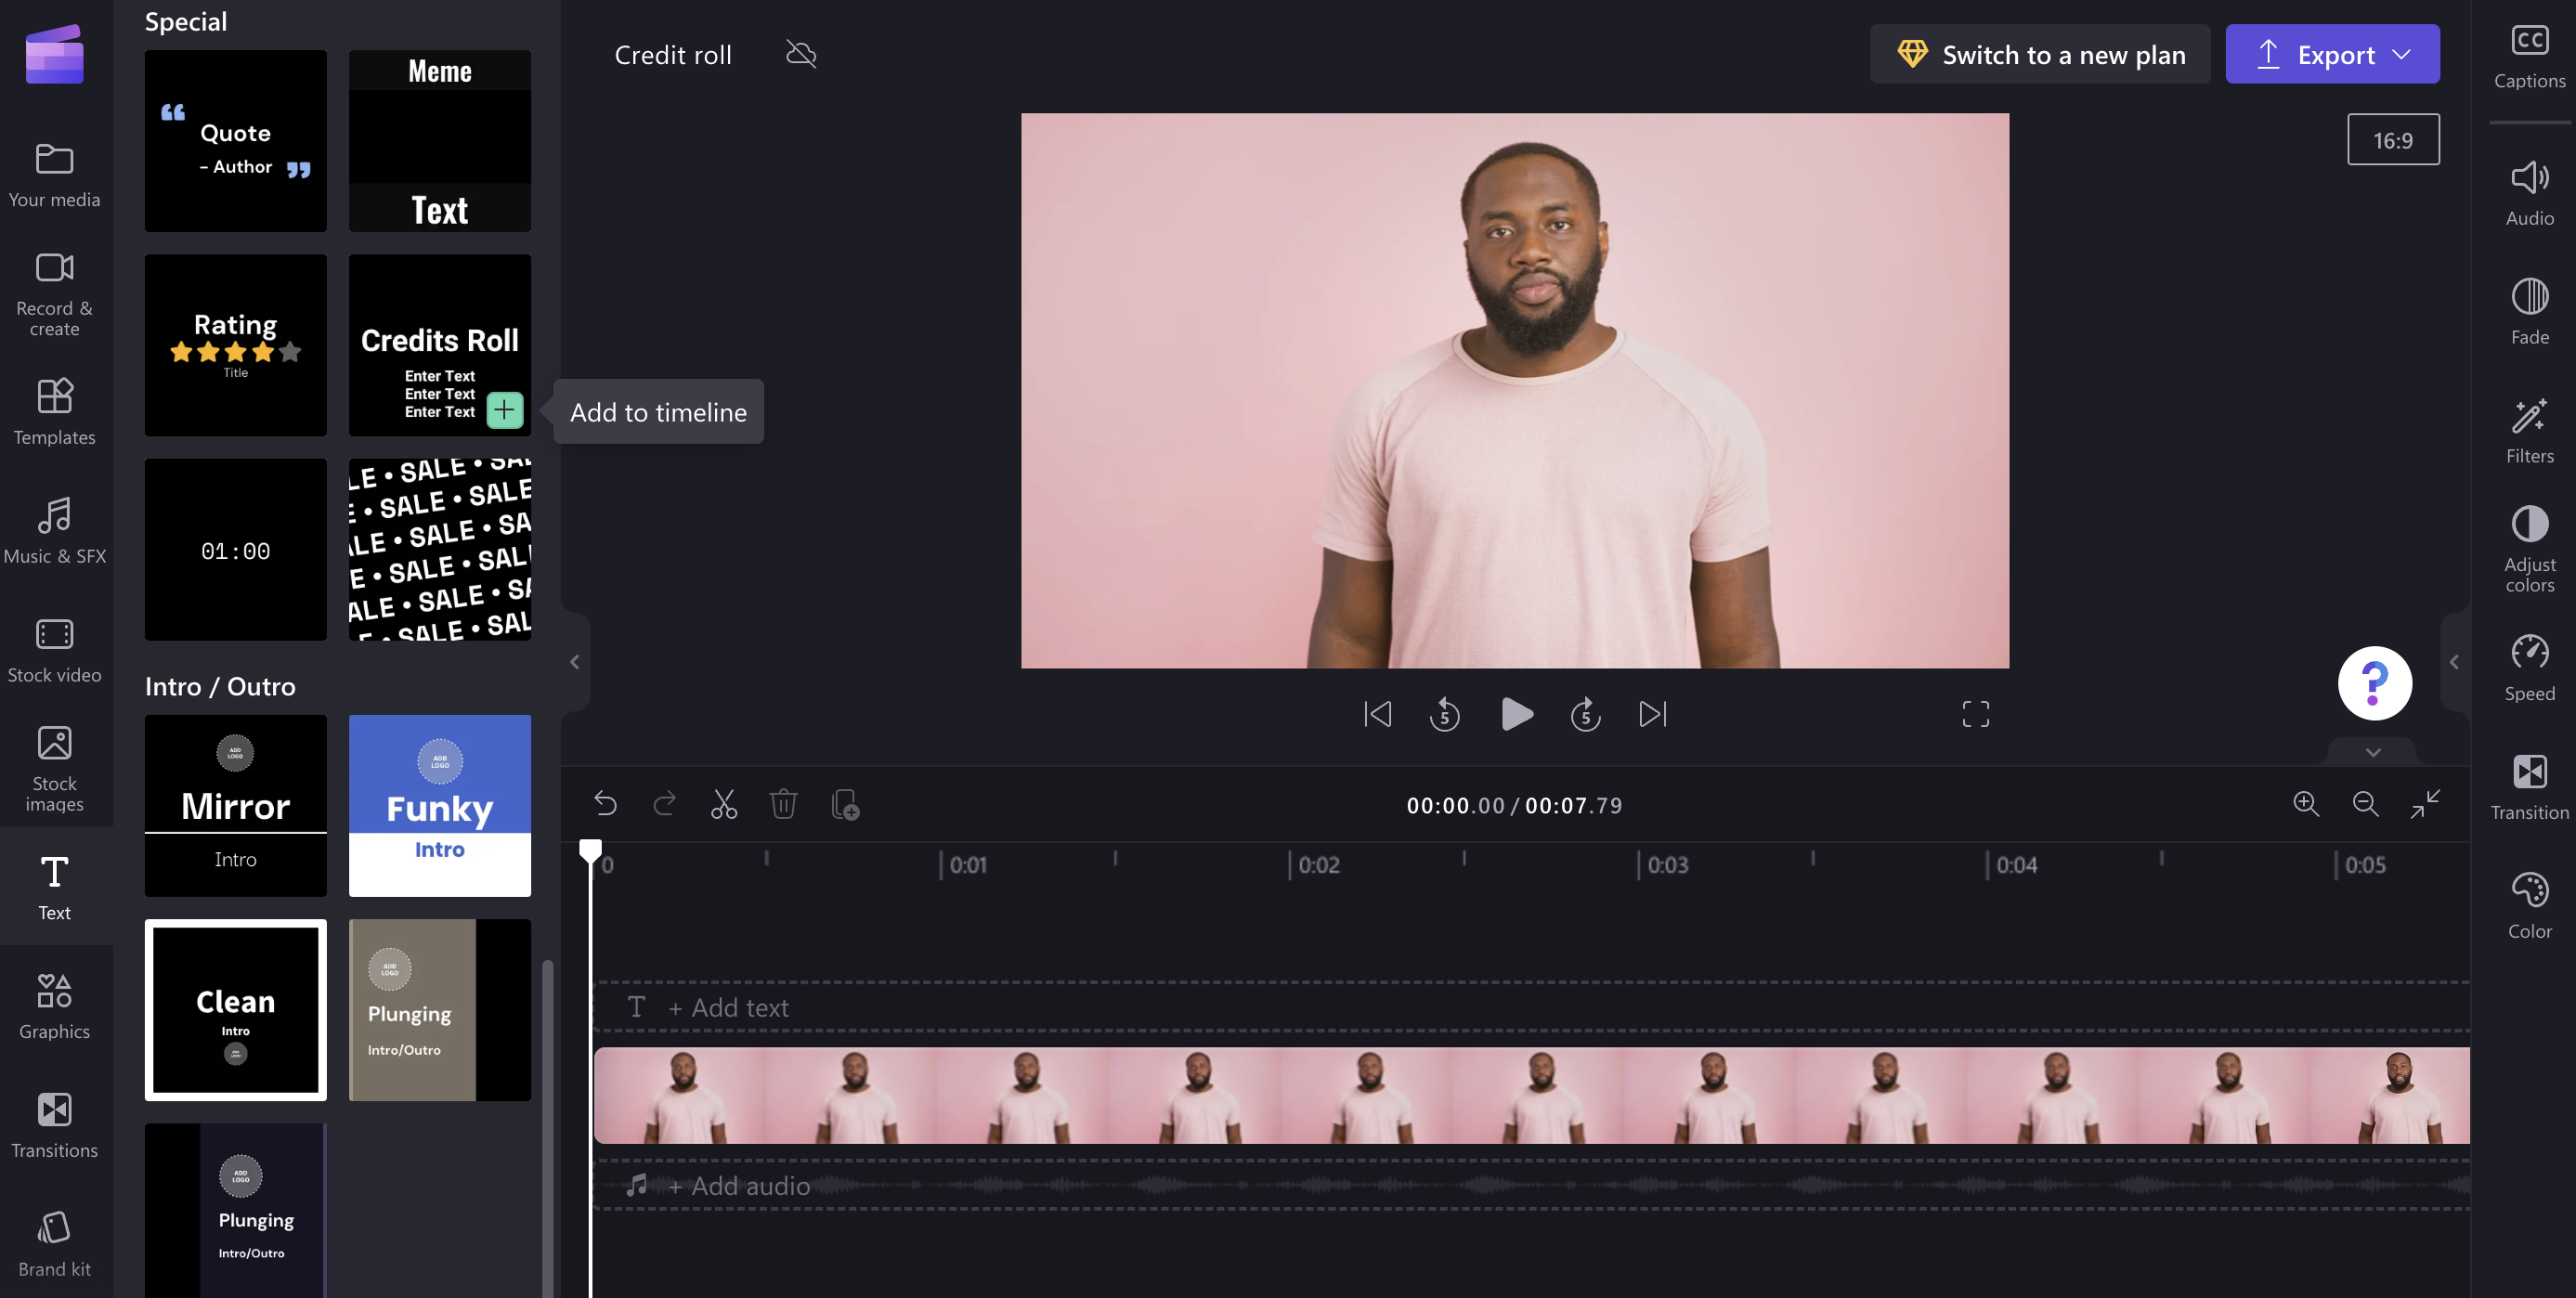
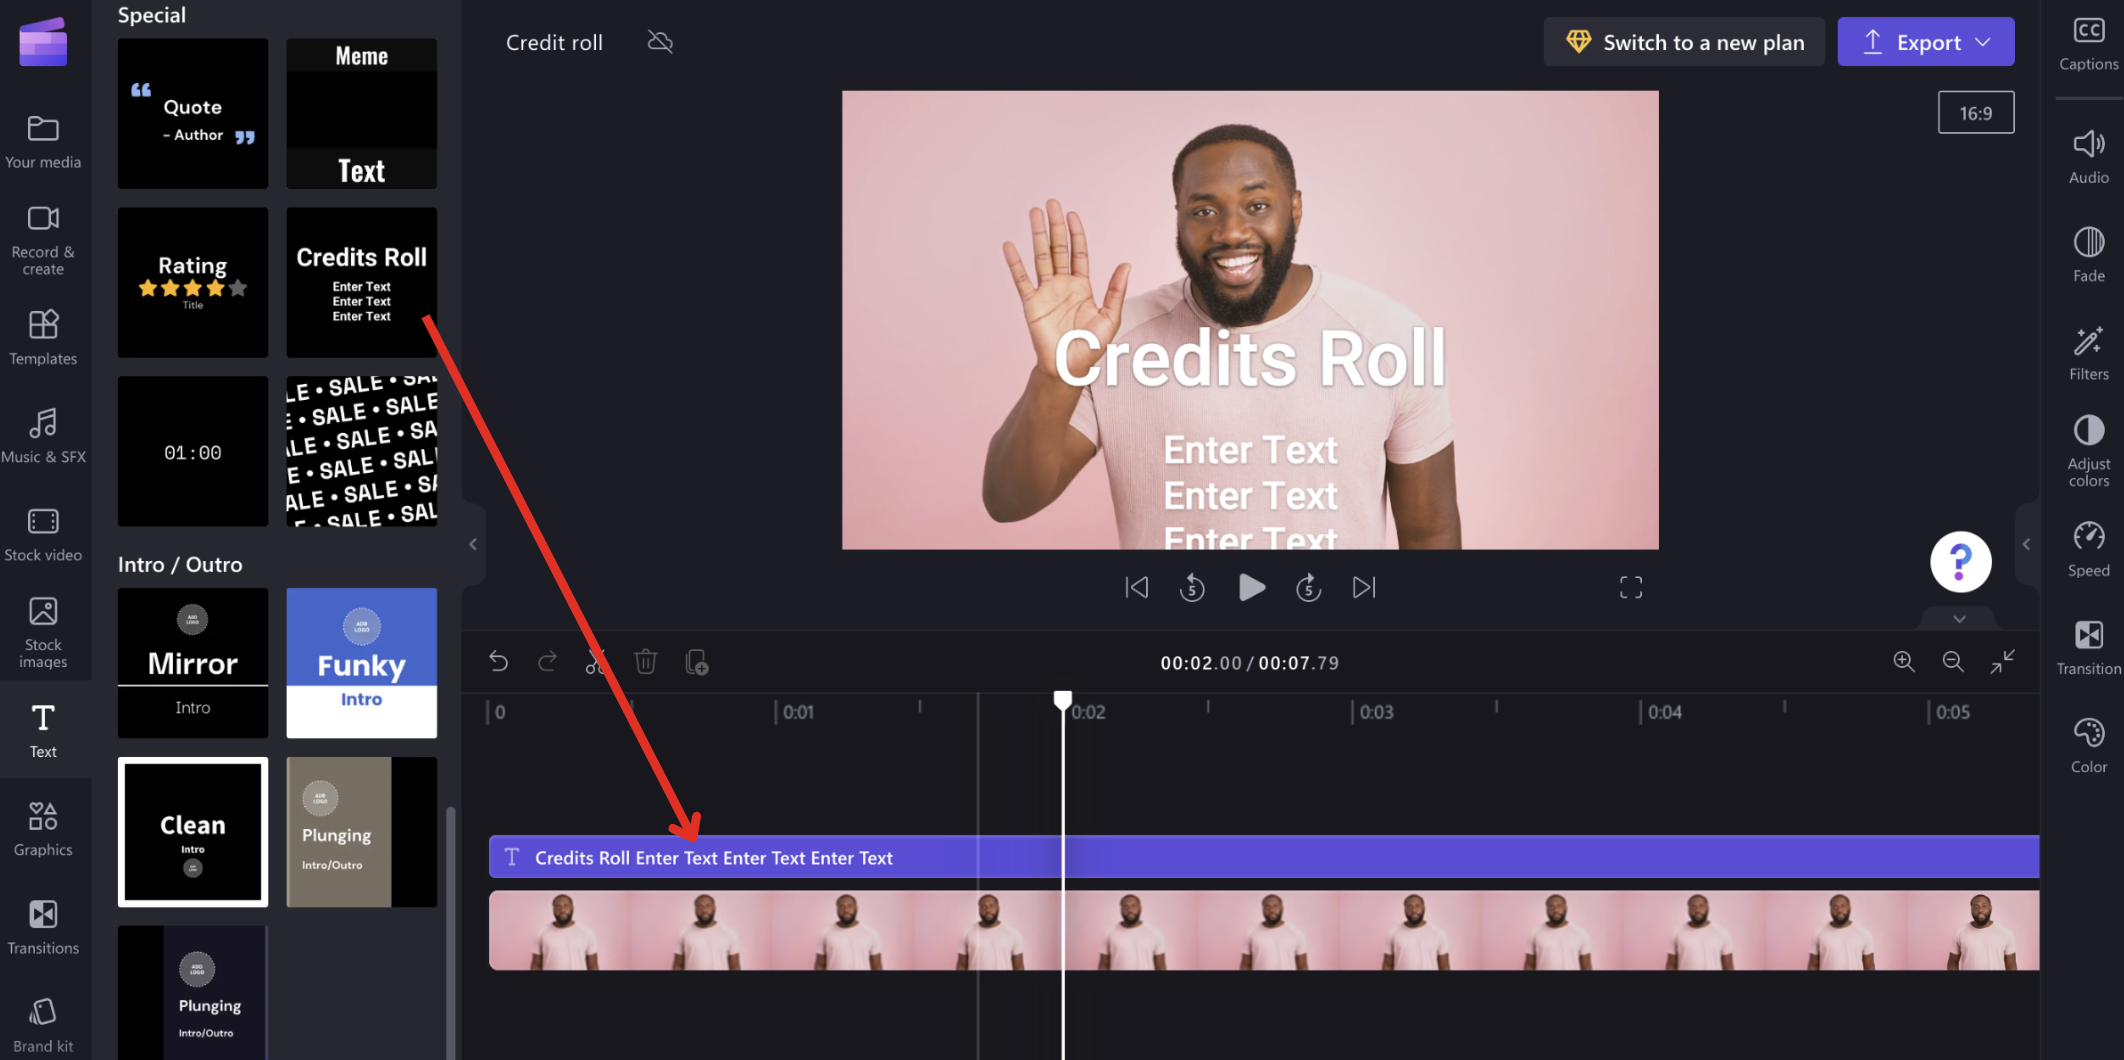
To add it to the timeline, hit the plus icon, or drag and drop it into place.
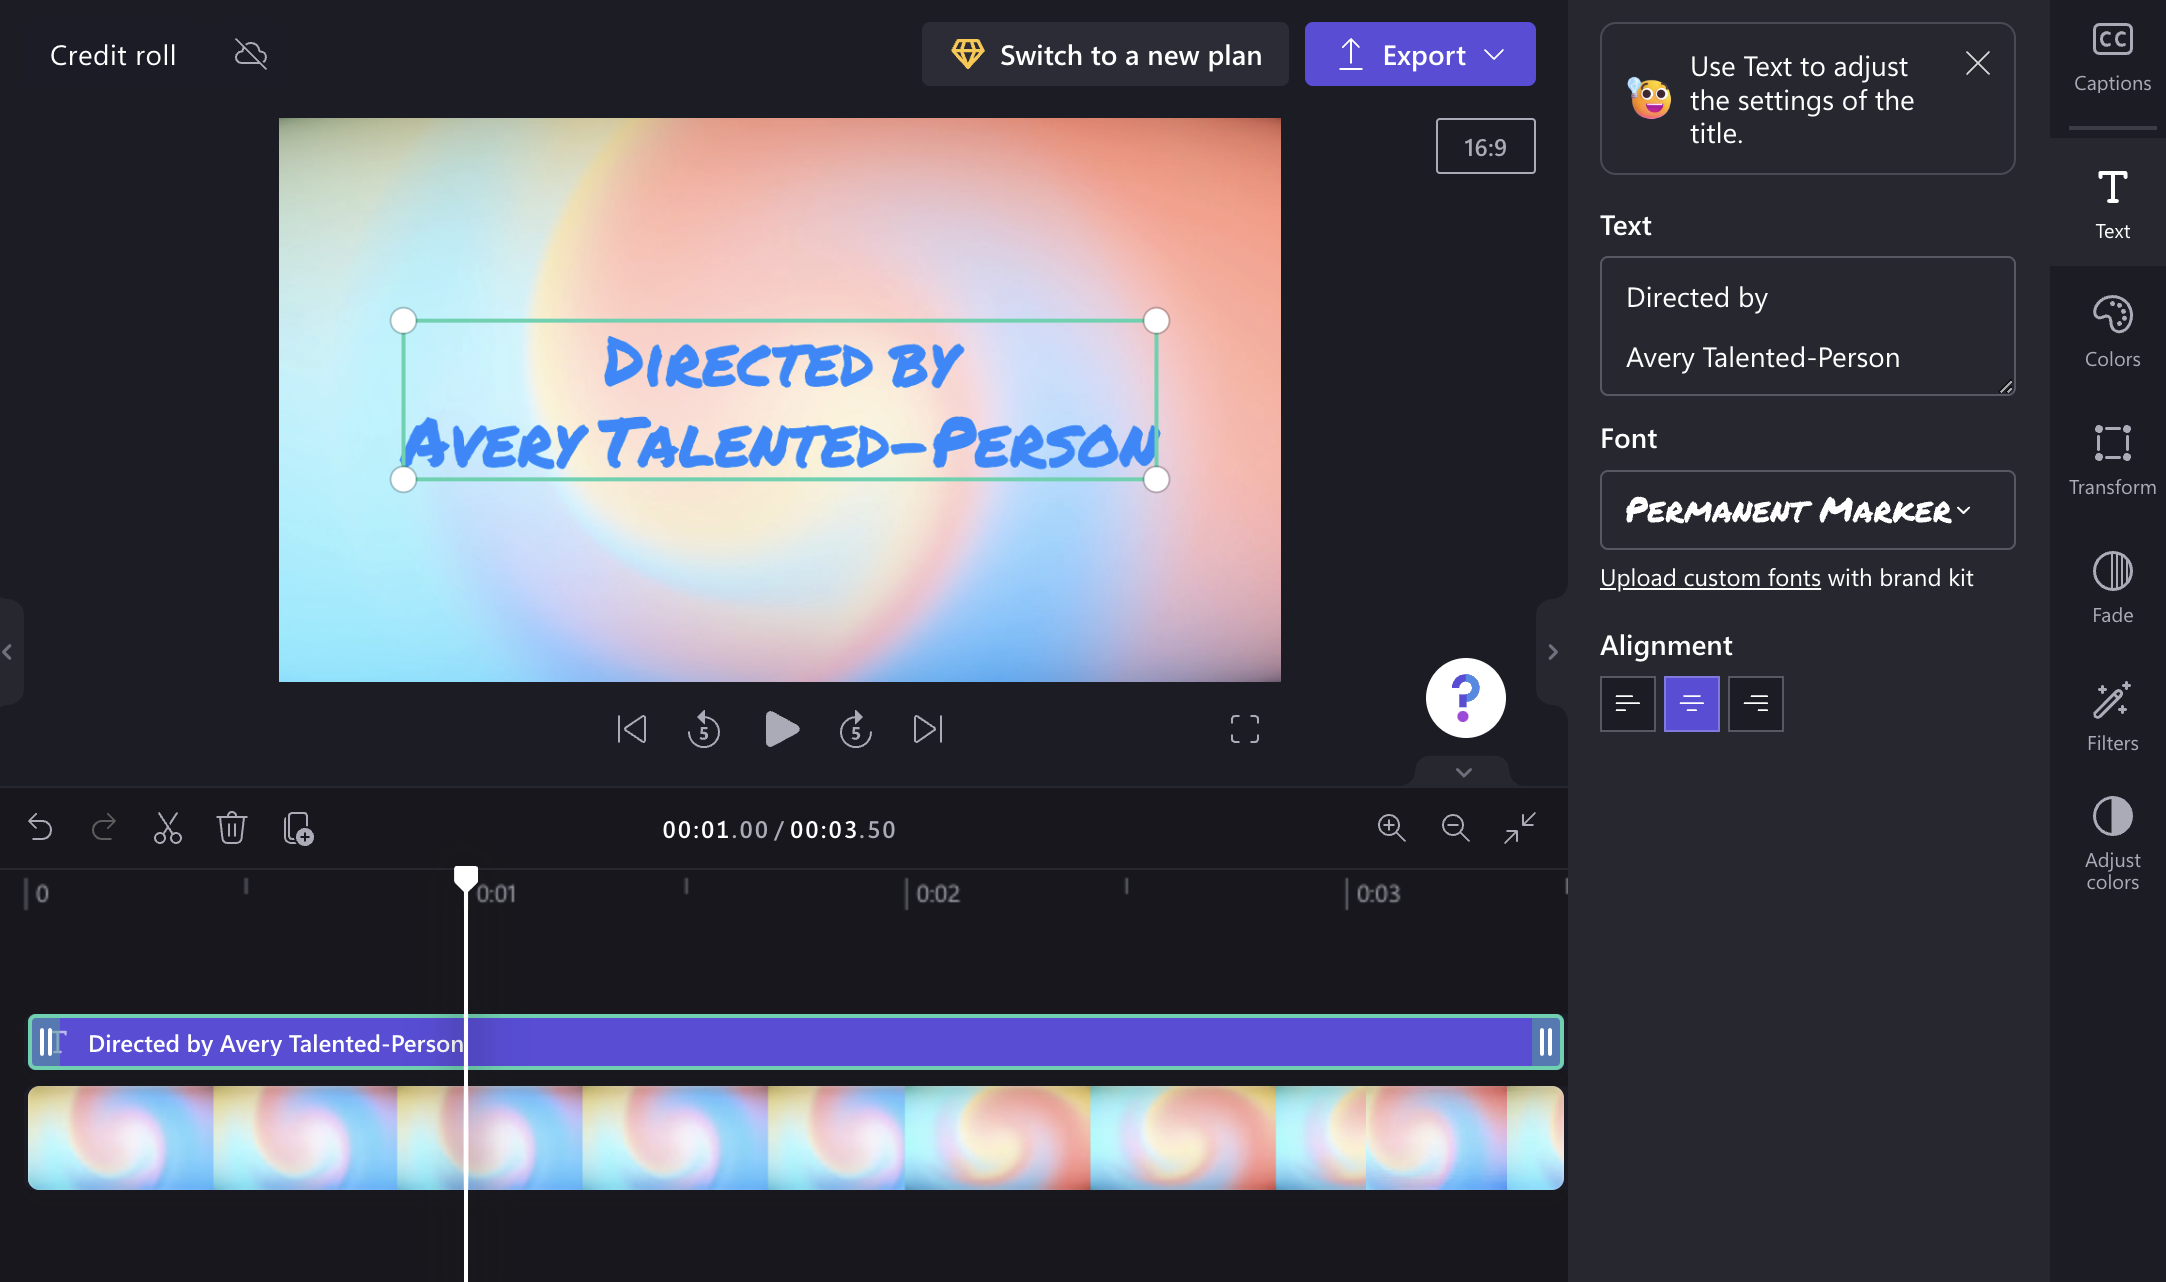
Step 2. Select the title and open the Text editing menu
Click on the title in the timeline so it's highlighted green. Click on the text tab in the property panel to open text editing options. Here, you can edit the text, font, and add custom fonts.

To add more lines of text, simply hit the return/enter key on your keyboard. If you position the scrubber (the white bar) in the timeline over the title, you'll see what your credits will look like in the preview window.
Step 3. Change the text colors and background
Personalize your text color and add a background if you need when you select colors on the property panel.
To make your credits appear over a video, add a video to the timeline library, then drag the video to your timeline so it is positioned below the title.
To make your credits appear over a black background, you can either position them over a blank space in the timeline or add a solid color background to the timeline (see: Adding black or solid color).
To make the background within your title (if it has one) transparent or invisible, select the title and open the Colors tab.

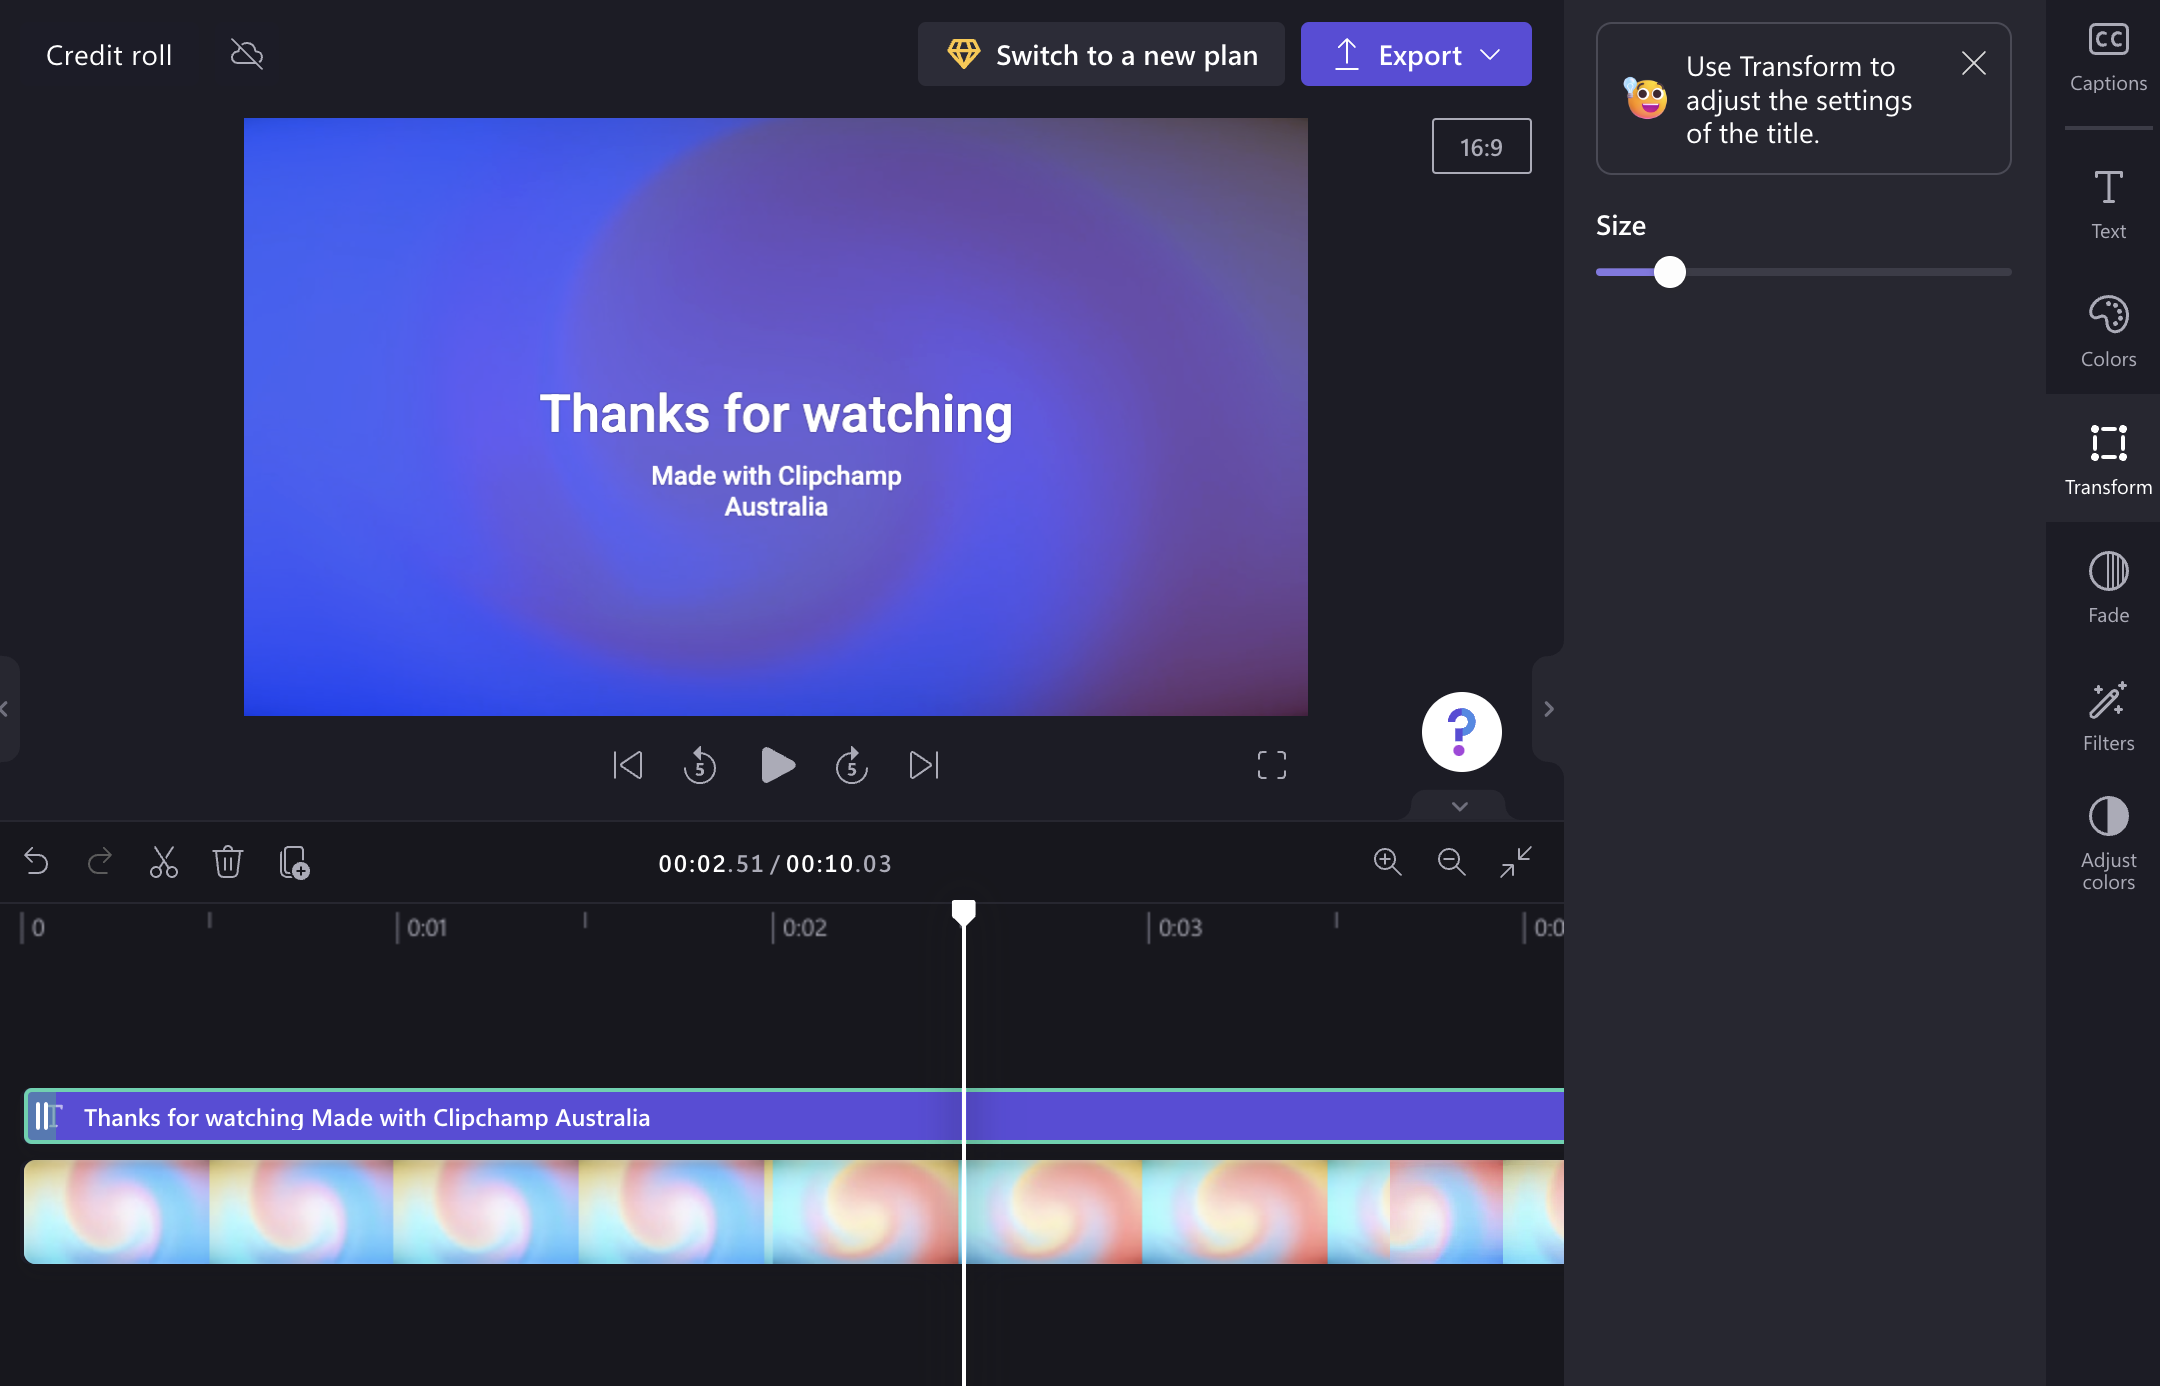
Step 4. Adjust the size
Click on the title in the timeline so it's highlighted green to launch editing options. Next, select the transform tab in the property panel. You can drag the size selector with your mouse.
Tip: If you want to make it roll more slowly and last longer, just click and drag the edge of the title card in the timeline to the right.
Creating a static centered credit
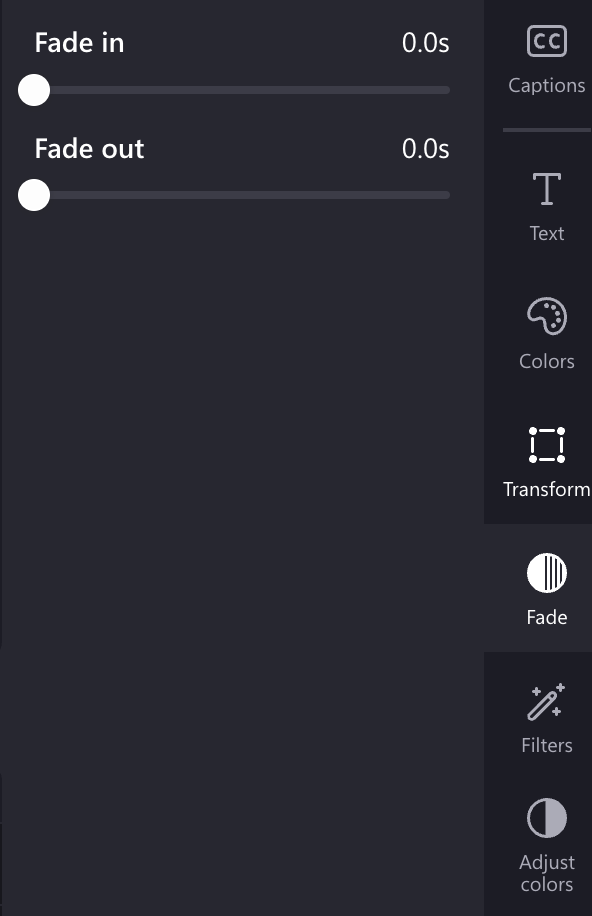
You can create a title card with many lines on it that fade in and out instead of rolling.
To do this, add a centered-fade-in-and-out-style title such as "Large Heading" from the text menu and follow the same steps as above.
Don't forget to reduce the text size to fit all the text on the screen. You can add dots, dashes, and other characters. You can also select the alignment.
You can also add several titles one after the other to the timeline with individual names and larger font if you want to highlight key cast or crew roles.
Here's an example of what these will look like when you play them back.