
Note: The screenshots in this article are from Clipchamp's personal version. The same principles apply to Clipchamp for work accounts.
You can achieve chroma keying (i.e. take a video that contains a green screen and fill the green parts with a different video or image) by using Clipchamp's green screen effect. It is available in the Effects tab on the property panel of the video editor.
How to add a green screen effect
Green screen, also known as chroma key, is a special effects technique that lets you remove a chosen color from video clips and relate it with another video or image. Clipchamp lets you remove green, red, or blue colors.
For this tutorial, we will be using stock video from Clipchamp's stock library. Parts of the stock collection are not available in Clipchamp's work version yet and will get added there over time.
Step 1. Add a green screen video onto the timeline
If you would like to use your own footage, add your videos or images in the media library of the toolbar on the left. Note that your videos must contain a green/blue/red screen element for this feature to work.
To add a stock video instead of your own, select the stock video tab on the toolbar. There is a green screen collection in there that you can look through. You can also search keywords like "green screen" or "chroma key" in the free-text search at the top.
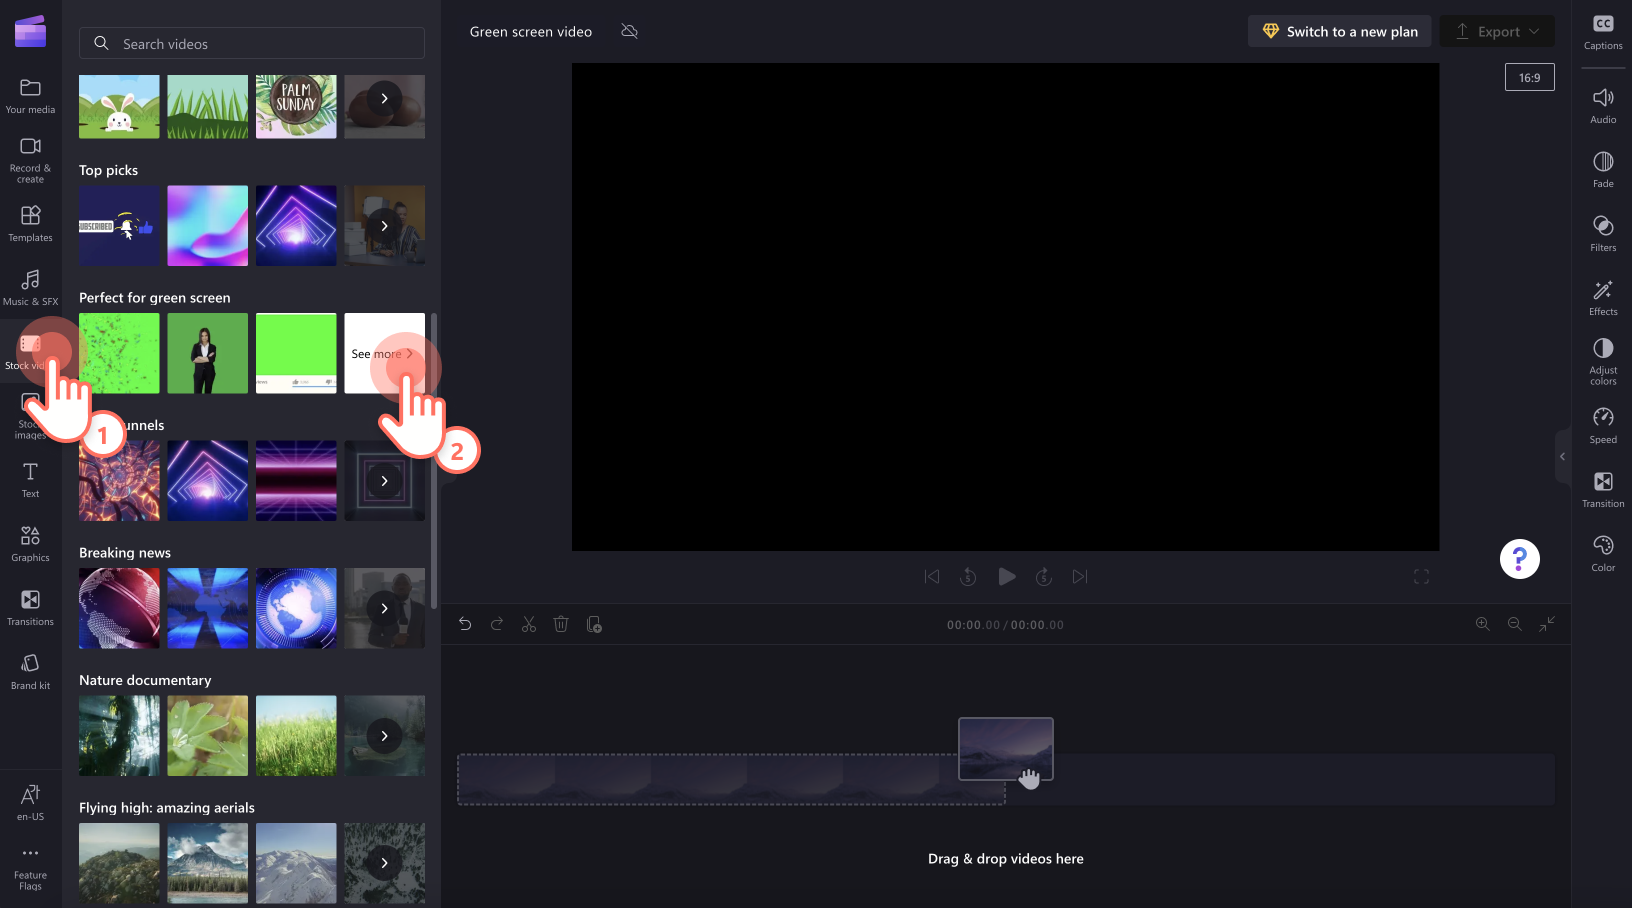
When you've found a clip you'd like to use, drag and drop it onto the timeline.
Step 2. Add another video or image to your timeline
Next, using the same instructions as step 1, upload another media asset or use a stock video or image. Drag and drop your media below your green screen clip on the timeline.
Make sure to place the green screen video as the top layer.

Step 3. Add the green screen filter
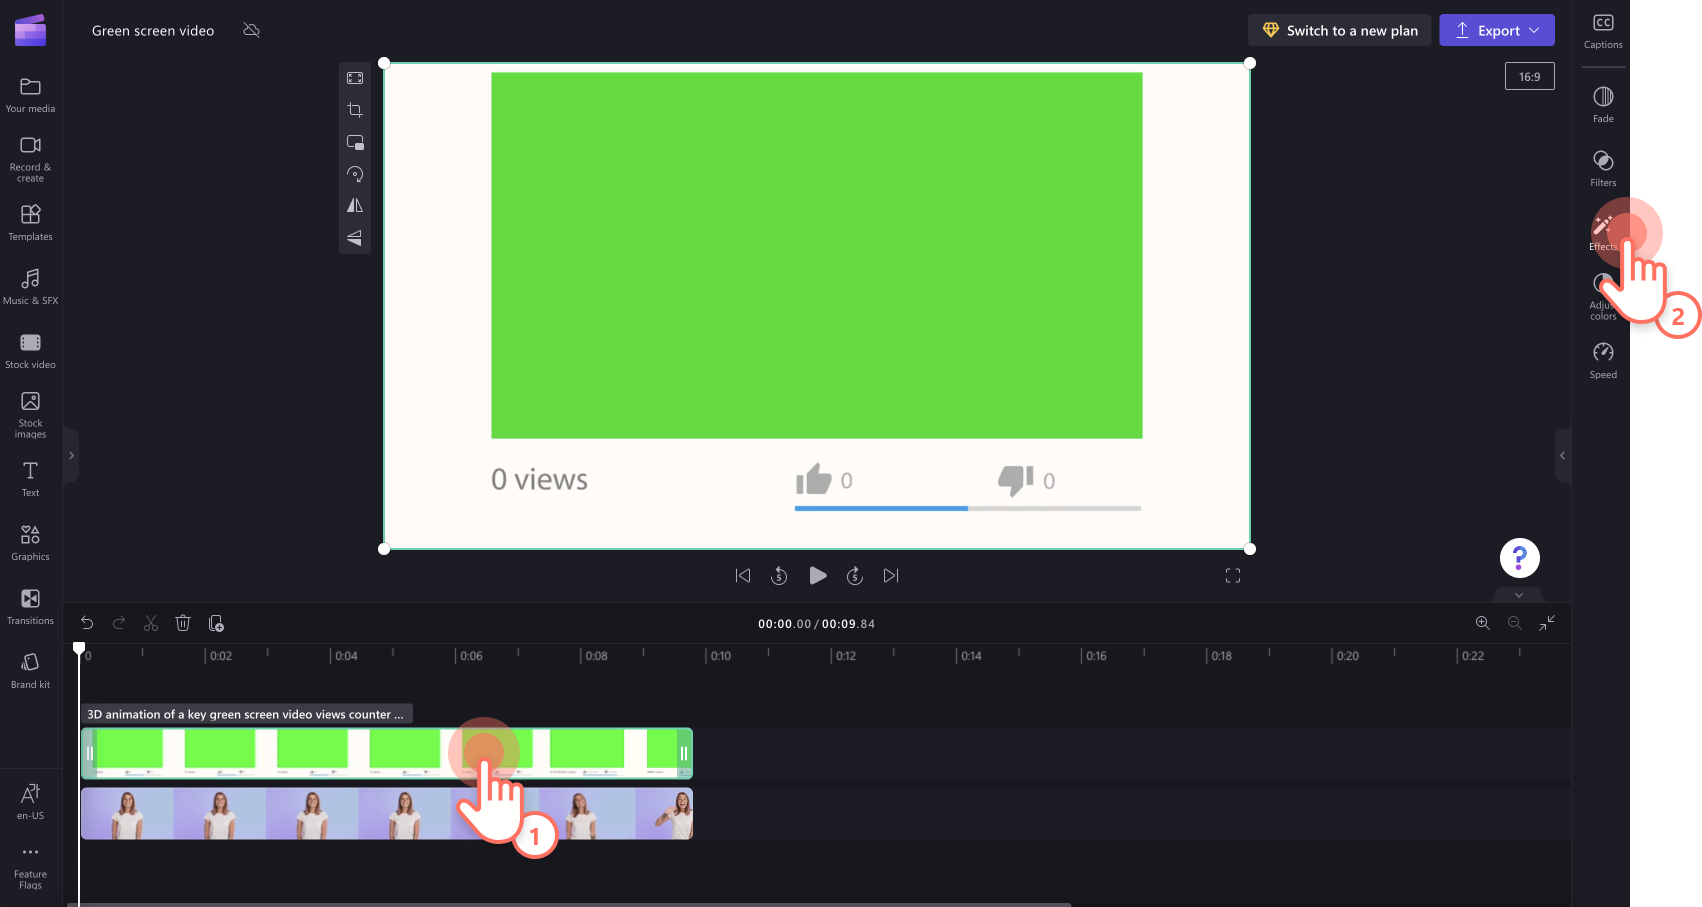
Next, select the top layer clip on the timeline so it's highlighted. The property panel will appear on the right. There, select the Effects tab.
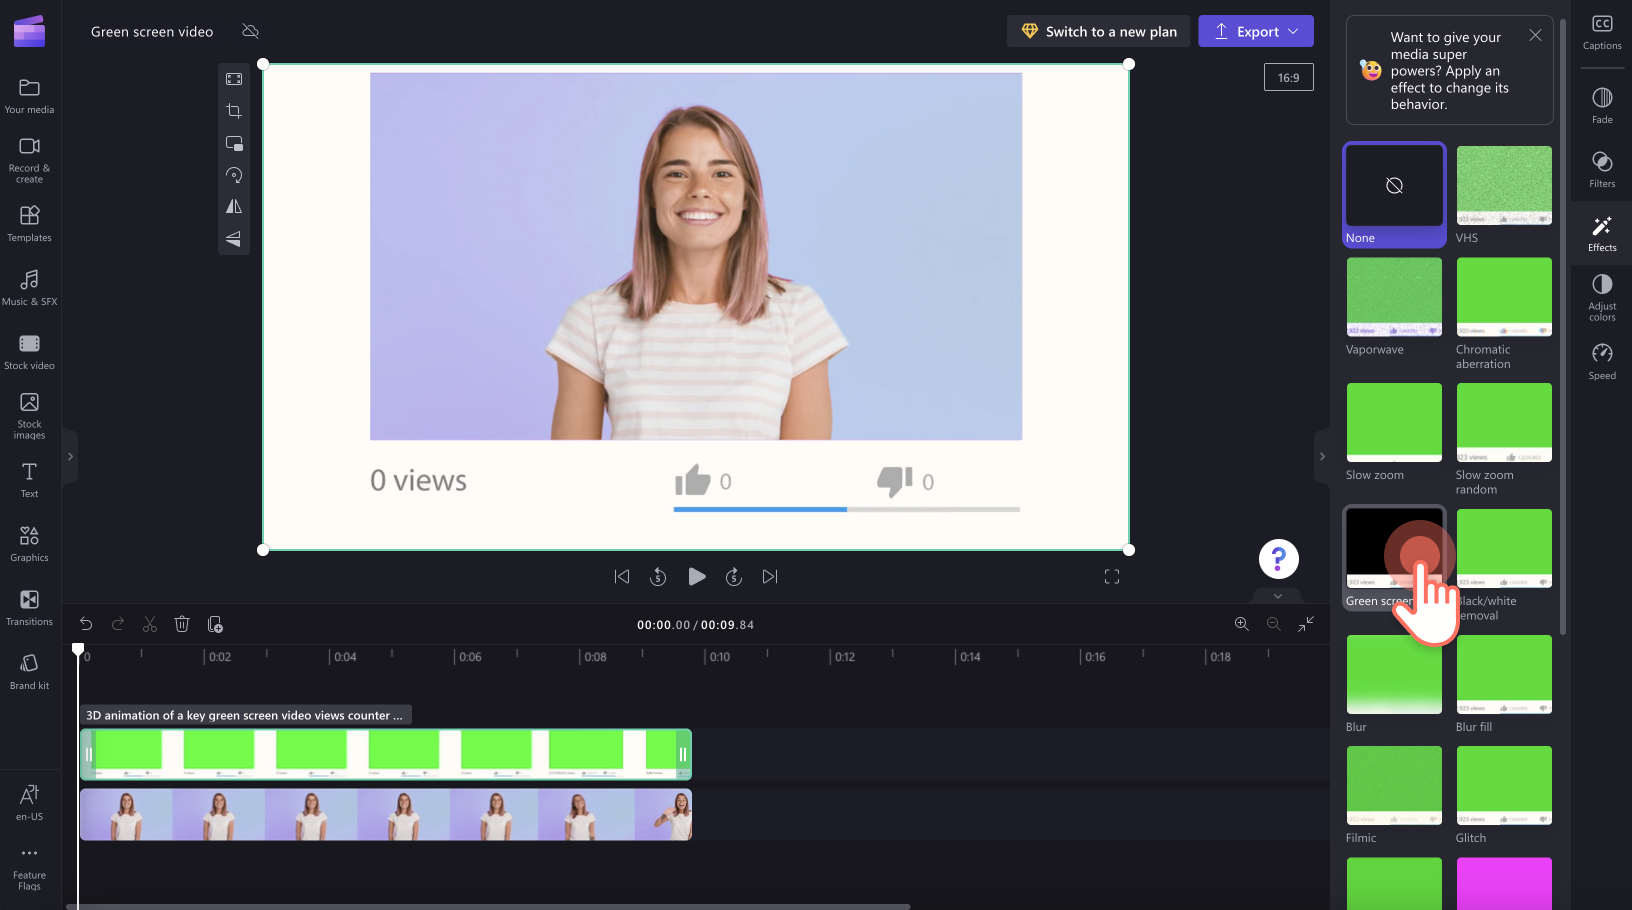
Next,select the green screen filter, which will add it to the video.
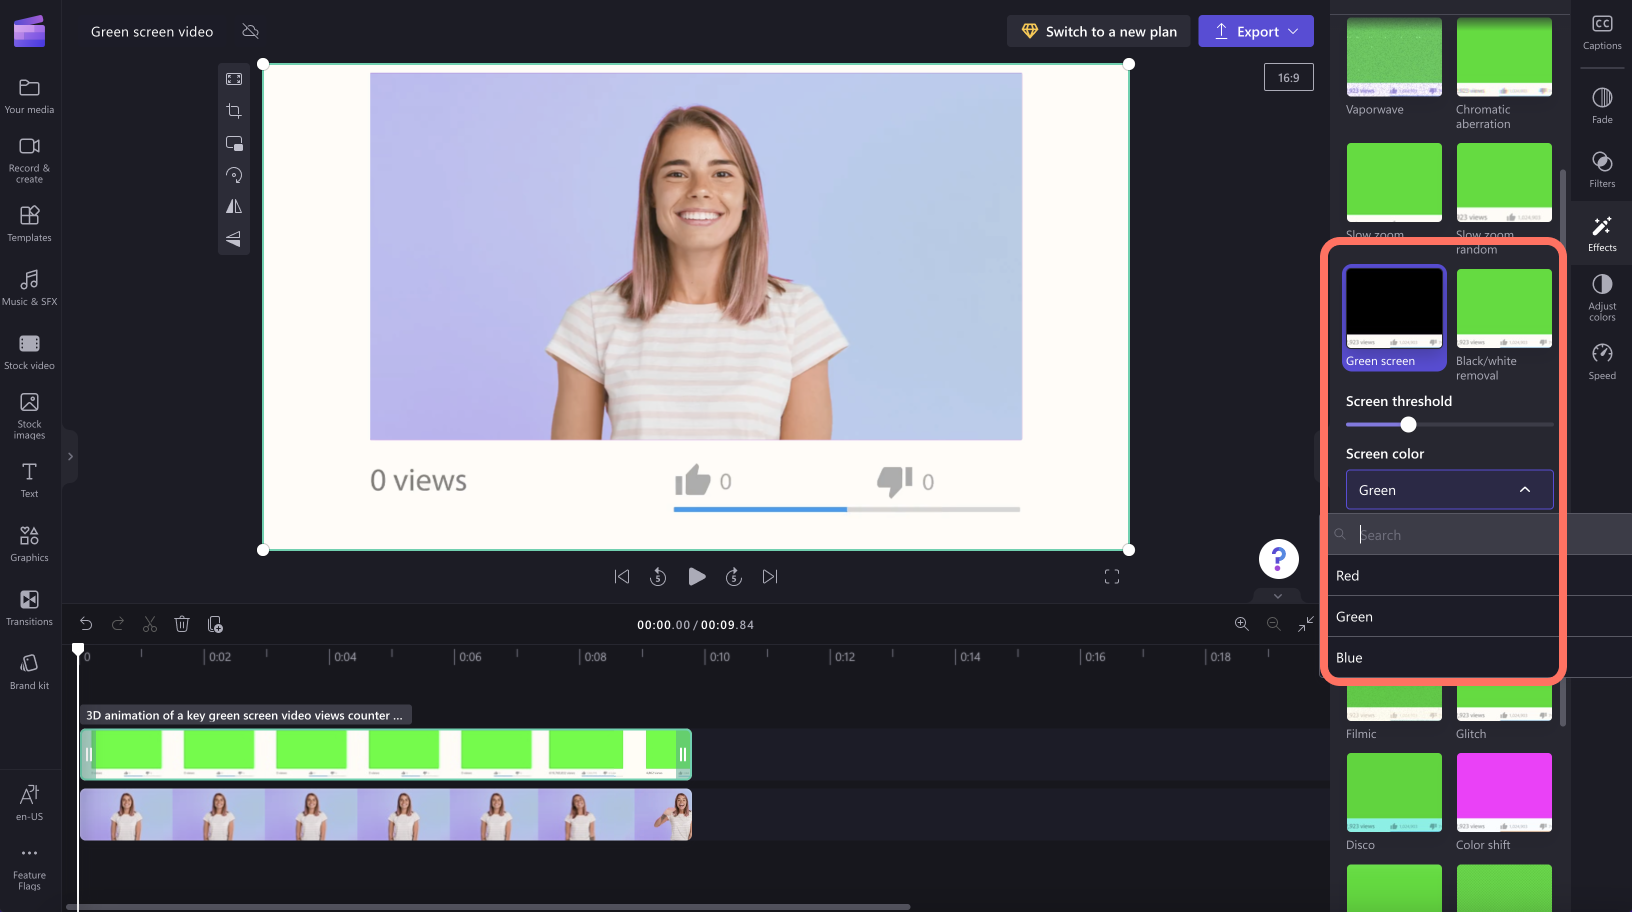
To edit the screen threshold, drag the toggle left and right. This will increase or decrease the intensity of the filter. You can also select red or blue instead of green here, if the video you're adding the effect to has blue or red elements instead of green.
Step 4. Save your video
To export the completed video, select the Export button and choose a video resolution. We recommend 1080p for the best quality video. Your video will get processed, and you can save it to your computer or share it afterwards.


