
Note: The screenshots in this article are from Clipchamp for personal accounts but stock assets are also being made available in Clipchamp for work. The availability of some collections and some specific stock assets can be different between Clipchamp for personal accounts and Clipchamp for work accounts.
Clipchamp works with high-quality stock media providers to offer thousands of stock videos, graphics, images, audio, GIFs, and backgrounds. This article focusses on stock audio and music.
Some Clipchamp stock assets are free for all users, but other premium stock requires a Premium Clipchamp subscription to export videos.
How to add stock videos to your project
Step 1. Click on the content library tab on the toolbar
To locate the stock videos, click on the content library tab on the toolbar, then click on the visuals tab.
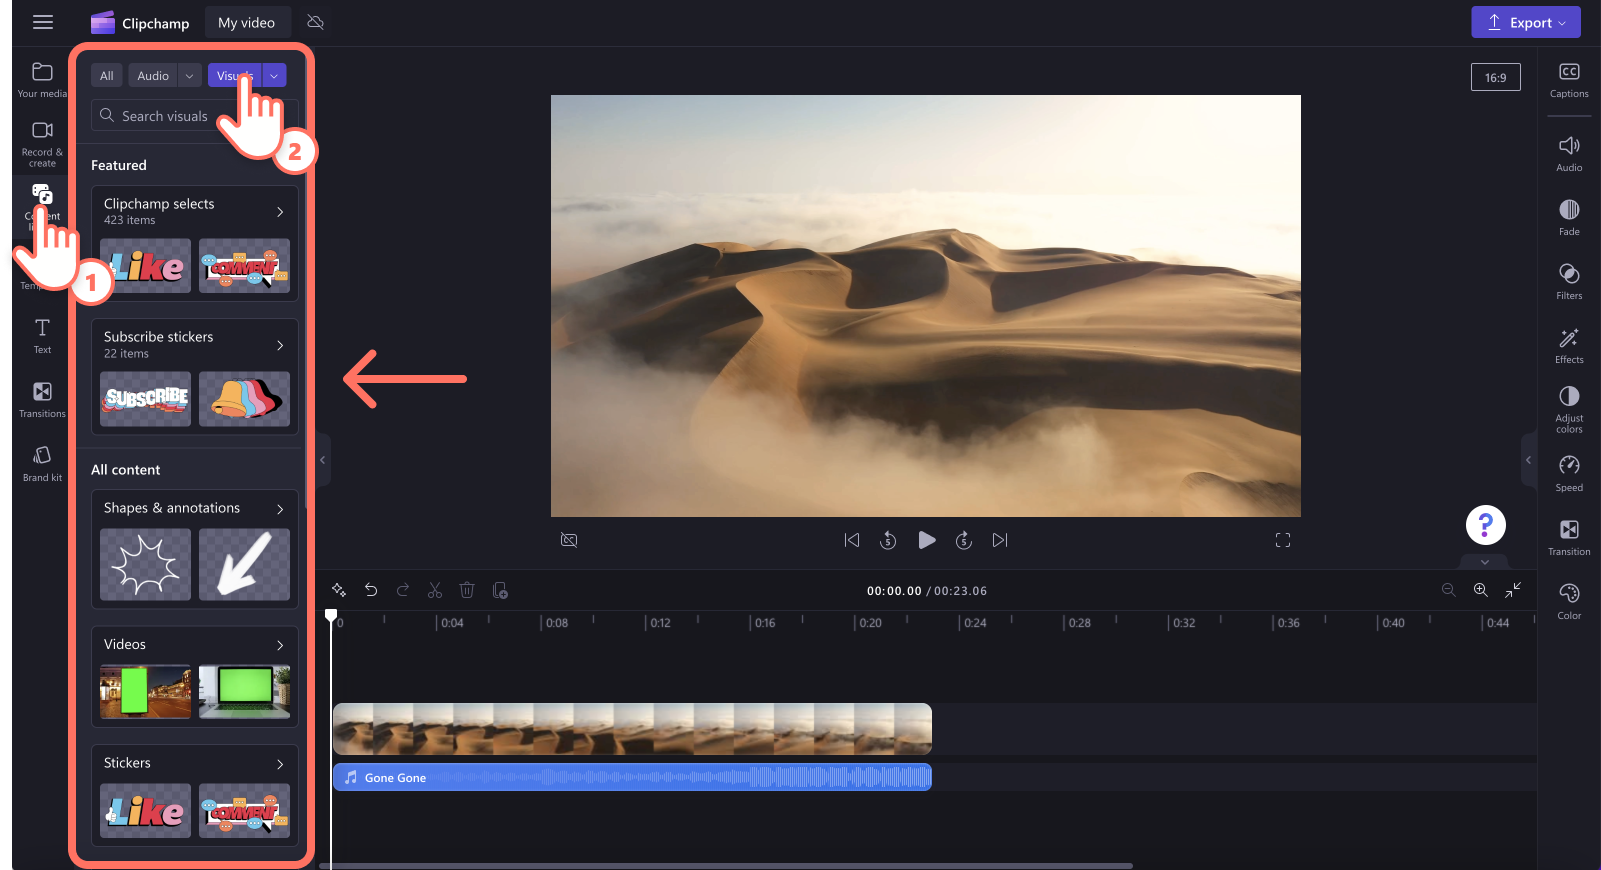
Step 2. Search video library
When you're inside the visuals library, you'll see different categories.
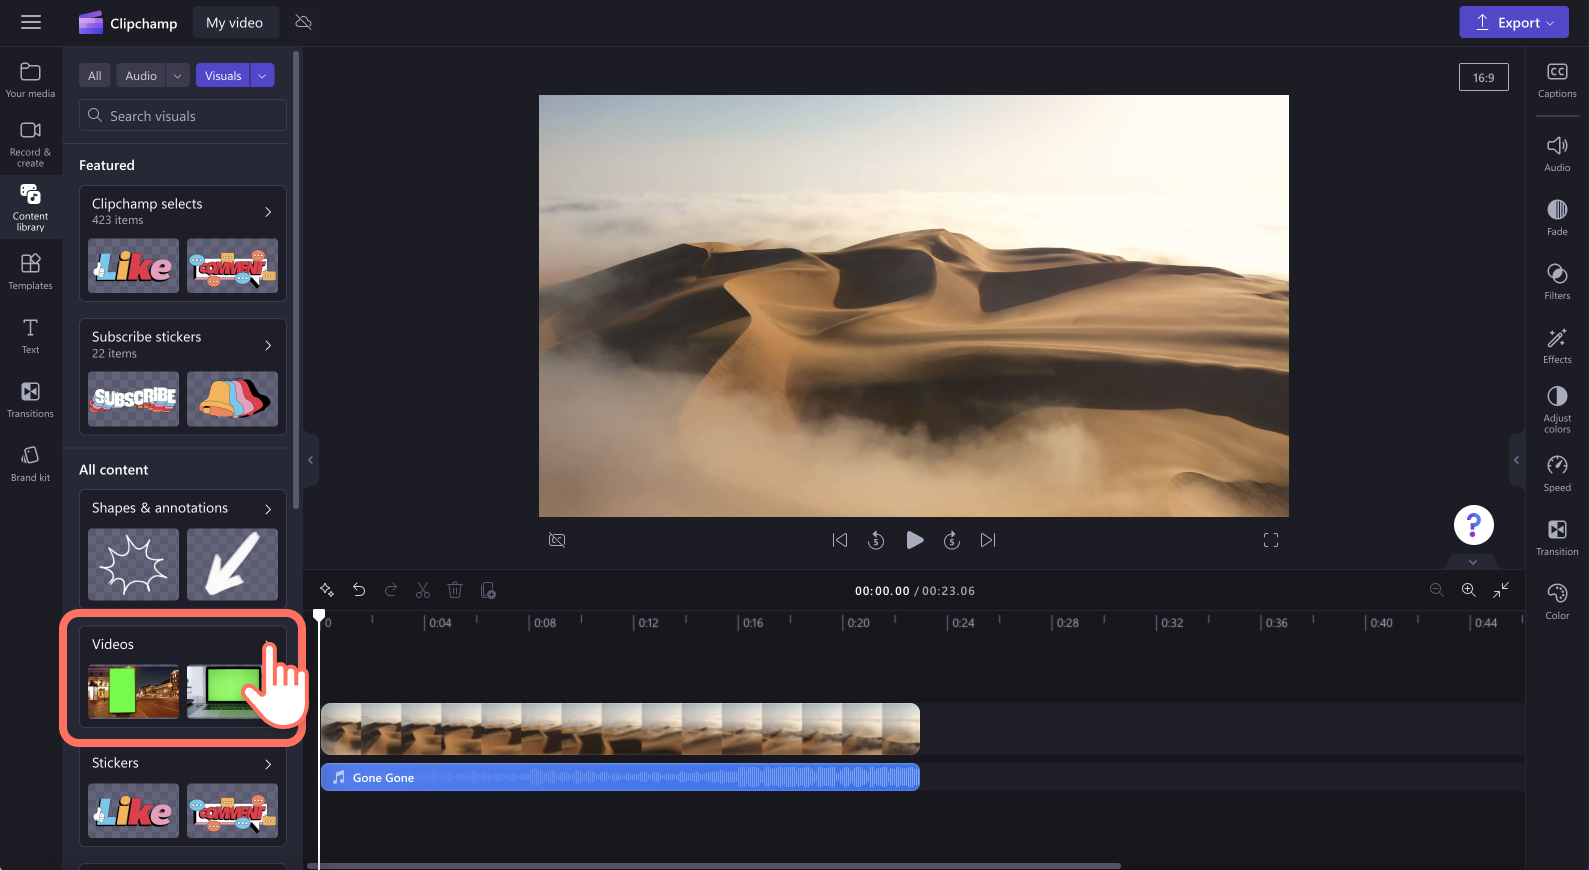
Featured: Clipchamp selects and subscribe stickers
All content: Videos, backgrounds, stickers, shapes & annotations, images, frames & borders, overlays and GIPHYs
Click on the video category to explore more videos.
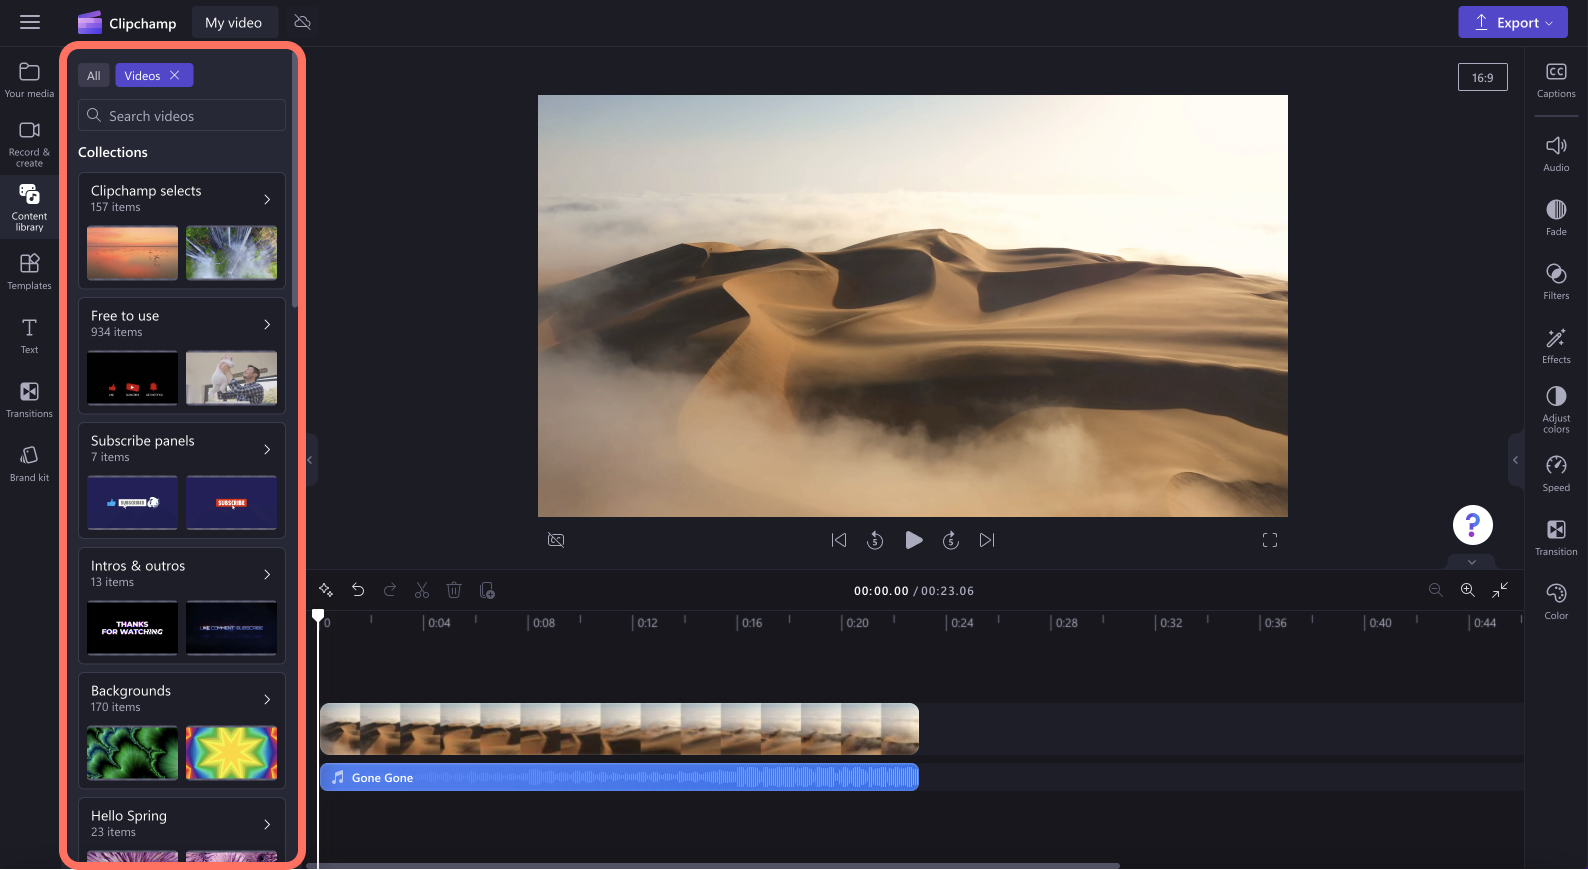
Next, search through the curated folders to find the perfect stock video. You can also search keywords using the search bar.
To preview, hover your cursor over the stock video. The video will play.
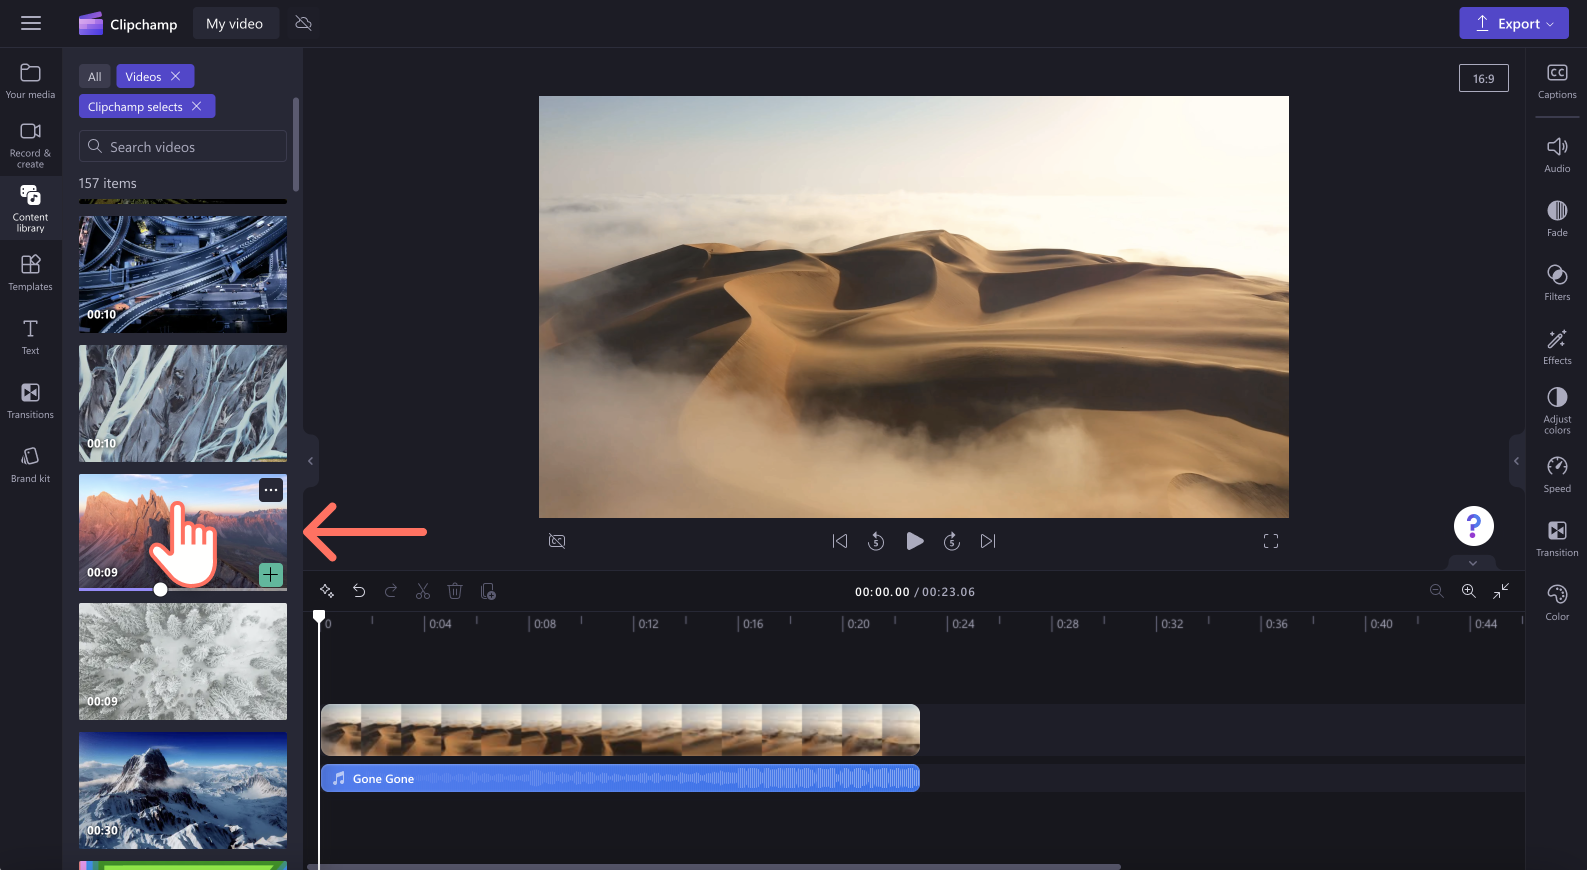
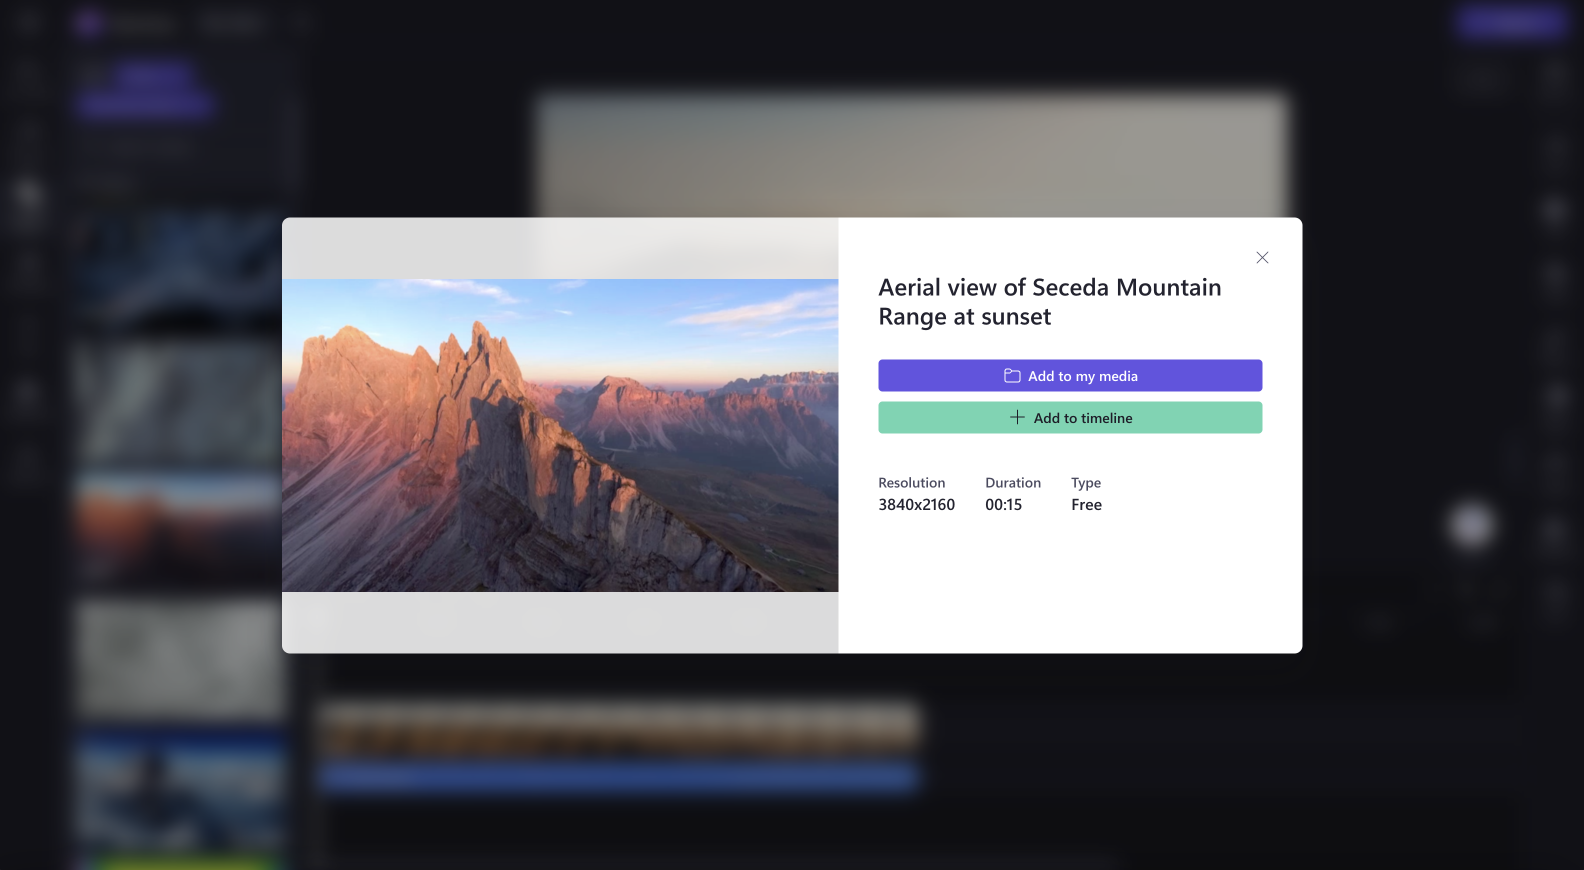
You can also click on the stock video to preview in full screen mode. Here, you can see the video's resolution, duration, and type (free or premium).
Step 3. Add the stock video to the timeline
There are a few different ways you can add videos to your timeline.
A) Drag and drop the video file on the timeline.

B) Click on the green + button to add the video to your timeline.
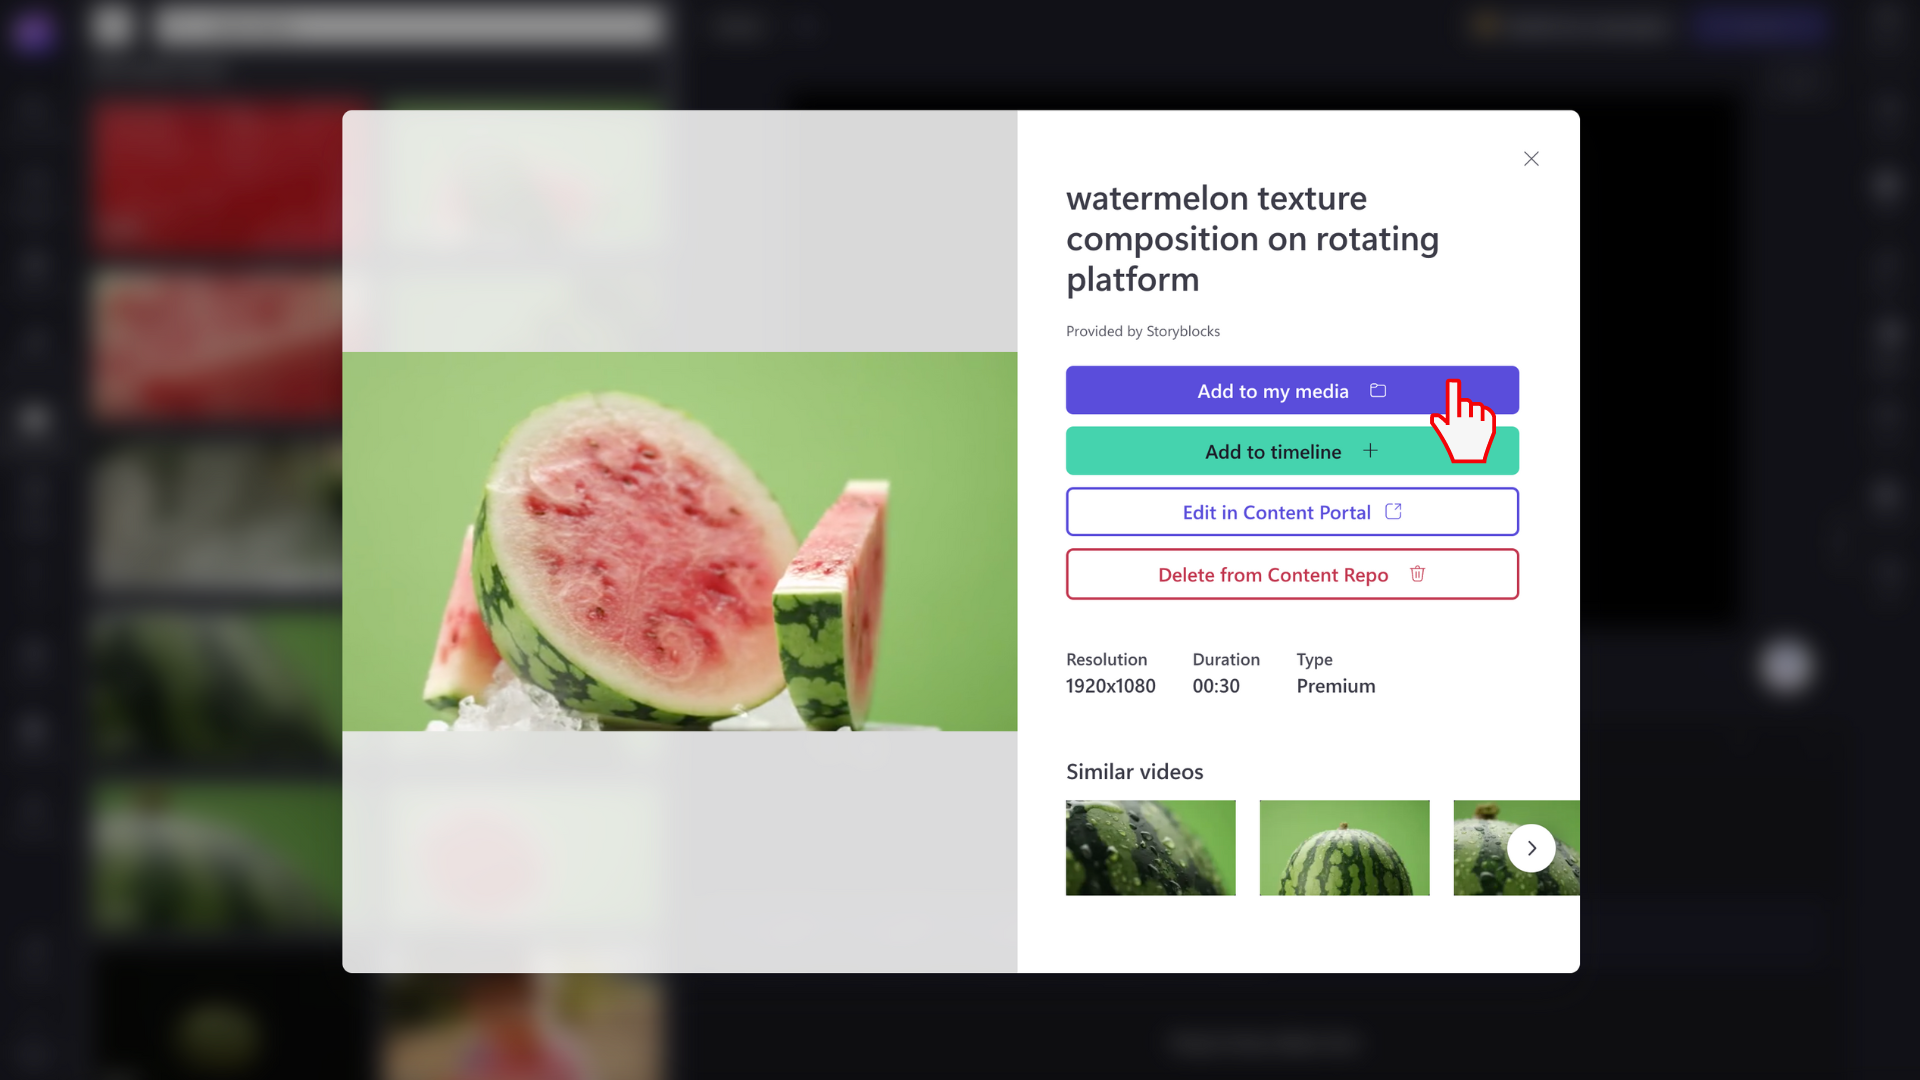
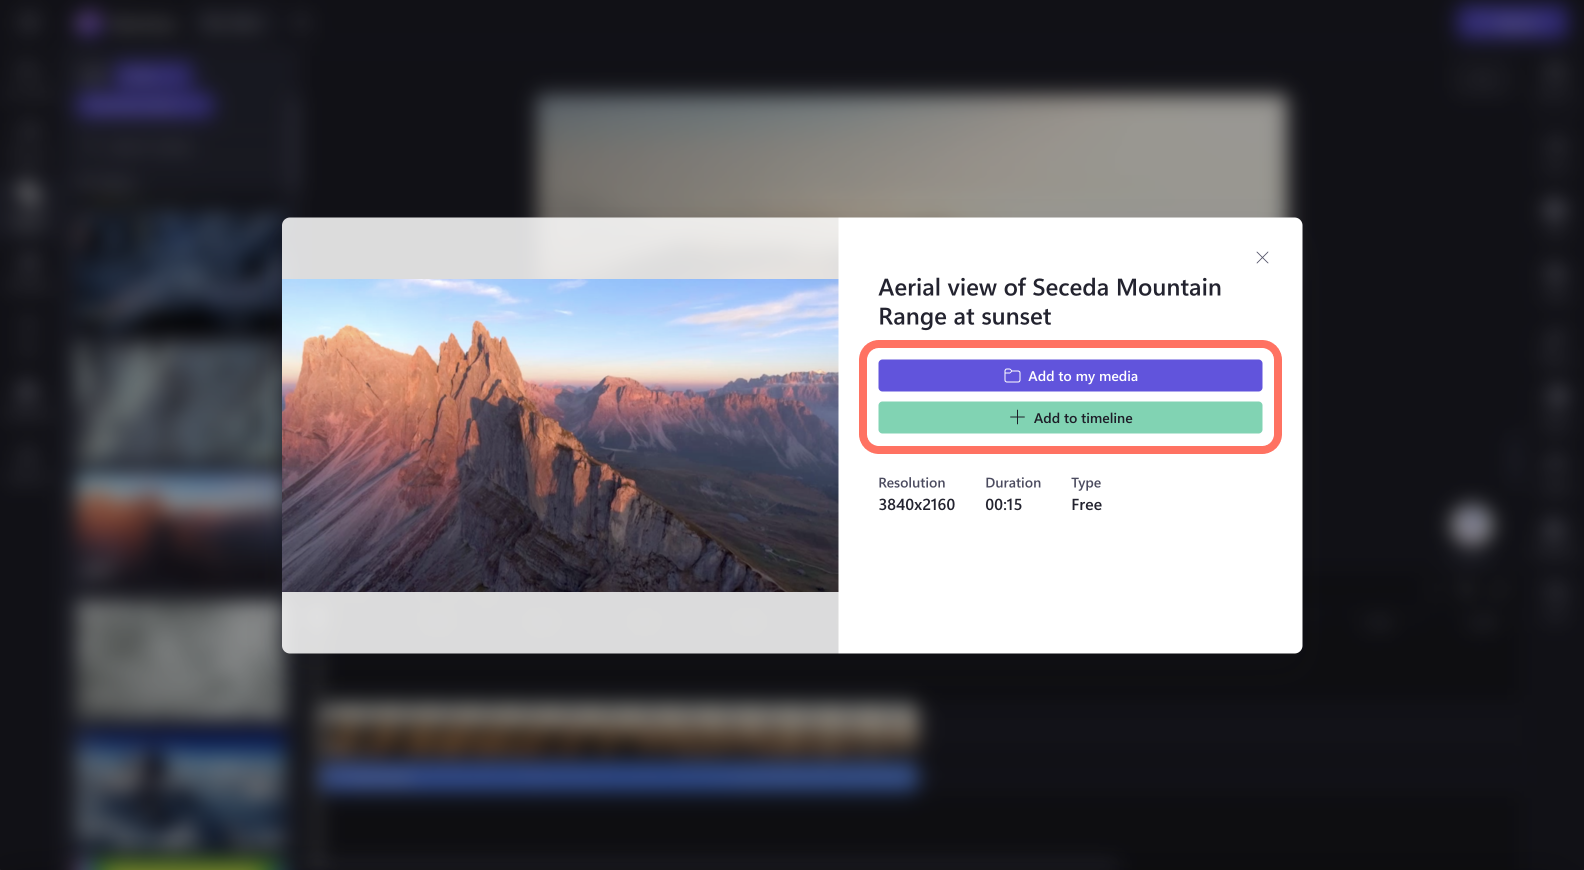
C) Click on the add to timeline button or add to your media tab from the full screen preview mode.
Exporting a video that includes stock media
Click on the export button to export your video to your computer. To save a video that includes premium stock assets, you'll need to acquire a Premium Clipchamp subscription.
License and Terms of Use
When you're on a license plan that includes access to stock media, you are allowed to incorporate stock video, image and audio assets in videos that you save from Clipchamp. This includes both projects that you create for commercial and non-commercial purposes.
However, you may not download and redistribute the individual underlying stock files, use them in other editing programs, or share or sell them.


