
You can create and save different versions of videos and also make copies of video editing projects. The options that are available to you depend on the version of Clipchamp you're using.
In Clipchamp for personal accounts, as you work on a video editing project Clipchamp saves progress automatically and there is no Save button you have to click.
When you're done and want to save a copy of the finished video to your computer, select Export in the top right of the editor user interface and follow the prompts.
In addition, to save different versions of a video while you're in the process of editing it, you can either
-
create a copy of an existing editing project on your Clipchamp homepage so that you can make different edits to each project copy and export separate video versions.
-
Or you can make all edits in one project and export the edited video after each change.
The advantage of the first method is that you can keep one "original copy" of a project on your Clipchamp homepage that can act as the base version or template, and then create copies to make edits without affecting the "original copy".
This way you can always return to the original project version without having to undo multiple edits. This is helpful for more complex projects if you want to keep an existing version of your video before making changes or if you want to create two different versions of the same video.
The advantage of the second method is that you can undertake all edits in one project without having to keep track of multiple copied versions. This can be more efficient if the changes you want to make to each copy are small and it's quick to undo some changes to get back to the "base version" of the project.
How to copy a video project in Clipchamp's personal version
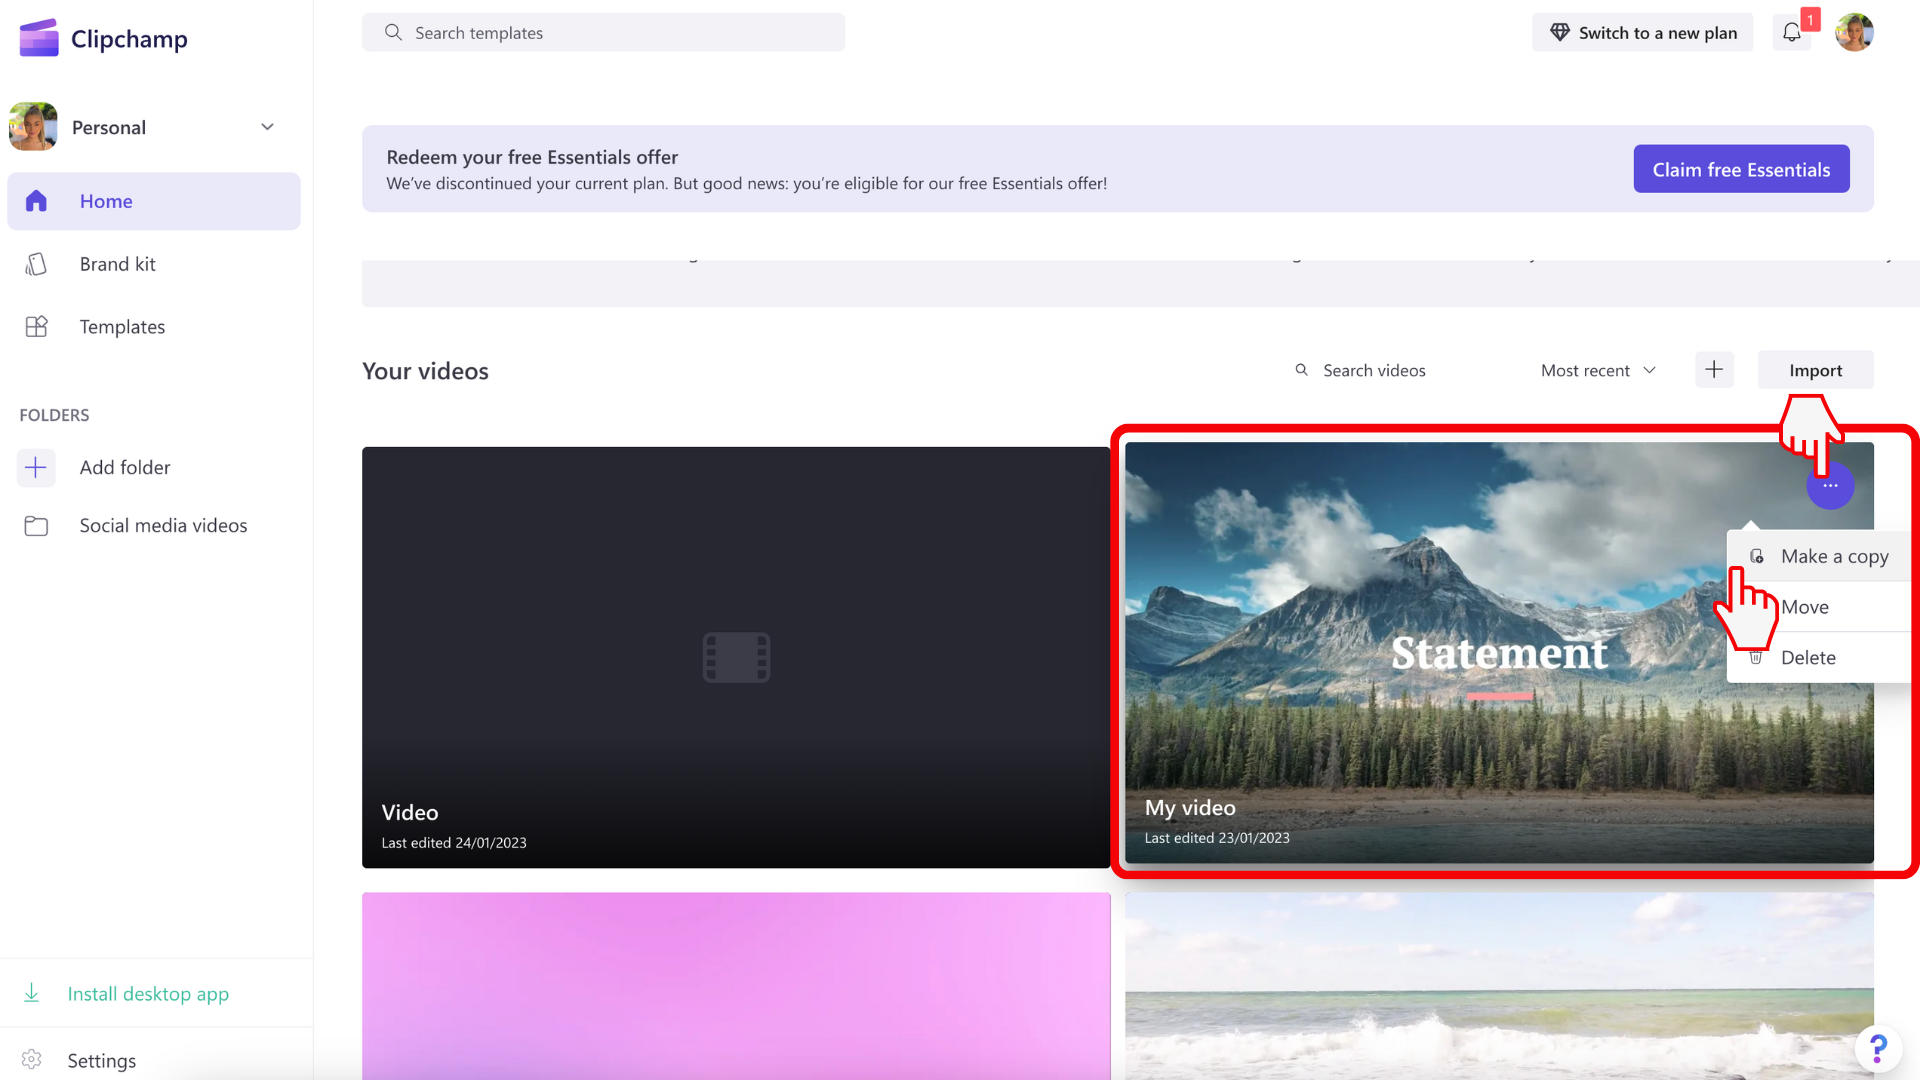
On your Clipchamp dashboard, locate the video you would like to copy. Click on the three dots button to open video options. Next, click on the make a copy button. This will make a duplicate of your video that you can edit independently of the original.
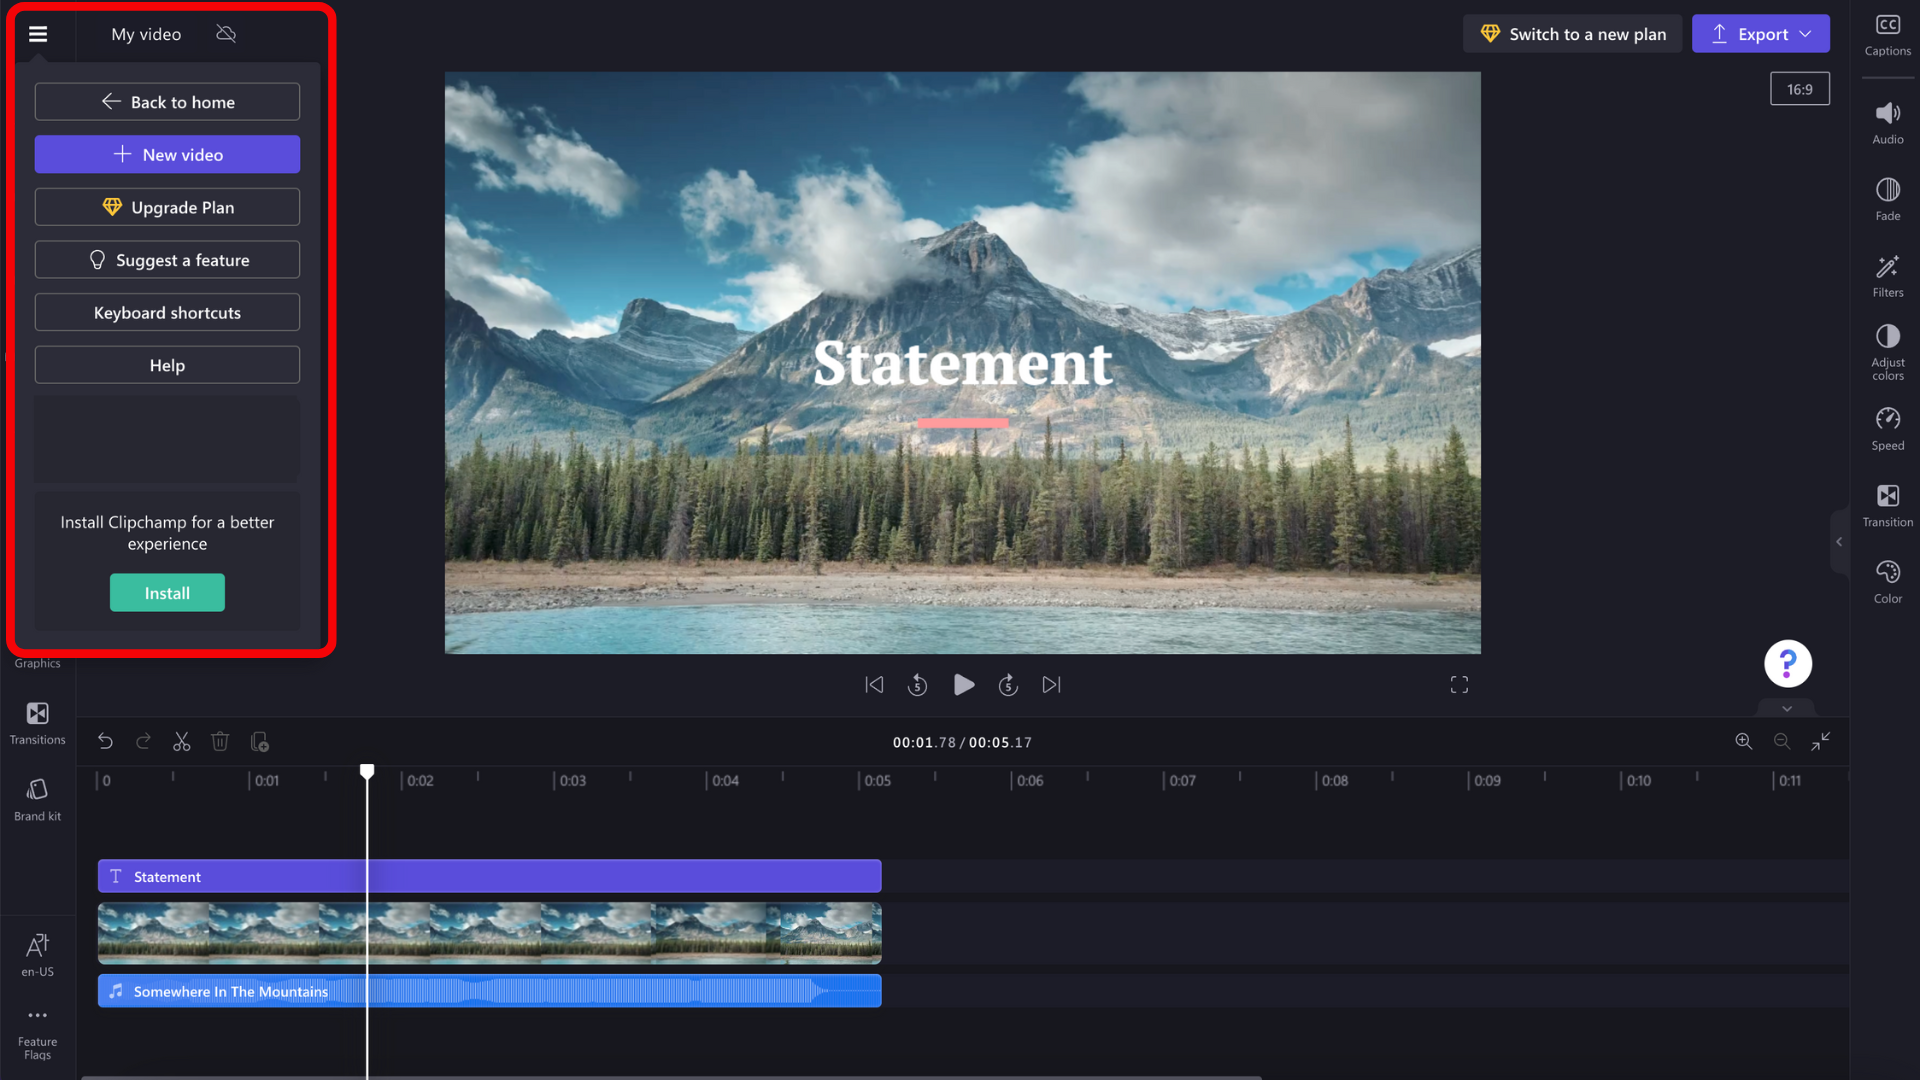
If you're already editing that video, exit the project and return to the Clipchamp home page. You can do this by clicking the Clipchamp logo in the top left corner of the editor, then clicking on the back to home button.
What to do if your video copy doesn't appear
If the copy doesn't appear immediately on the Clipchamp homepage, try reloading the page. The first time you open the copied project, you might need to relink the media files, including the video, audio, and image files you added to the project. The quickest way to do this is by relinking the entire folder in which you store the files. Clipchamp will only upload the ones relevant to the project.
Copied projects and content backup
When you're creating copies of editing projects and have the content backup feature enabled, make sure to keep all media assets in copied projects' media libraries. If you remove a media asset from a project's library, it will get removed from content backup and therefore also from other editing projects where the media file in question is in use.
If this happens to a media asset that you still need in a project, you'll need to re-add it from your computer.
In Clipchamp for work accounts, it's important to understand the following context:
-
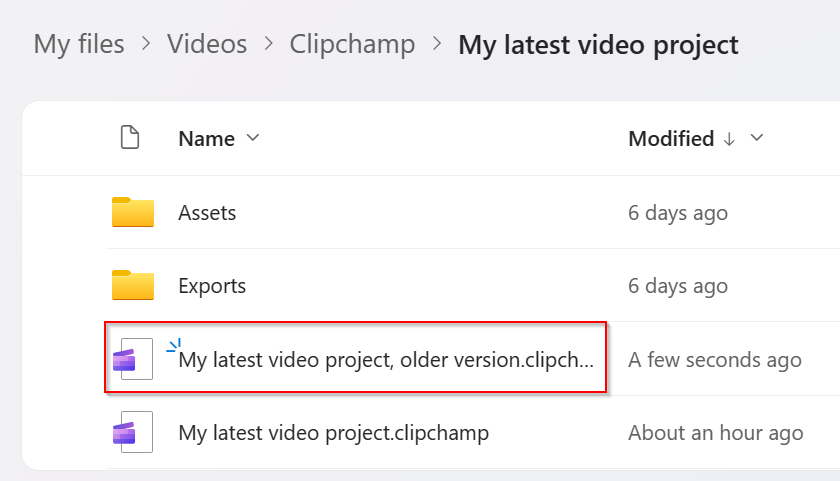
Video editing project files always reside in OneDrive/SharePoint and have the file ending .clipchamp. They are accompanied by an Assets and an Exports folder.
-
The Assets folder contains the media elements used in the project, i.e., the video, image and audio files you've added.
-
The Exports folder contains the MP4 videos that get saved there when you're exporting a finished editing project.
-
If you create a video editing project on your OneDrive/SharePoint homepage, in the My Files folder or are coming from an external launch point like the Clipchamp page on office.com or Stream, the project is created as a folder under My Files > Videos > Clipchamp.
-
If you create an editing project in another location, for instance a subfolder elsewhere in your OneDrive, the new project will get created there.
As you work on a project, editing progress gets saved automatically and there is no Save button you have to click.
Exporting project copies as video files
To save a copy of an edited video to your computer in MP4 format, select Export in the top right of the editor user interface and follow the prompts.
During an editing session, you can use the undo and redo buttons above the timeline to go back to a previous project version or redo edits you undid previously. Whenever you'd like to save a copy of the current state as a video file, select Export and follow the prompts.
When you end an editing session, for instance by closing the browser tab Clipchamp is open in, OneDrive/SharePoint will save the latest state of the project as a new version of the .clipchamp project file.
Saving a copy of a project
To make a copy of a project that you can then work on as a new video editing project:
Right-click on the project folder in OneDrive/SharePoint, select Copy to and follow the prompts to save the newly copied folder.
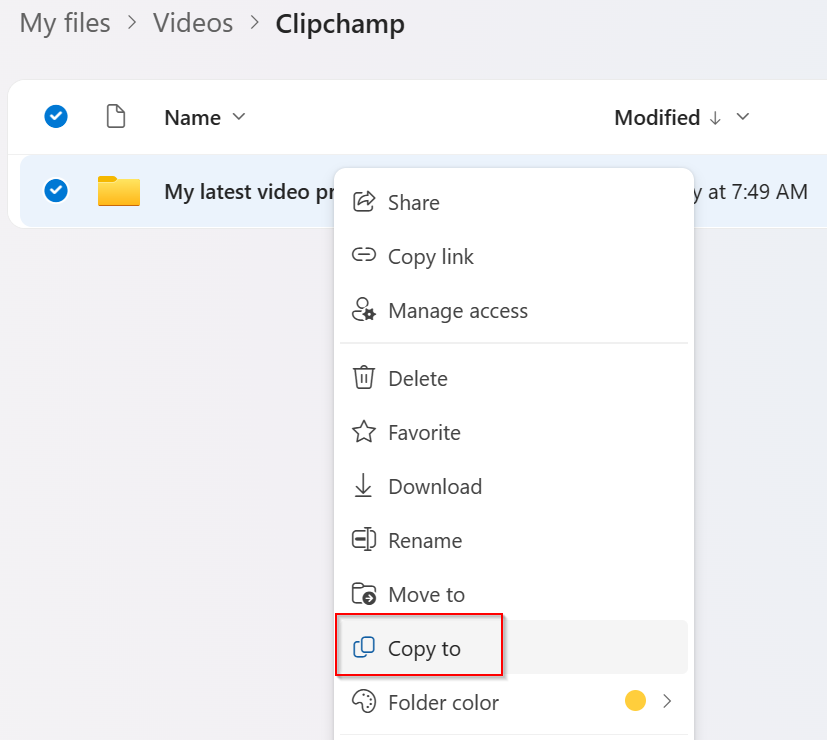
Important: It is necessary to copy the entire folder instead of only the .clipchamp file in it to ensure the copied project also includes the Assets subfolder that contains the project's media items.
Opening an older project version
Since Clipchamp is making use of OneDrive/SharePoint's version history to store different versions of your project, previous versions are available and can be restored like other files that you save in OneDrive or SharePoint.
To open an older version of a Clipchamp project, select the project file in the folder where it is located, right-click on it and select Version History from the menu.

Then, select the version you'd like to go back to and click on Restore.
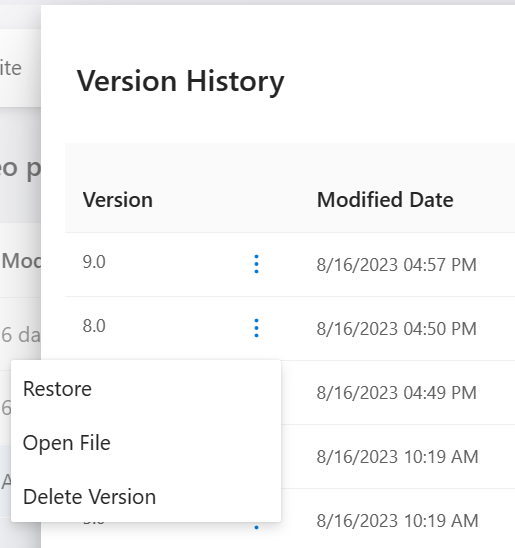
This will replace the "current version" of the Clipchamp project with the older version you selected and make the previous "current version" the most recent "previous version". This means that you can't accidentally overwrite the most recent version of a project by making an older version into the current version. To learn more about version history, see this article.
After restoring an older version of the Clipchamp project file, you can open it and edit it like other Clipchamp projects. Make sure you have access to all media assets that are used in the project because you might get asked to relocate them in some cases. Media assets of a project are stored in the Assets folder.
Comparing project versions
At present, Clipchamp for work accounts does not offer an option to compare 2 versions of the same project in a side-by-side view in the same editor user interface. We're considering this option for a future release.
However, there is a workaround to compare an older with a more recent project version as follows:
-
Through the version history menu mentioned above, you can download an older project file by selecting "Open File".
-
This will save the corresponding .clipchamp file to your computer, usually in your Downloads folder depending on your browser settings.
-
Go to this downloaded file and rename it, then
-
reupload it to the project folder in your OneDrive/SharePoint.
-
Next, you can open the newly renamed and uploaded file as a separate/forked editing project in a new browser tab, allowing you to inspect it and compare it with the most recent version of the original project.
To see the versions side by side, use 2 browser windows to open each project version and put the windows next to each other on your screen.
This is useful to decide which project version to keep and which version to archive or delete.


