
Note: The screenshots in this article are from Clipchamp's personal version. The same principles apply to Clipchamp for work accounts.
When you start a video editing project in Clipchamp, the default aspect ratio that gets selected by the system is usually 16:9 because this is the most common ratio for videos.
When you start importing media assets into the project and add the first item onto the timeline, the aspect ratio will remain at 16:9 if your media file has that ratio.
However, the aspect ratio of the project will get automatically adjusted if your media file's aspect ratio is something else.
For example, if you add a square image to a 16:9 project as the first media asset, the project gets auto-adjusted to 1:1.
Of course, you can change this back to 16:9 or one of the other options, which include 9:16, 1:1, 4:5, 2:3, and 21:9.
How to change the dimensions of an existing video
Changing the aspect ratio later or creating a copy of a video in another aspect ratio is possible as well.
See below for a step-by-step guide and tips on removing black bars and borders if you want your videos to fill the entire frame.
Note: If you want to create a new version of a video with different dimensions while still keeping the old version, first make a copy of the video on the editor homepage, then open the copy and follow the below steps.
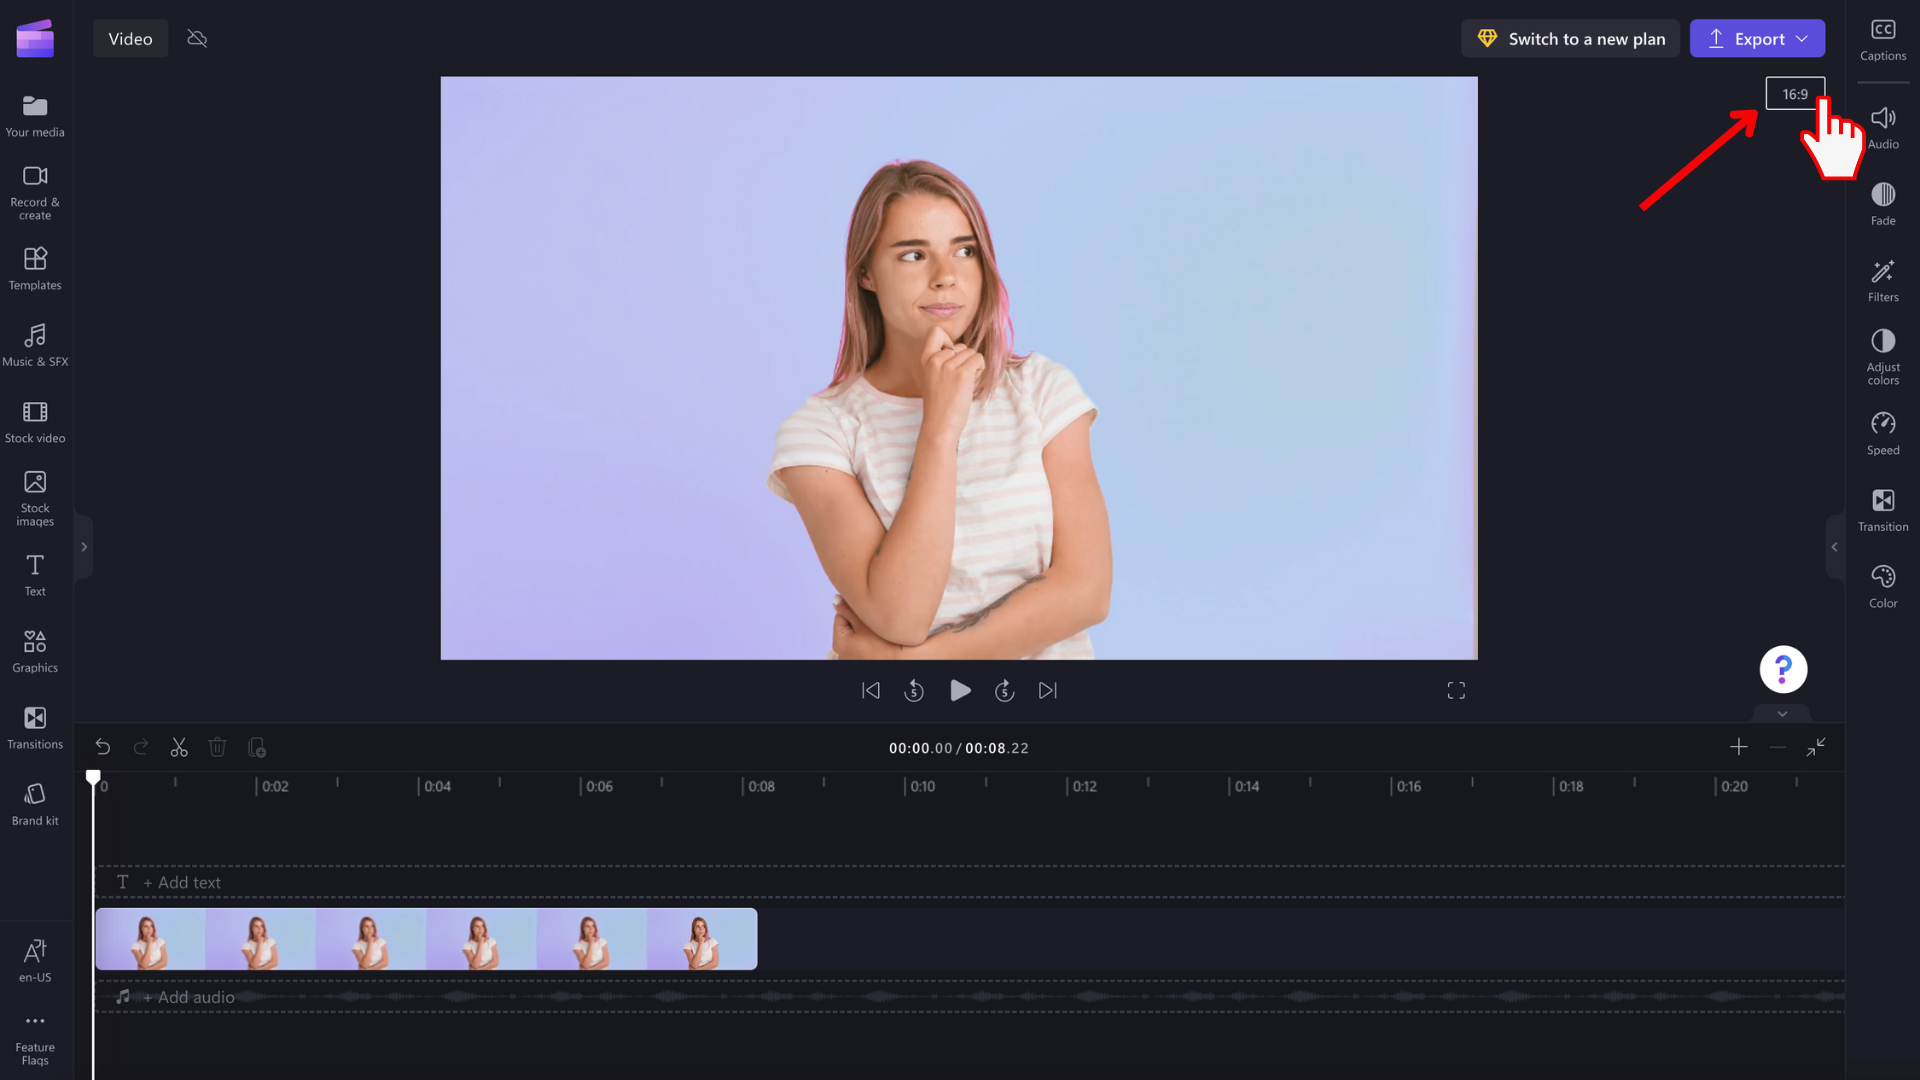
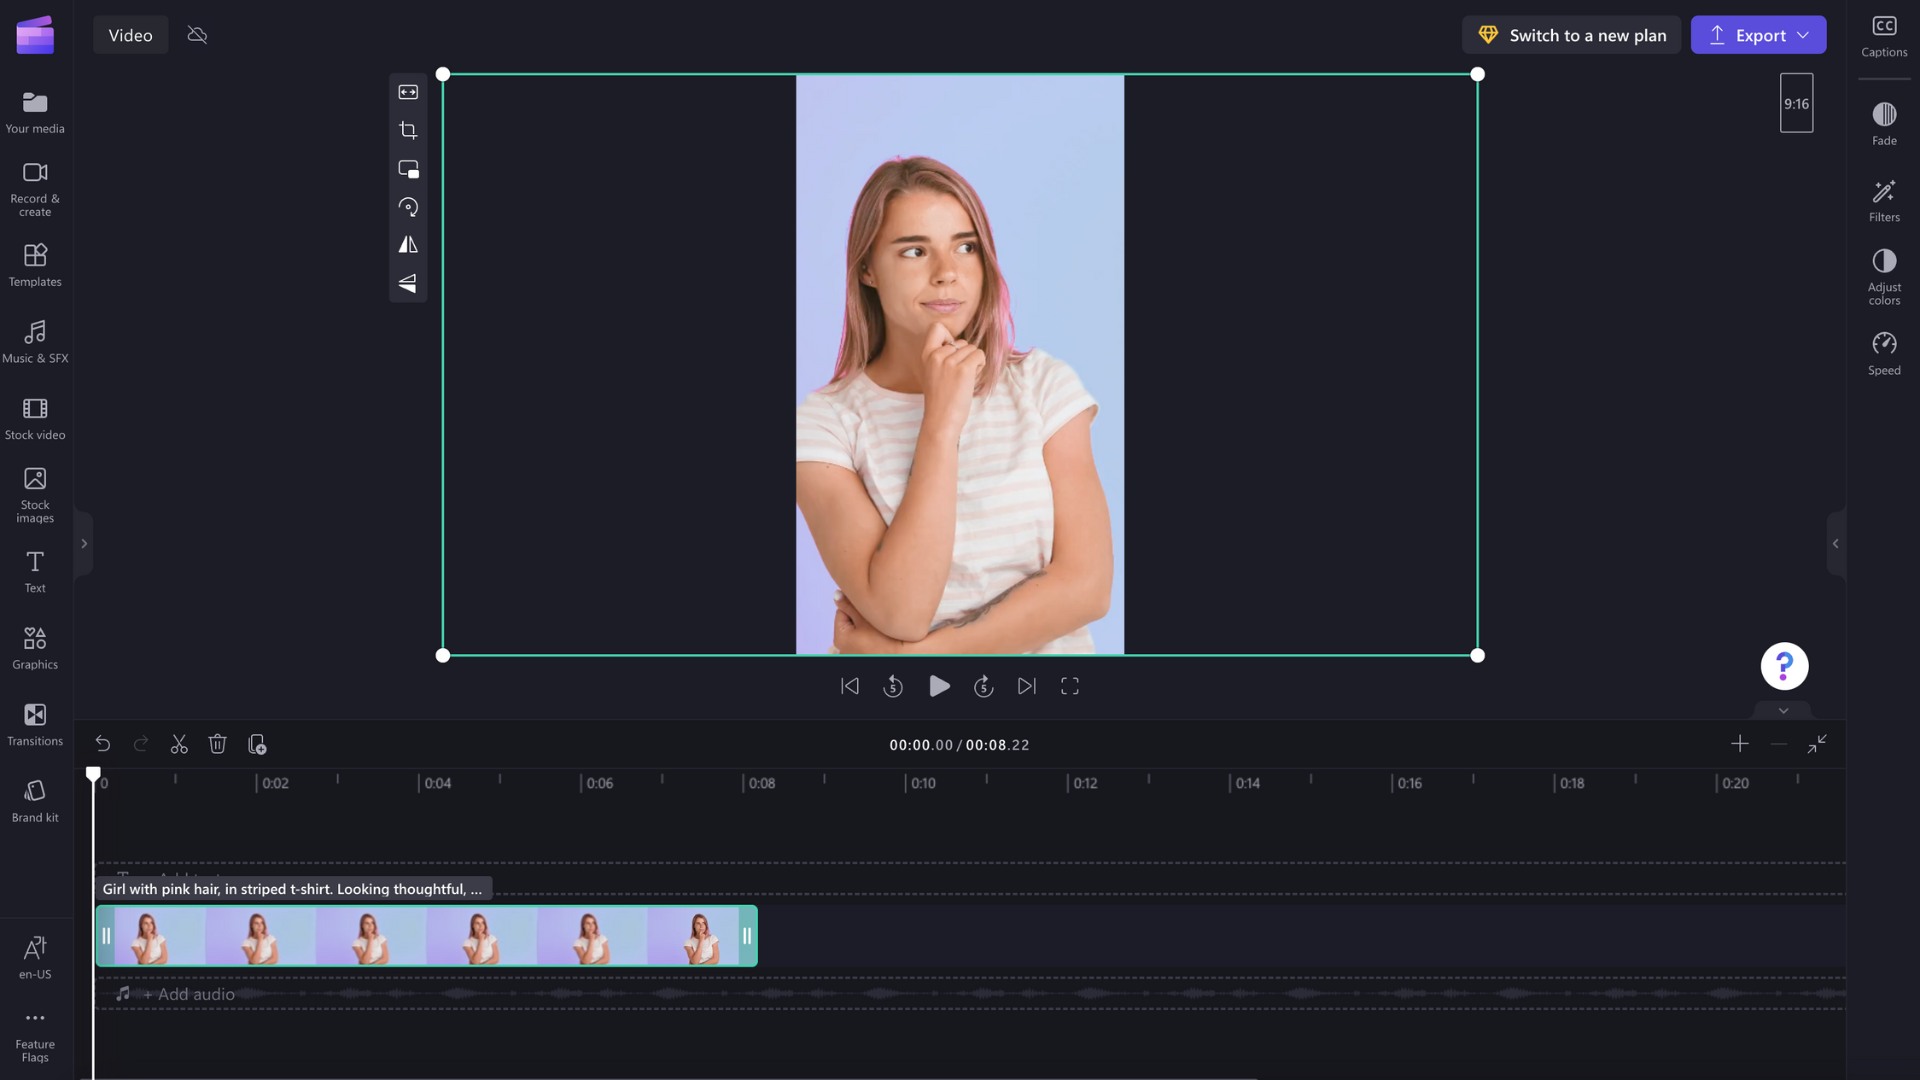
Step 1. Click on the 16:9 aspect ratio button
To change the aspect ratio of your entire video, click on the 16:9 aspect ratio button located under the export button.
Step 2. Preview available aspect ratios
9:16, 1:1, 4:5, 2:3, and 21:9 aspect ratio options will appear. Hover your cursor over each aspect ratio to preview which dimensions best suit your video.
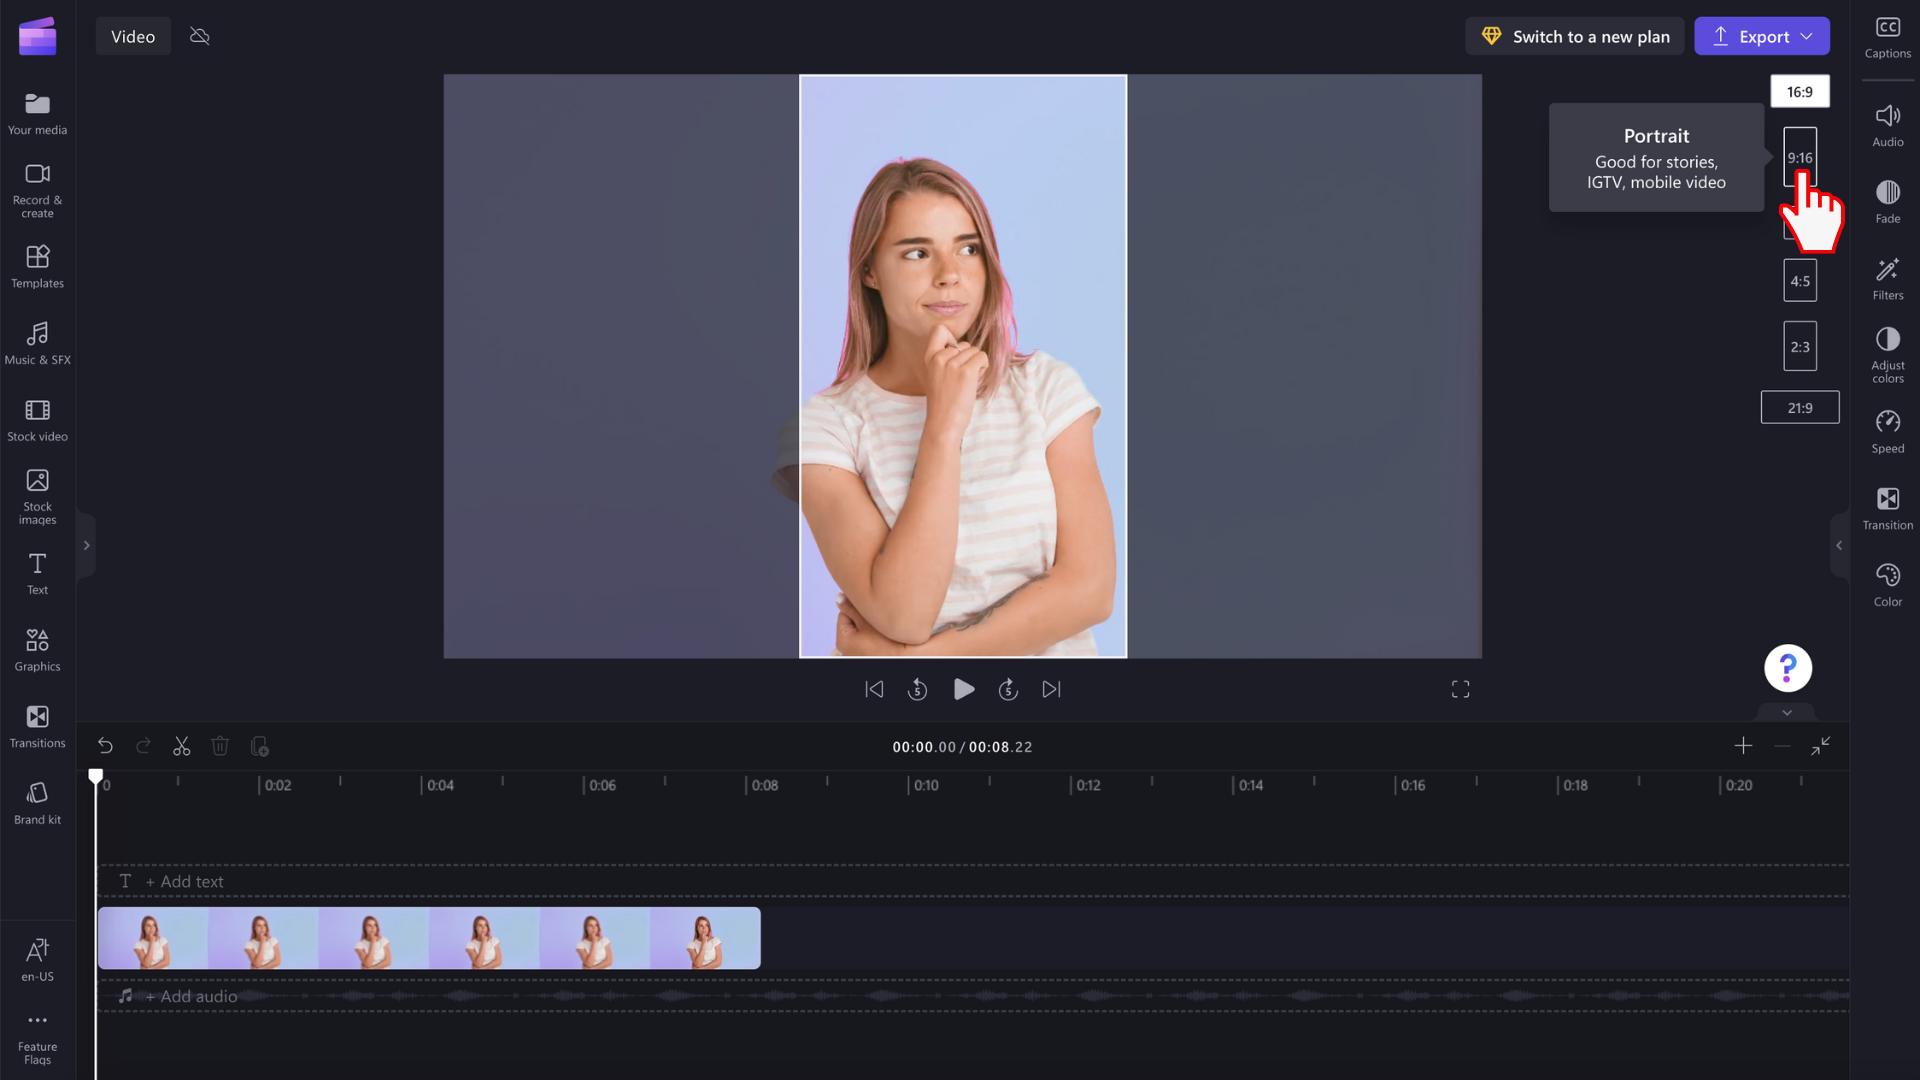
Step 3. Click on your chosen aspect ratio
To select a new aspect ratio, click on your chosen ratio. We have decided to choose 9:16.

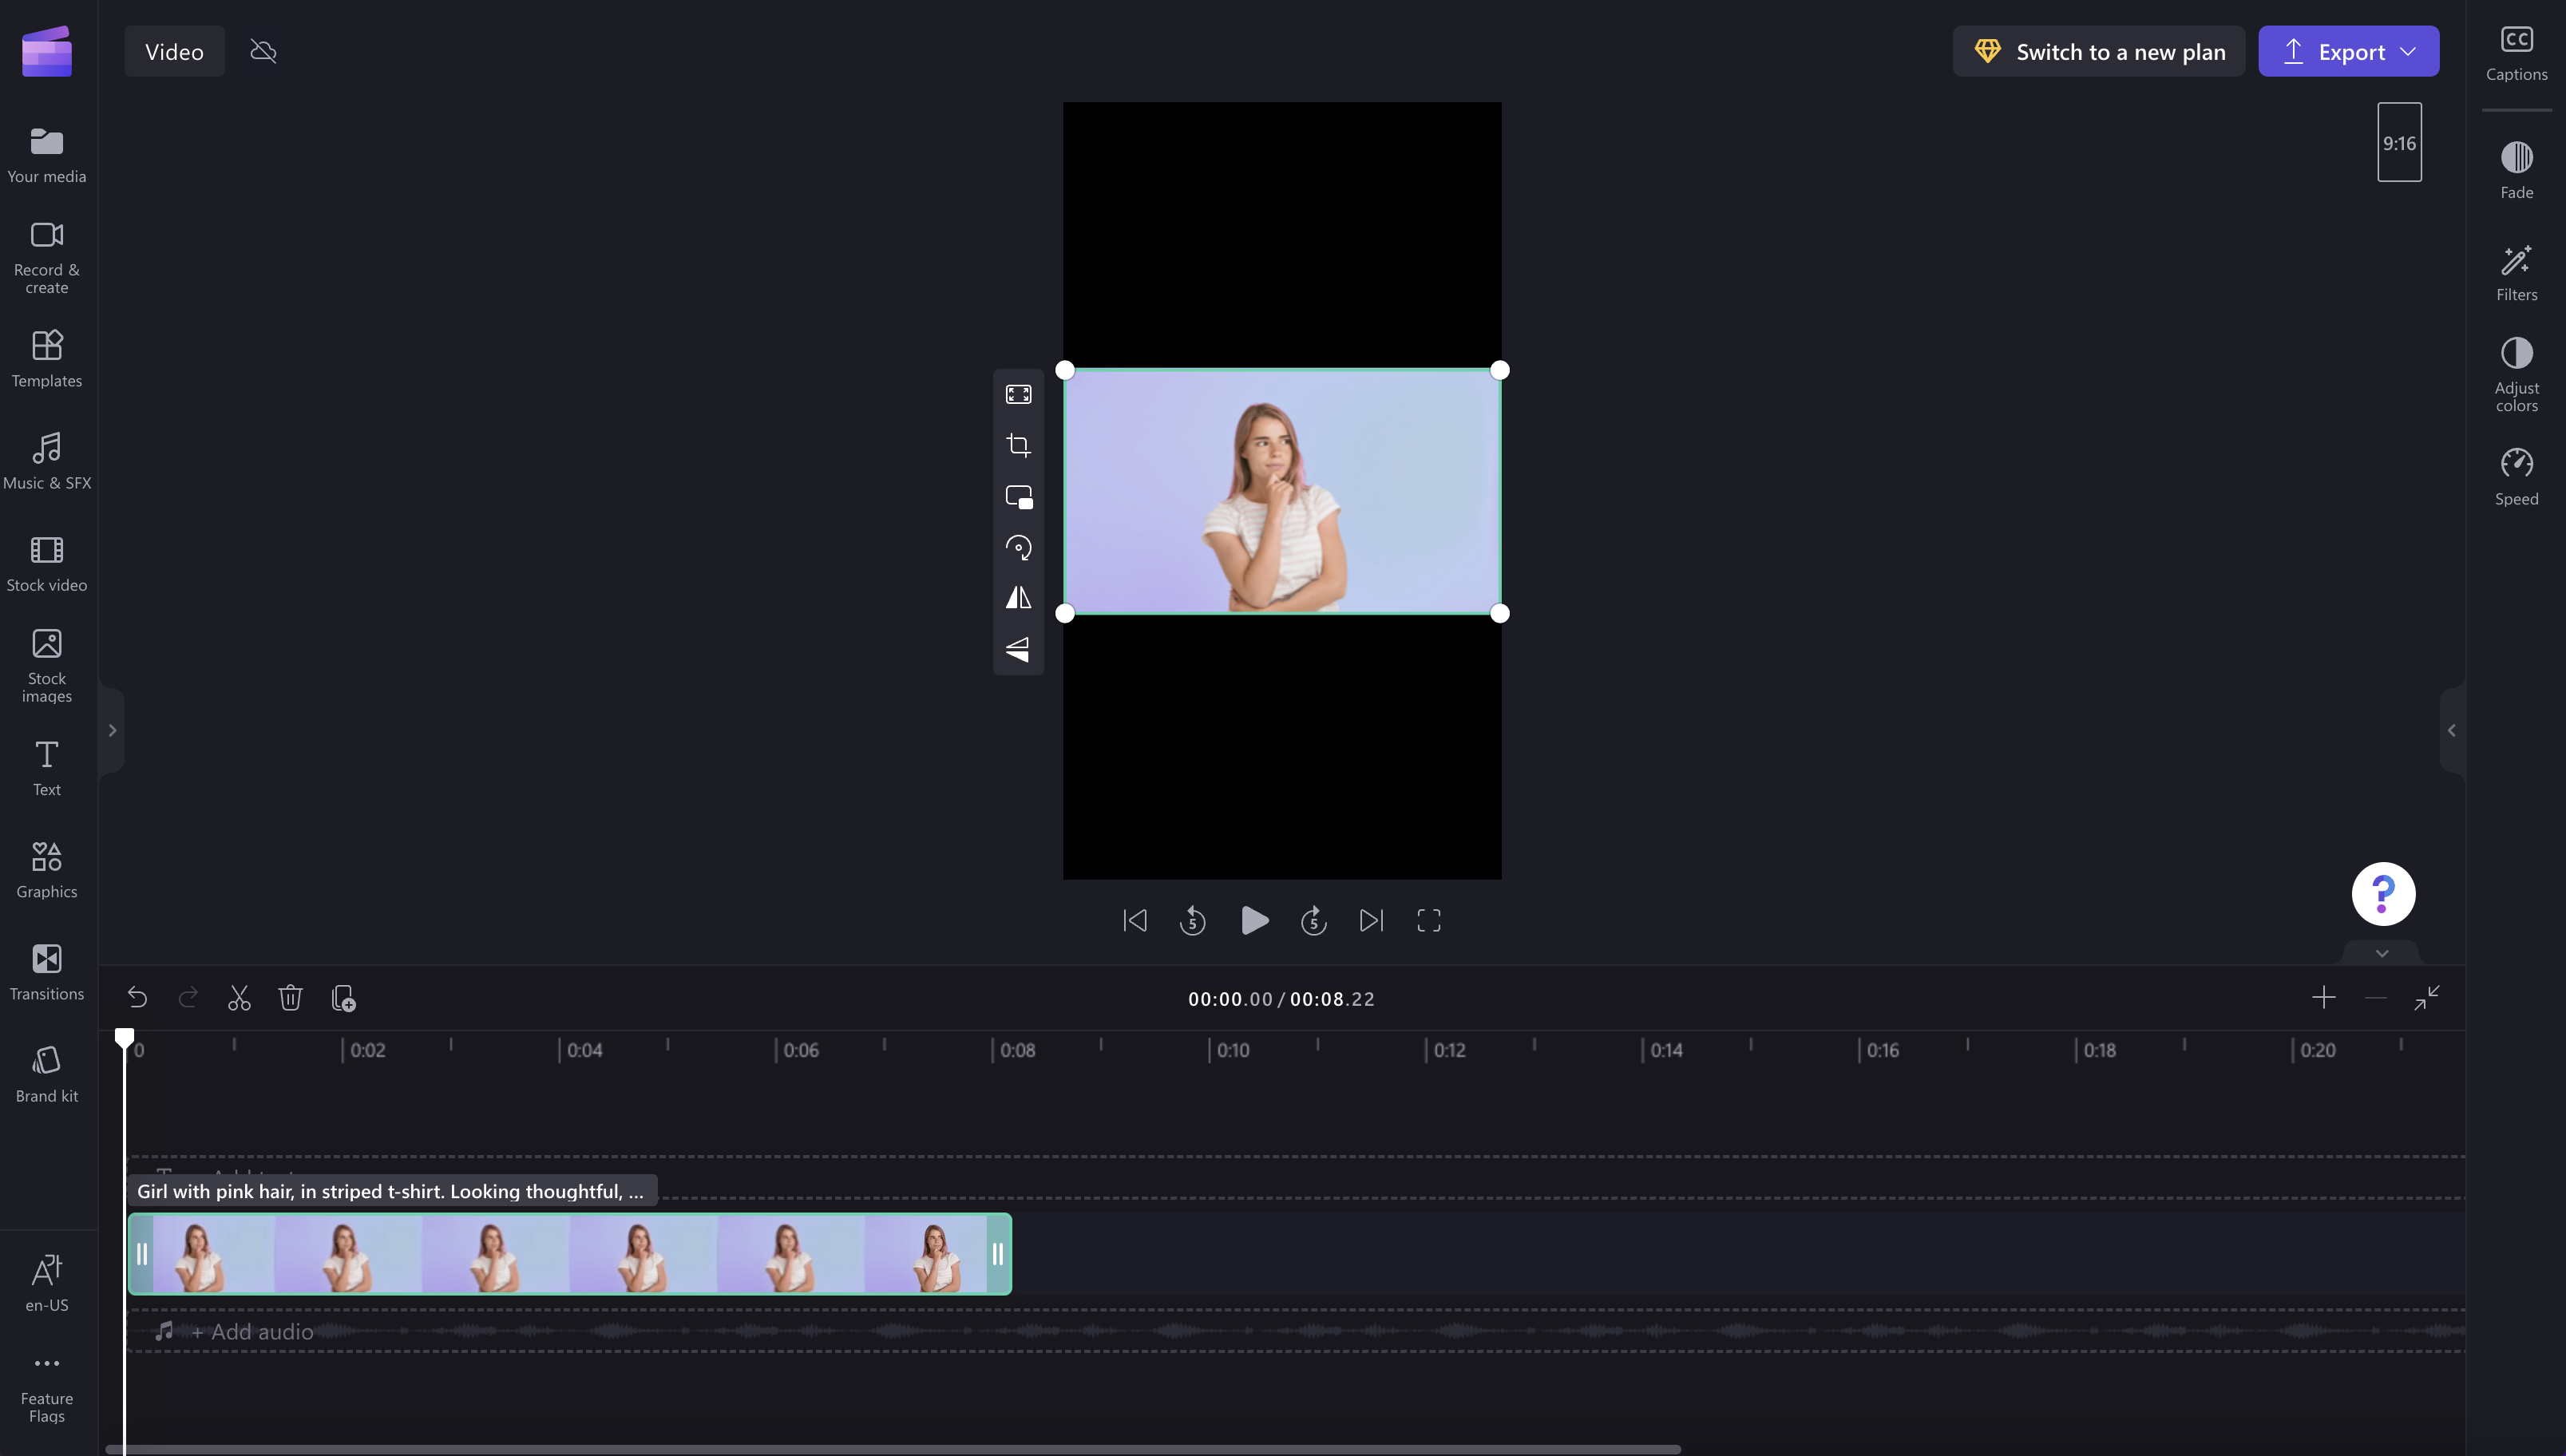
Step 4. Remove borders and black bars around your media
Black bars/borders will appear around your video if your media doesn't match the aspect ratio you have selected. This is called a letterboxing effect to preserve the full frame of your video.
To remove the black bars, click on your video in the timeline, so it's highlighted green. The floating toolbar will appear next to your video preview window. Click on the fill button.
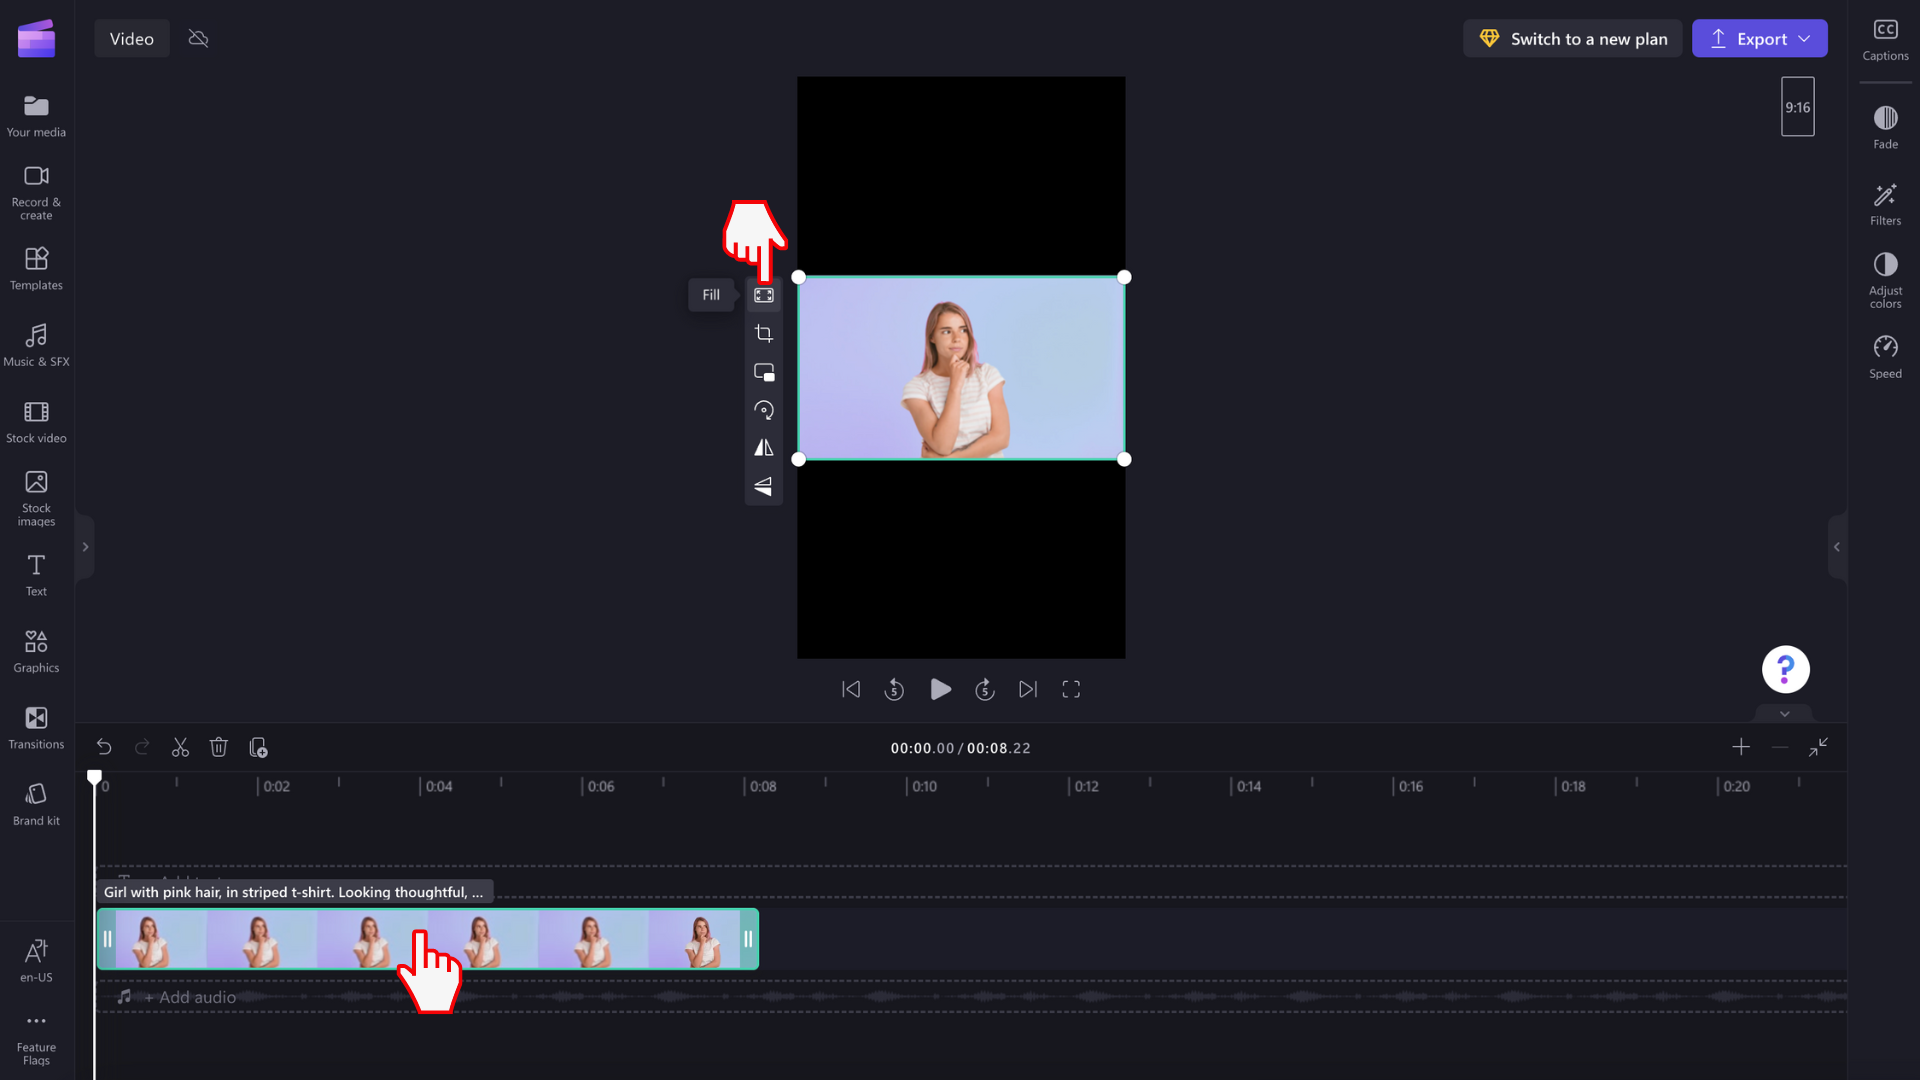
Your video will automatically stretch/crop into the new aspect ratio.
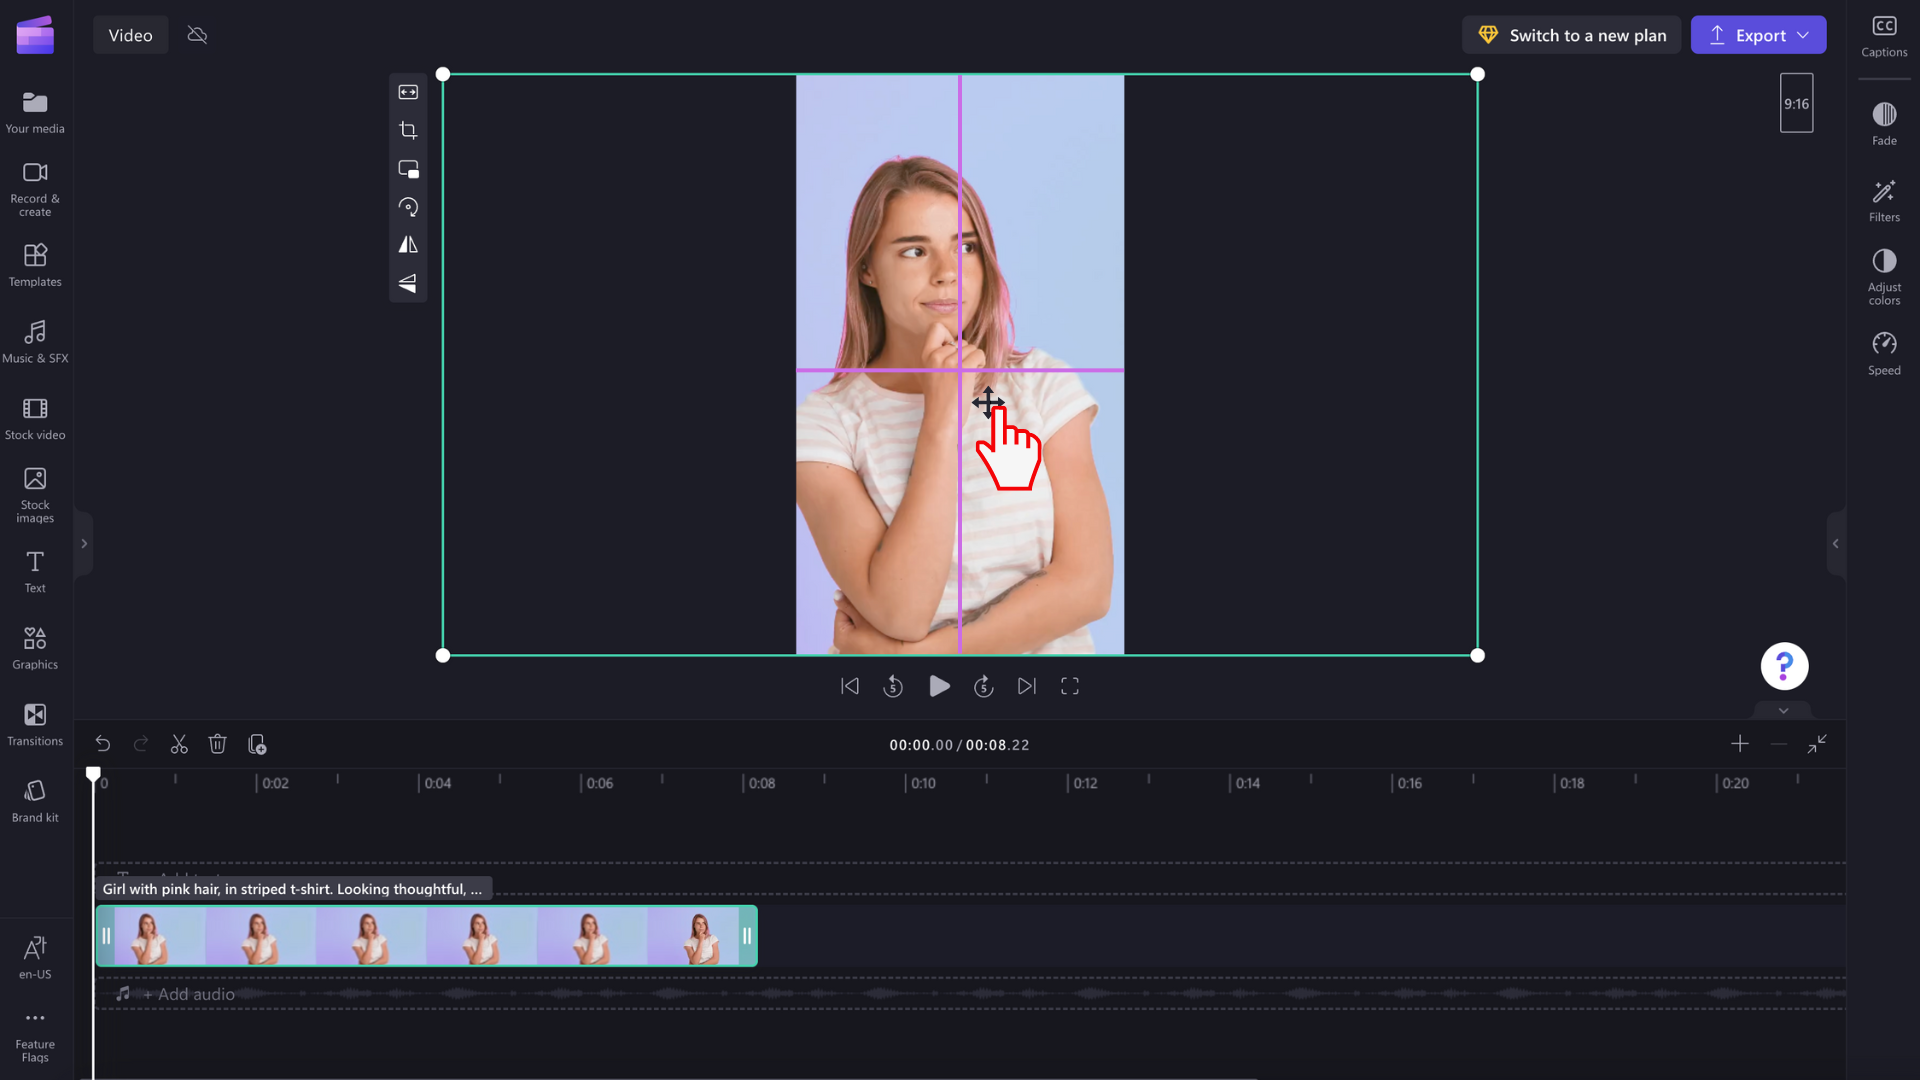
If any unusual cropping appears, for example if your main visual isn't in the center of your video preview anymore, simply reposition your video. Click on the video preview, then slide the video around in the preview to create a new position.
You can also click on the fit button once you have clicked the fill button on the floating toolbar if you wish to keep the whole video without cropping.

The fit button will add borders to your video.
There is currently no way to set all of your clips to 'fit' into the frame at the same time, so you have to set each individually. However, we're always working to improve the editor and plan to make this easier in the future.


