
Picture-in-picture is a video editing technique that lets you overlay two videos or images in the same video frame. The multi-layer editing effect is perfect for gameplay videos, walk-through tutorials, virtual greetings, reaction videos, and much more.
Note: The screenshots in this article are from Clipchamp's personal version. The same principles apply to Clipchamp for work accounts.
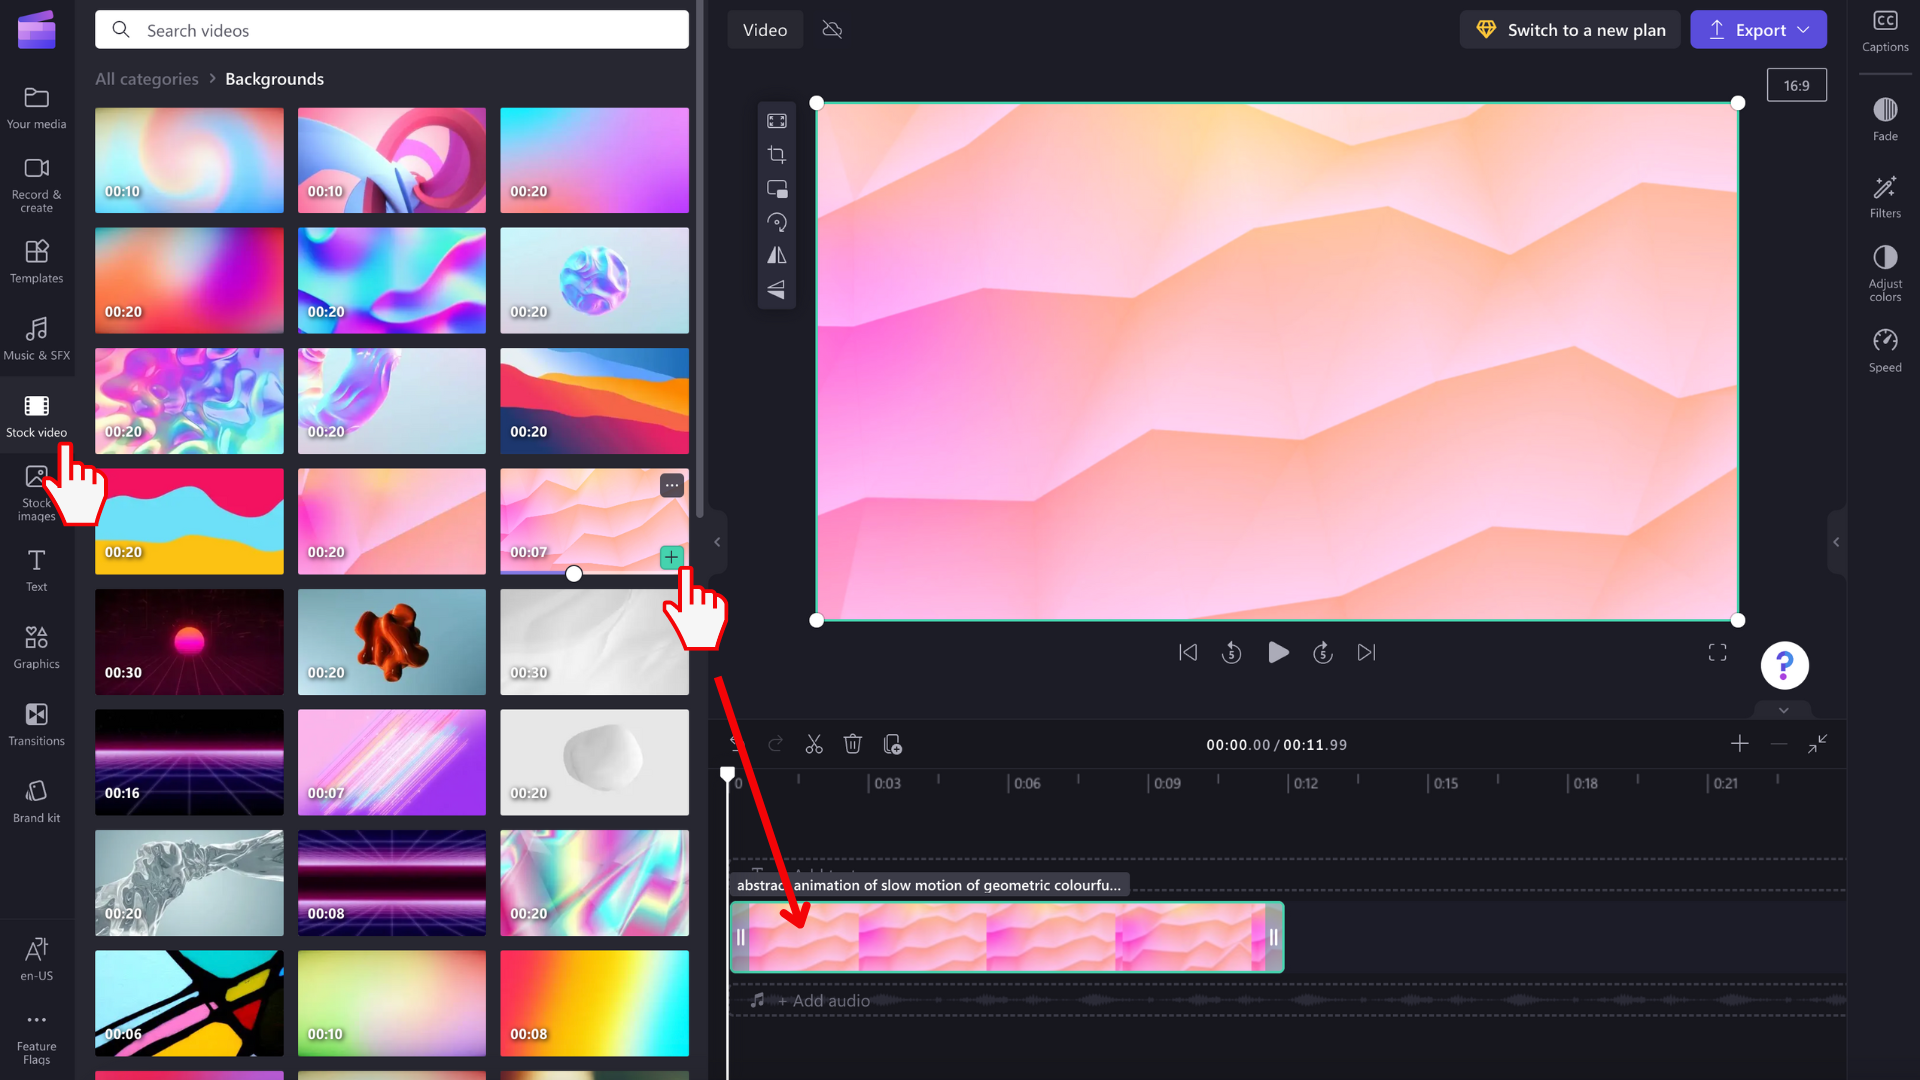
Step 1. Select your background media
Upload your own footage or select stock media. For this tutorial, we will be using our stock footage. Start with the media you would like to use as the background video.
Select the stock video tab, then choose a stock collection or search using keywords. Drag and drop your chosen video onto the timeline.
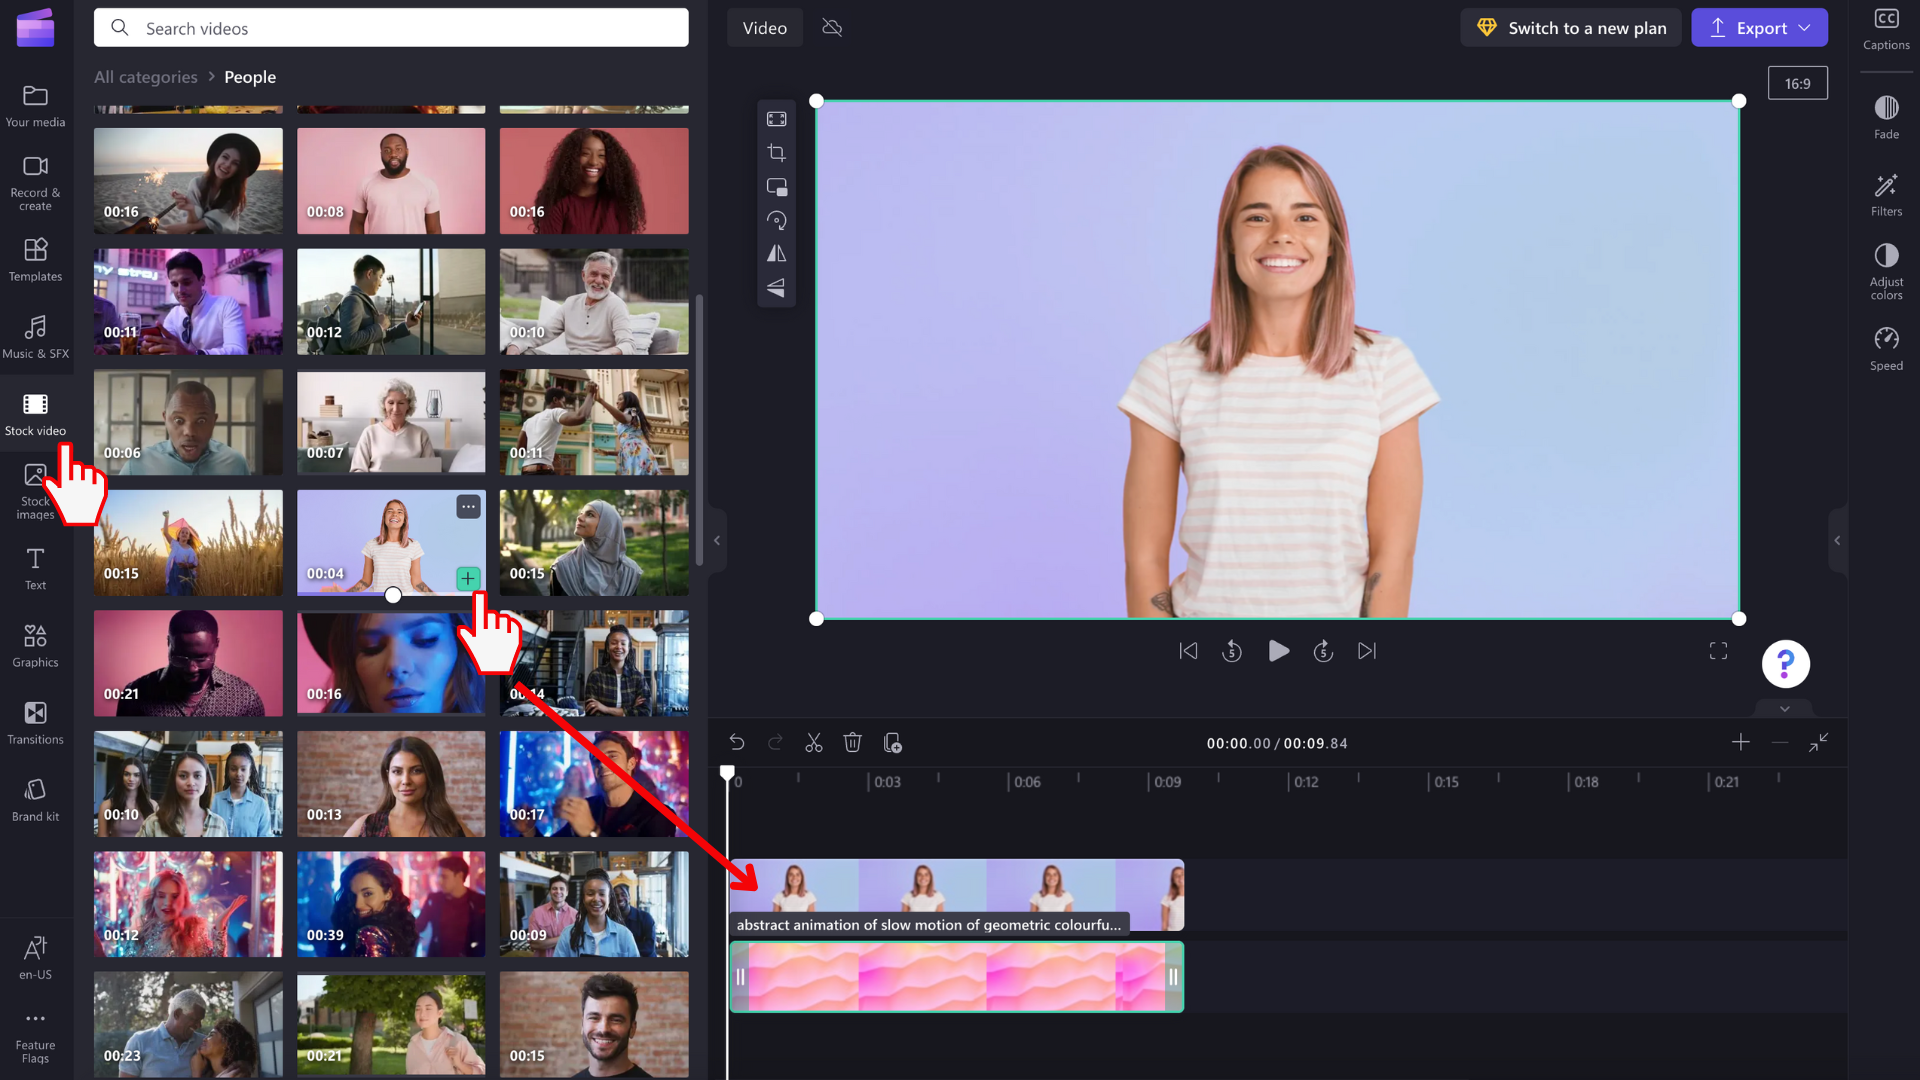
Step 2. Select your overlay media
Repeat step one to select your overlay video or the media you want to place on top. Click on the stock video tab, then select a stock collection or search using a keyword.
Place your chosen stock on top of the existing media in the timeline to ensure the media is an overlay.
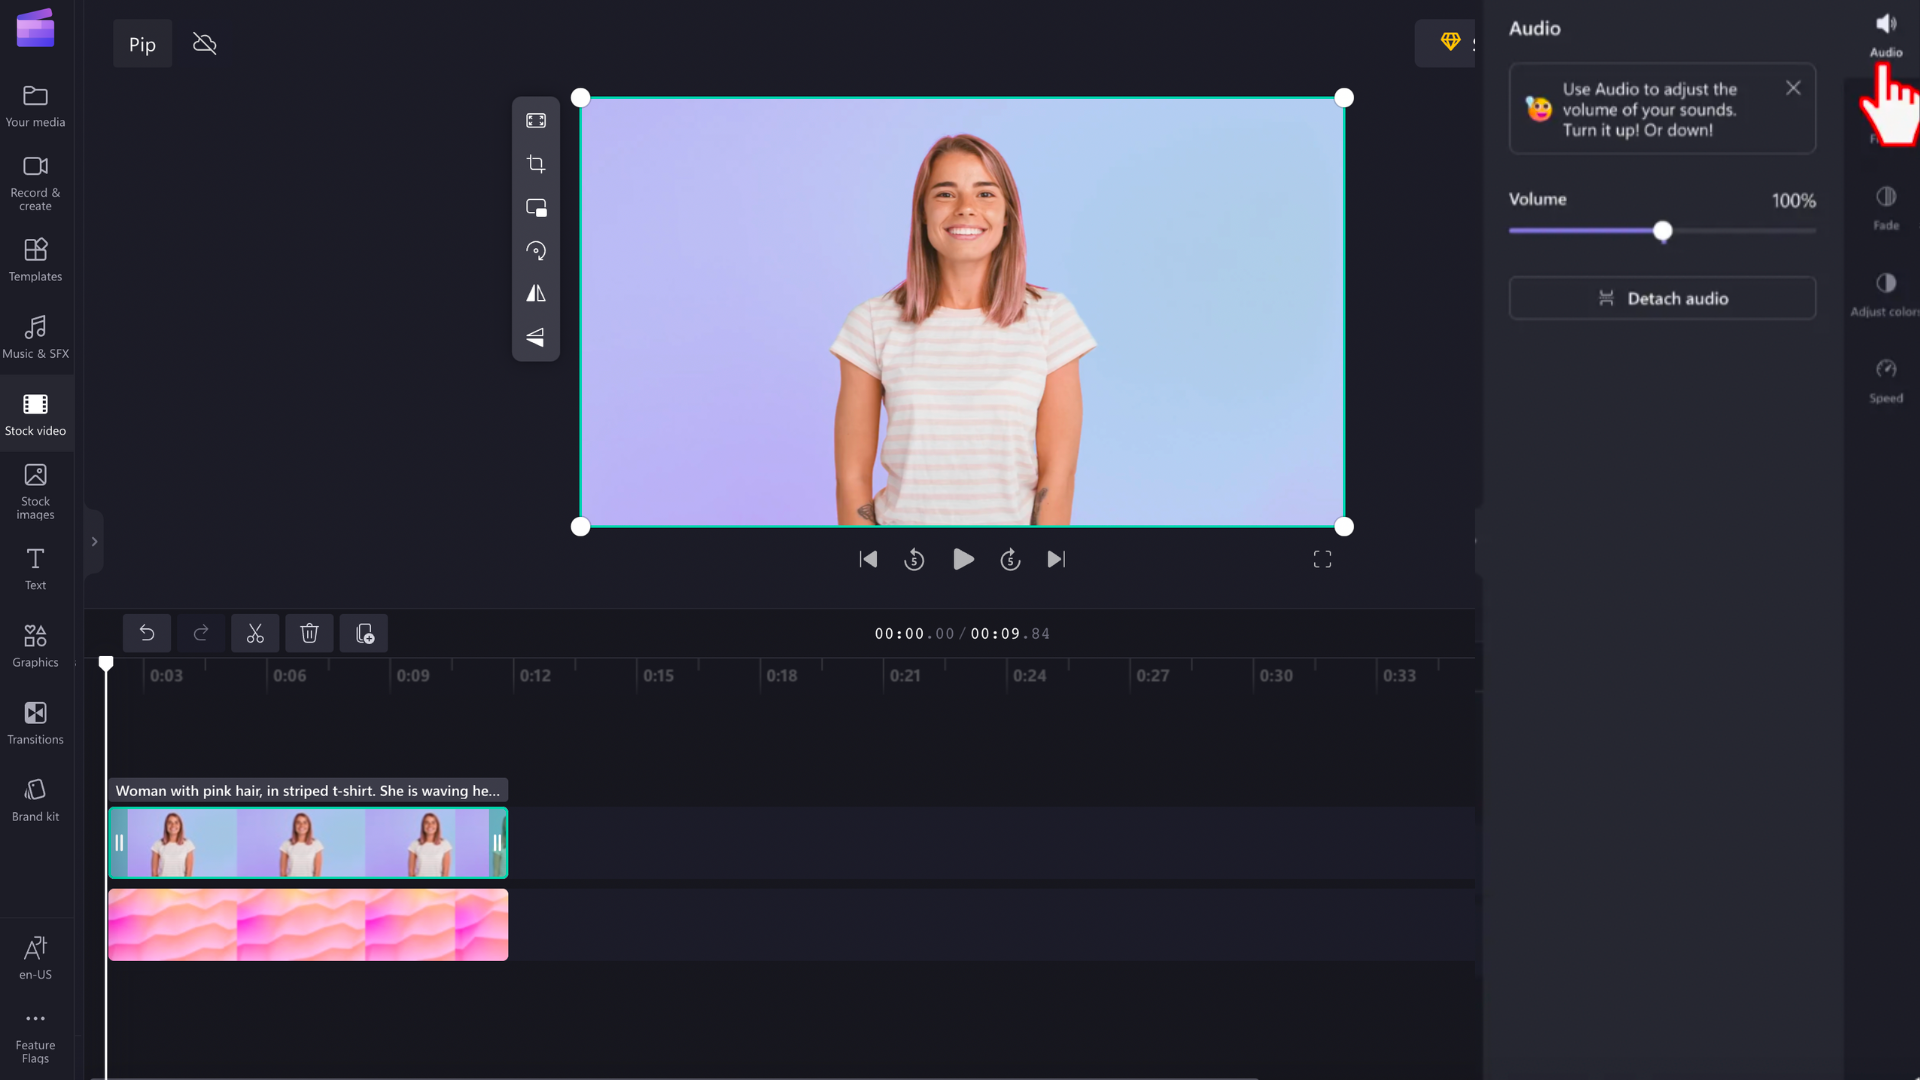
NOTE: Now that you have two videos playing simultaneously, you might run into doubled-up audio tracks playing.
If you want to mute the audio, click on the video on the timeline, so it’s highlighted green. Click on the audio icon on the video clip to mute. You can also click on the audio tab on the right sidebar, turn down the volume of the video using the slider, or detach the audio and delete it.
Step 3. Edit your video-on-video overlay
There are two different ways to create a picture-in-picture effect.
Option A: Click on the overlayed video on the timeline, so it’s highlighted green. Next, click on the picture-in-picture button on the floating toolbar.
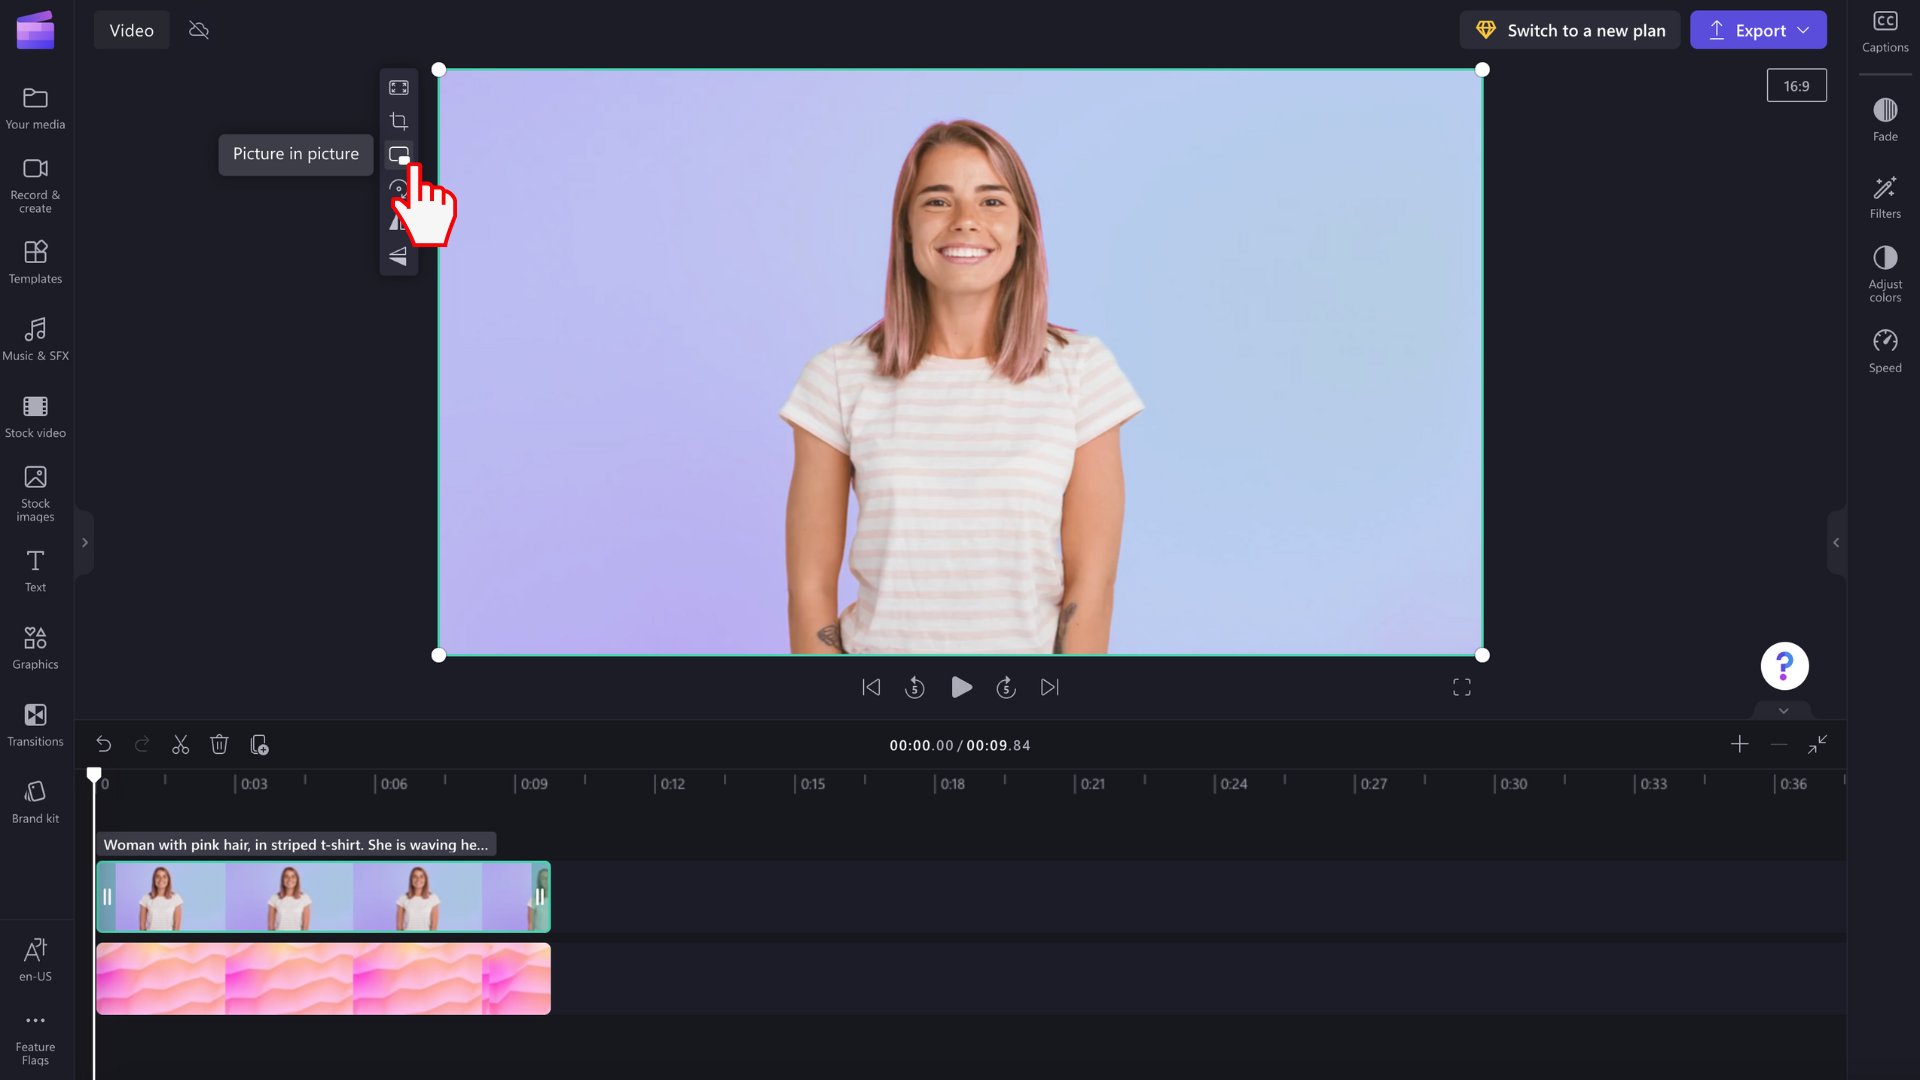
Select from the top right, top left, bottom right, and bottom left options.
You can also freely edit the size of your picture-in-picture video using the corners. If the video overlay is too small or in the wrong position, feel free to use the freehand editing corners to resize your video. Drag the corners in and out diagonally.

OR
Option B: Click on the overlayed video on the timeline, so it’s highlighted green. Use the freehand corners to resize your video and freely reposition the video around the preview screen.

If you need more help with the picture-in-picture overlay, take a look at our YouTube video.


