
Note: The screenshots in this article are from Clipchamp for personal accounts. The text to speech feature is also available in Clipchamp for work and can get used there as described in this article.
Voiceovers are a great addition to videos such as documentaries and marketing videos. However, we don't all have the talent to record a good voiceover ourselves or the budget to hire a professional voiceover artist. This is the text to speech feature in Clipchamp can help.
You can turn words into natural voiceover audio in a variety of languages and accents in Clipchamp.
How to create text to speech audio
Start by creating a new video in Clipchamp.
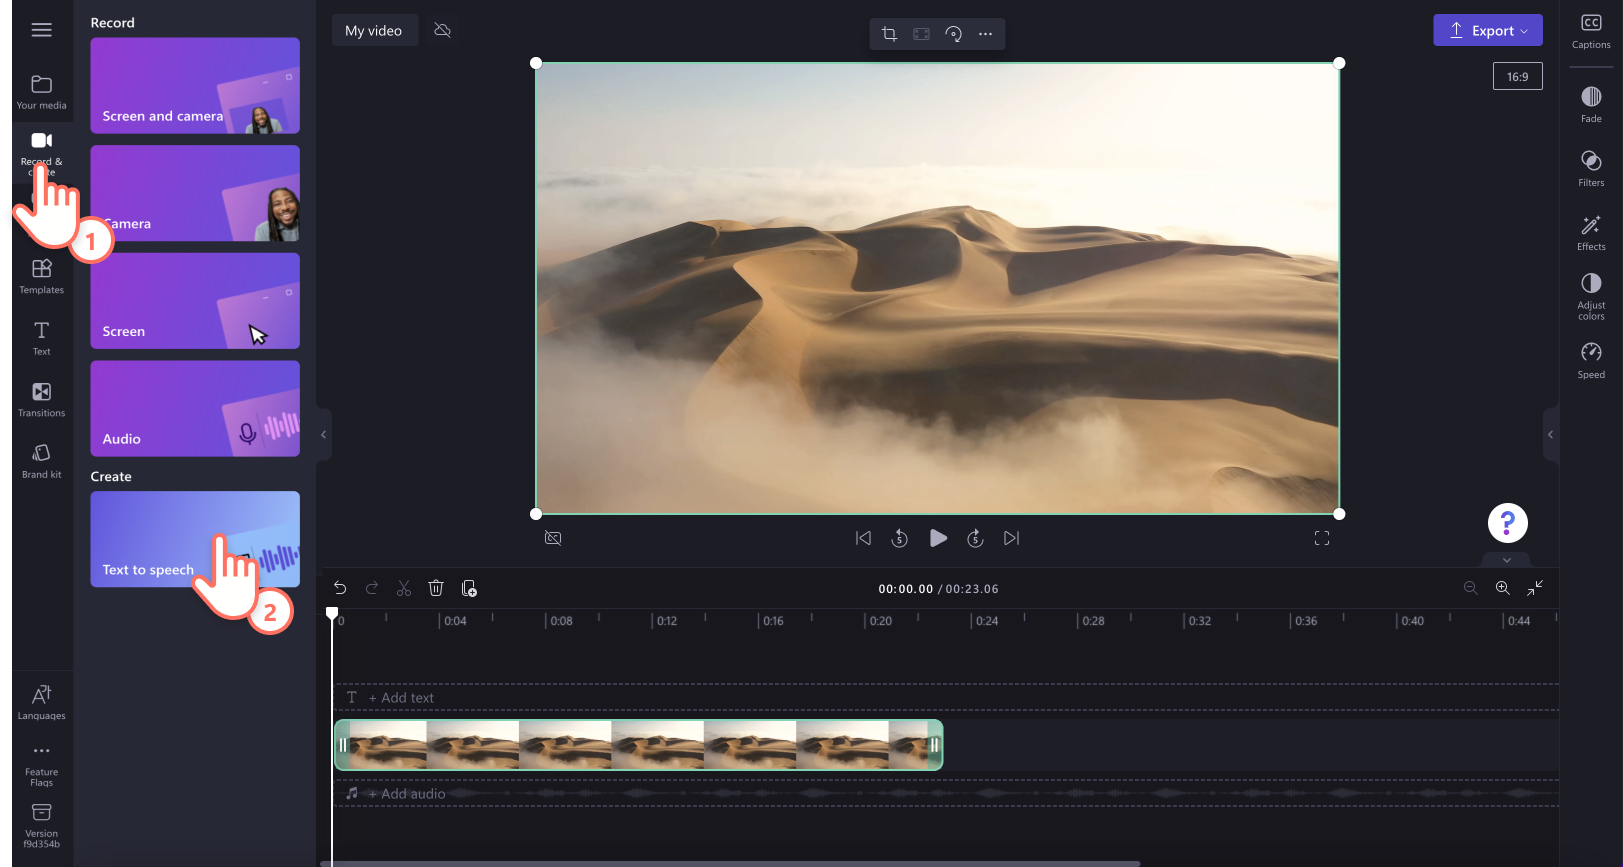
Step 1. Locate the record & create tab
Click on the record & create tab on the toolbar, then click on the text to speech option.
The text to speech tab will appear on the property panel.
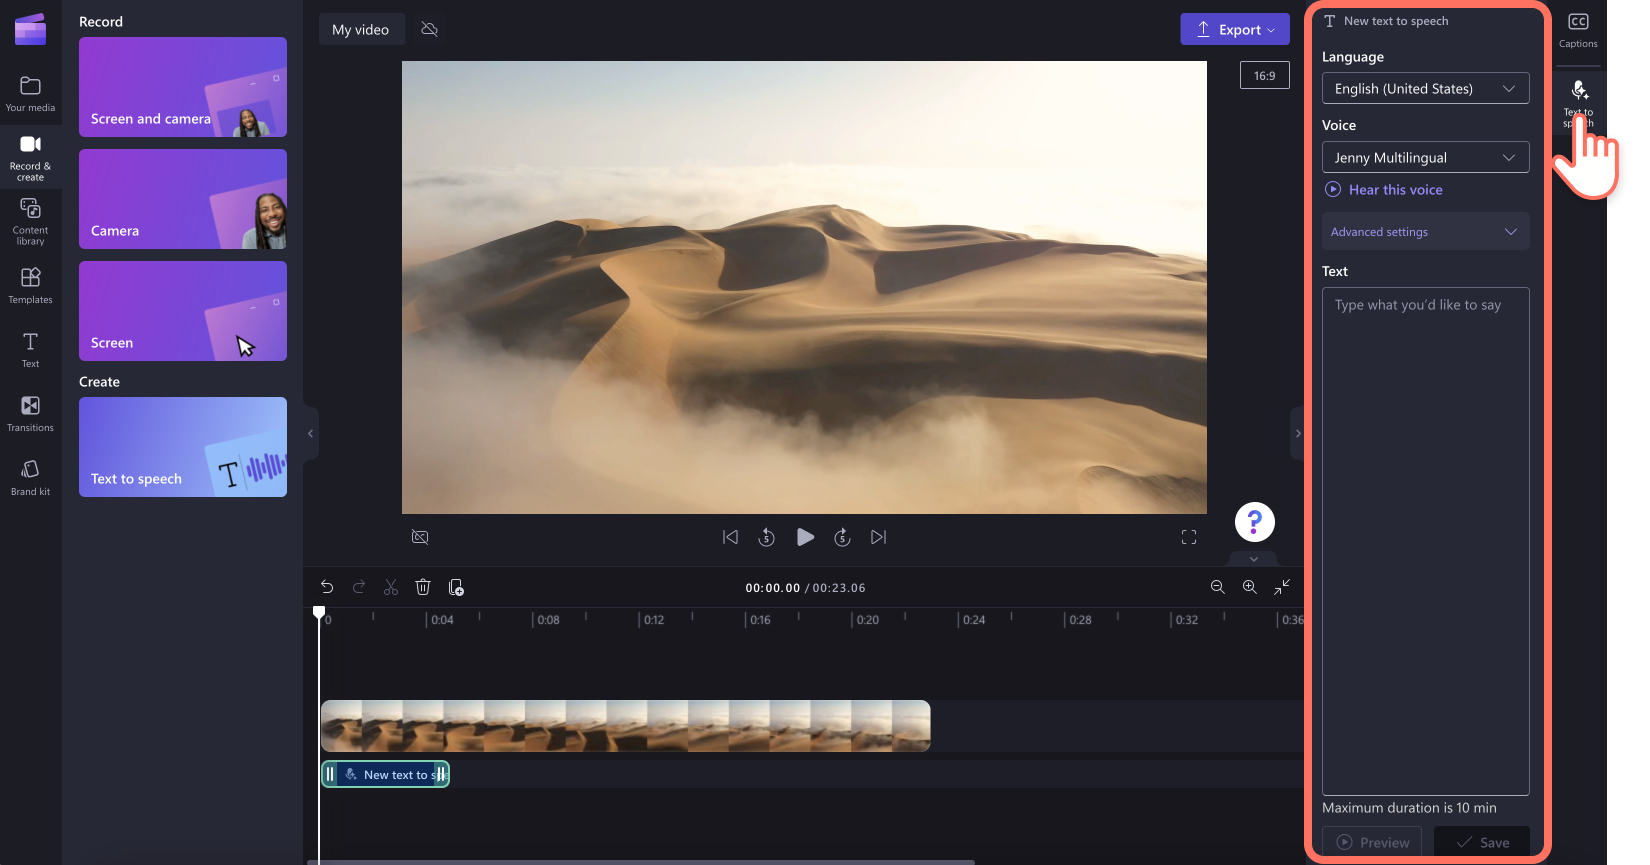
Step 2. Create your AI voiceover
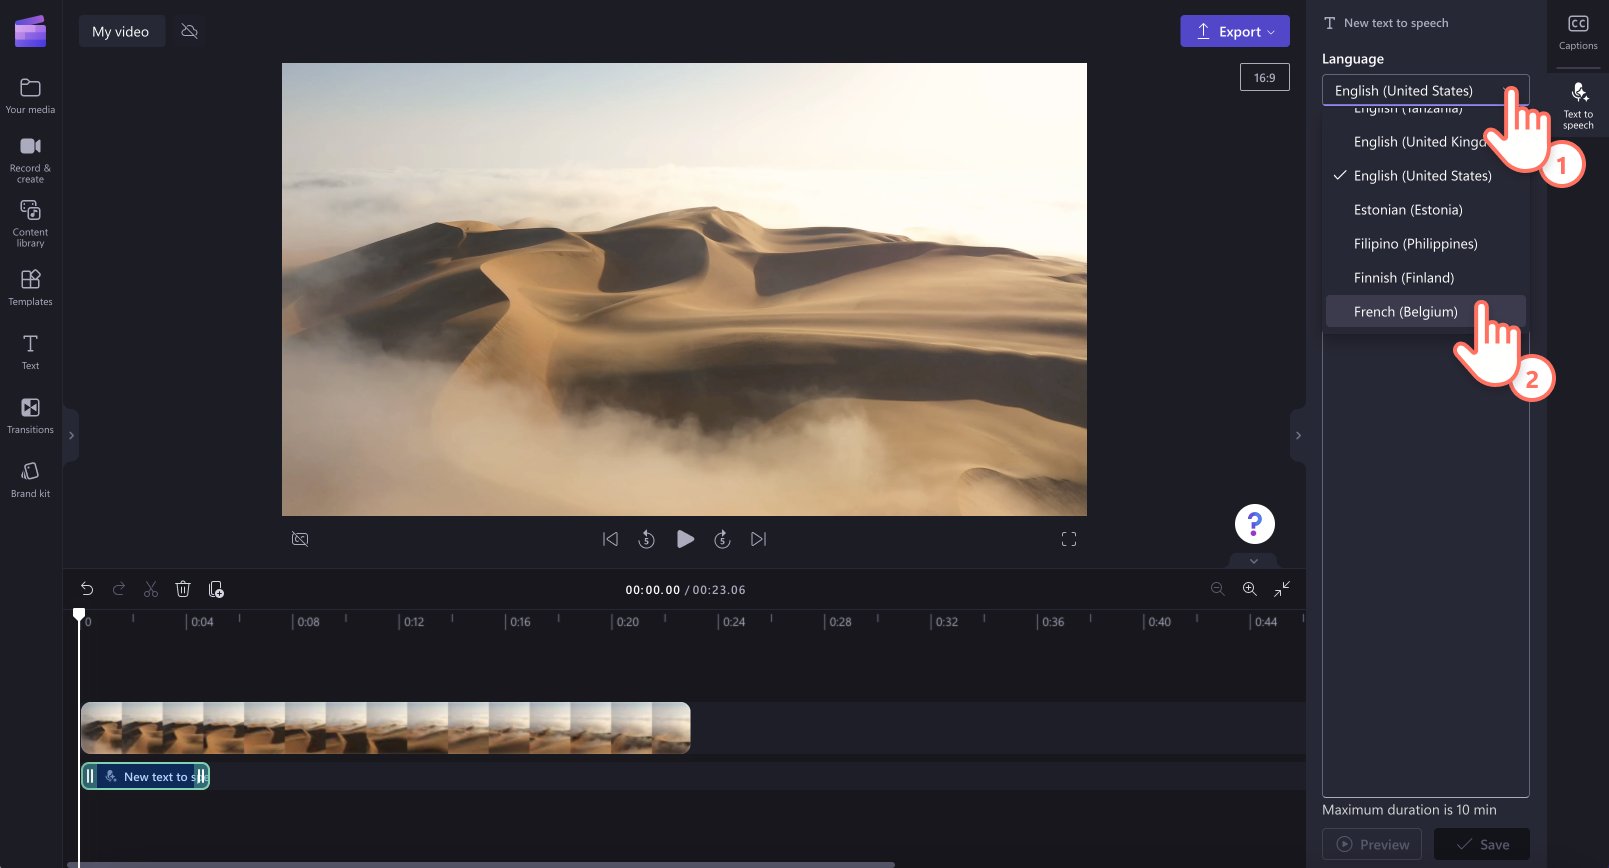
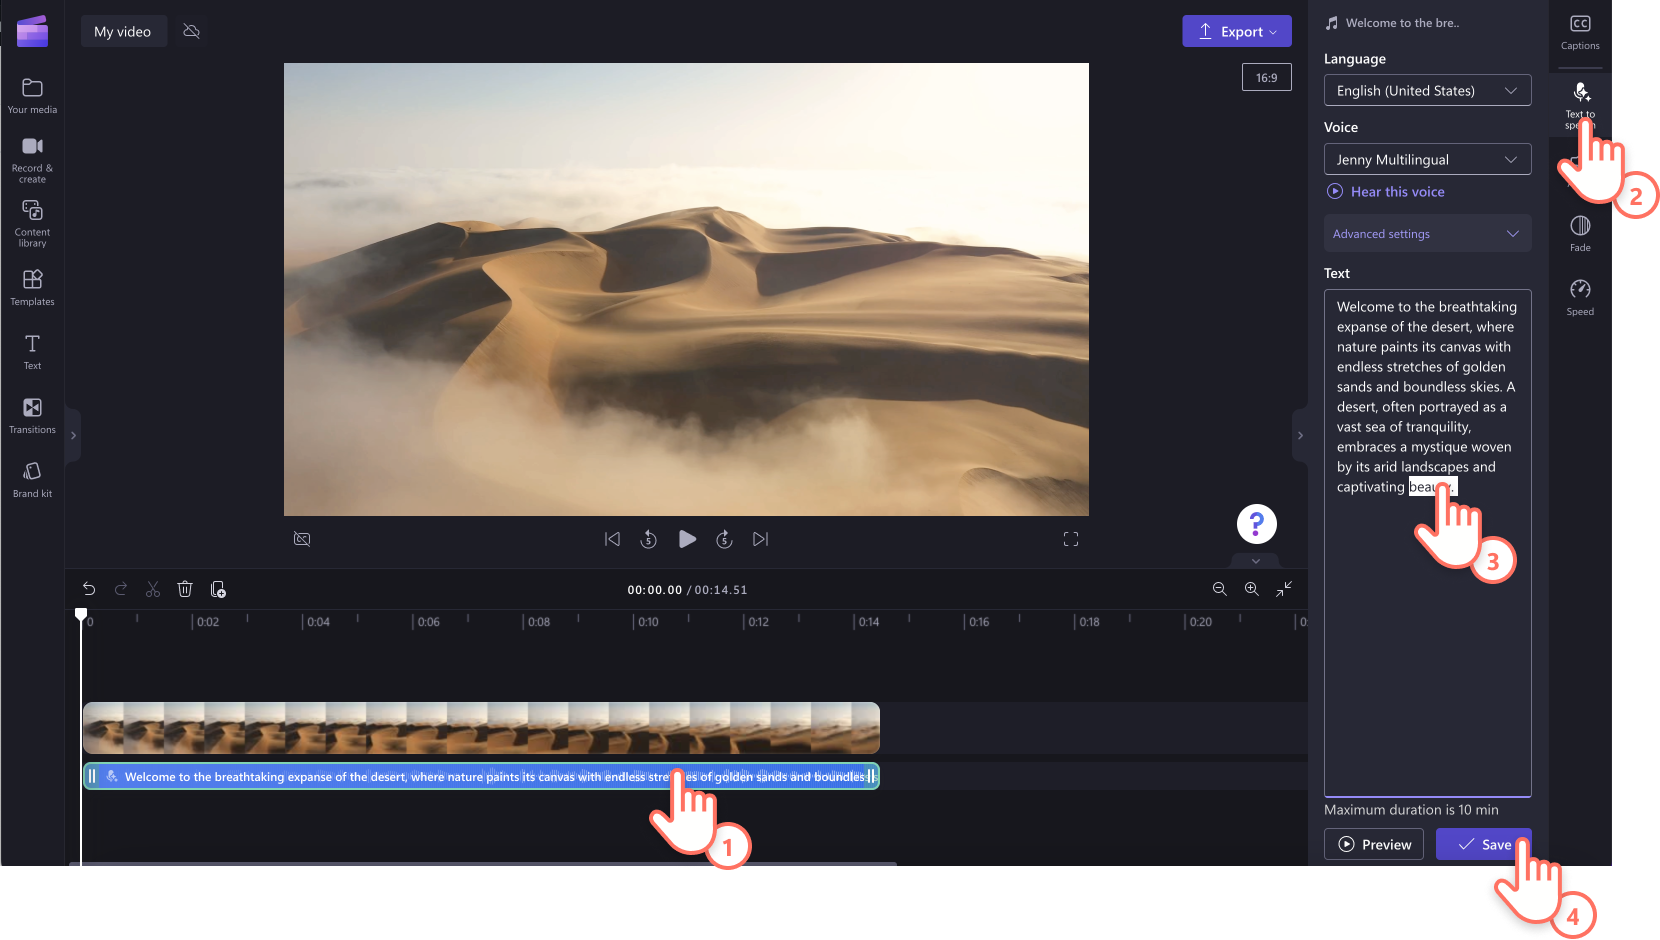
Next, click on the drop down arrow to select from a range of language including Japanese, Spanish, Italian, Greek, Hindi, French, and many more - find the full list here. Click on your desired language to select it.
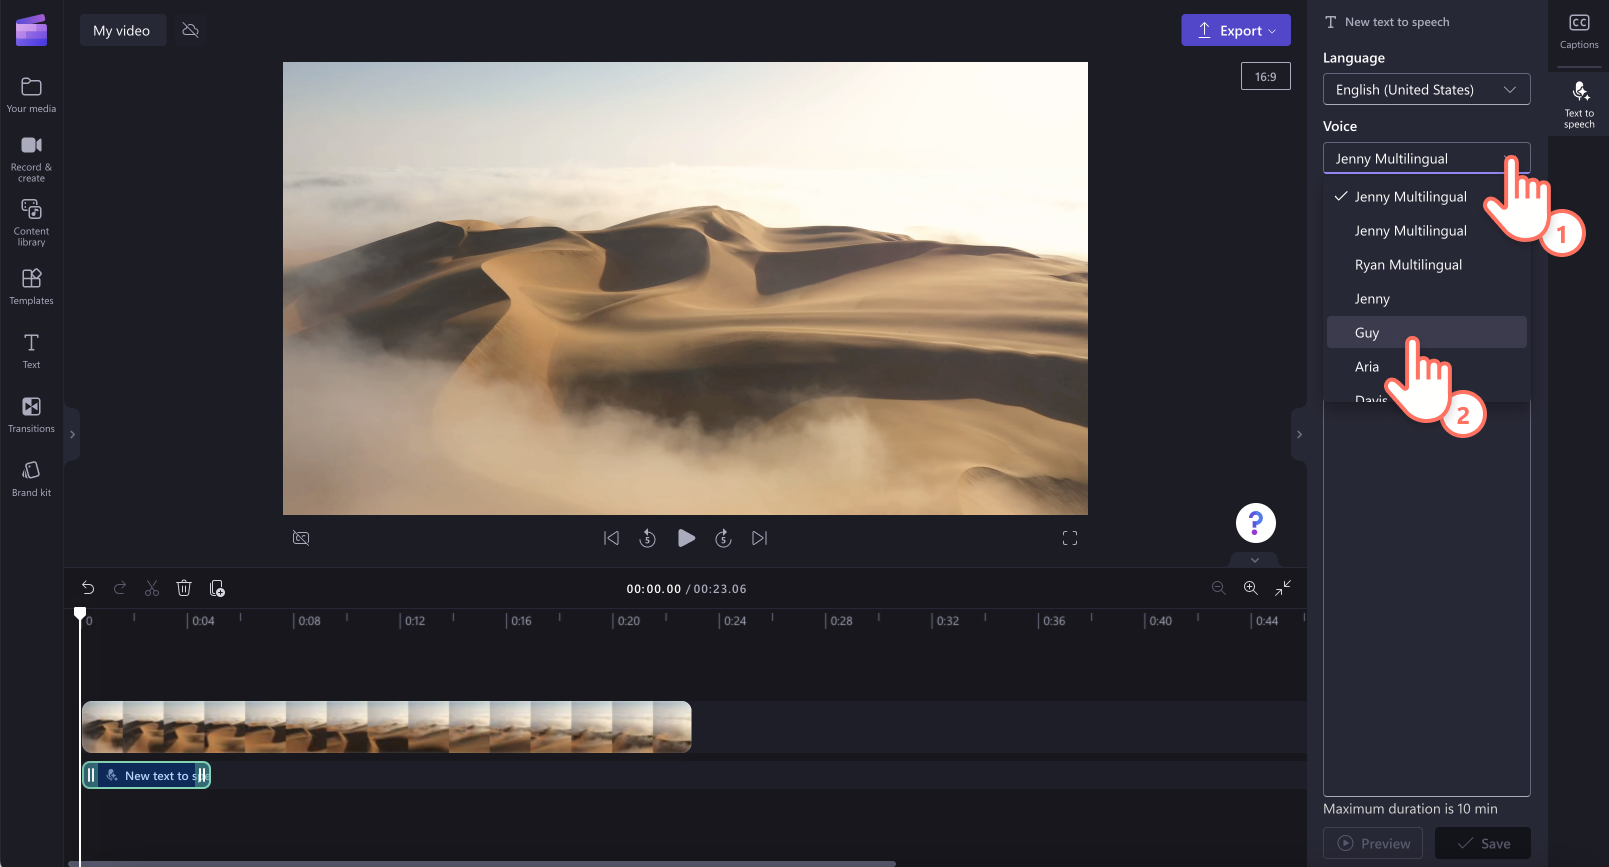
Next, choose your voice. Click on the voice drop down arrow to see all of the voice options. You can click on the hear this voice button to listen to a preview of your selected voice style.
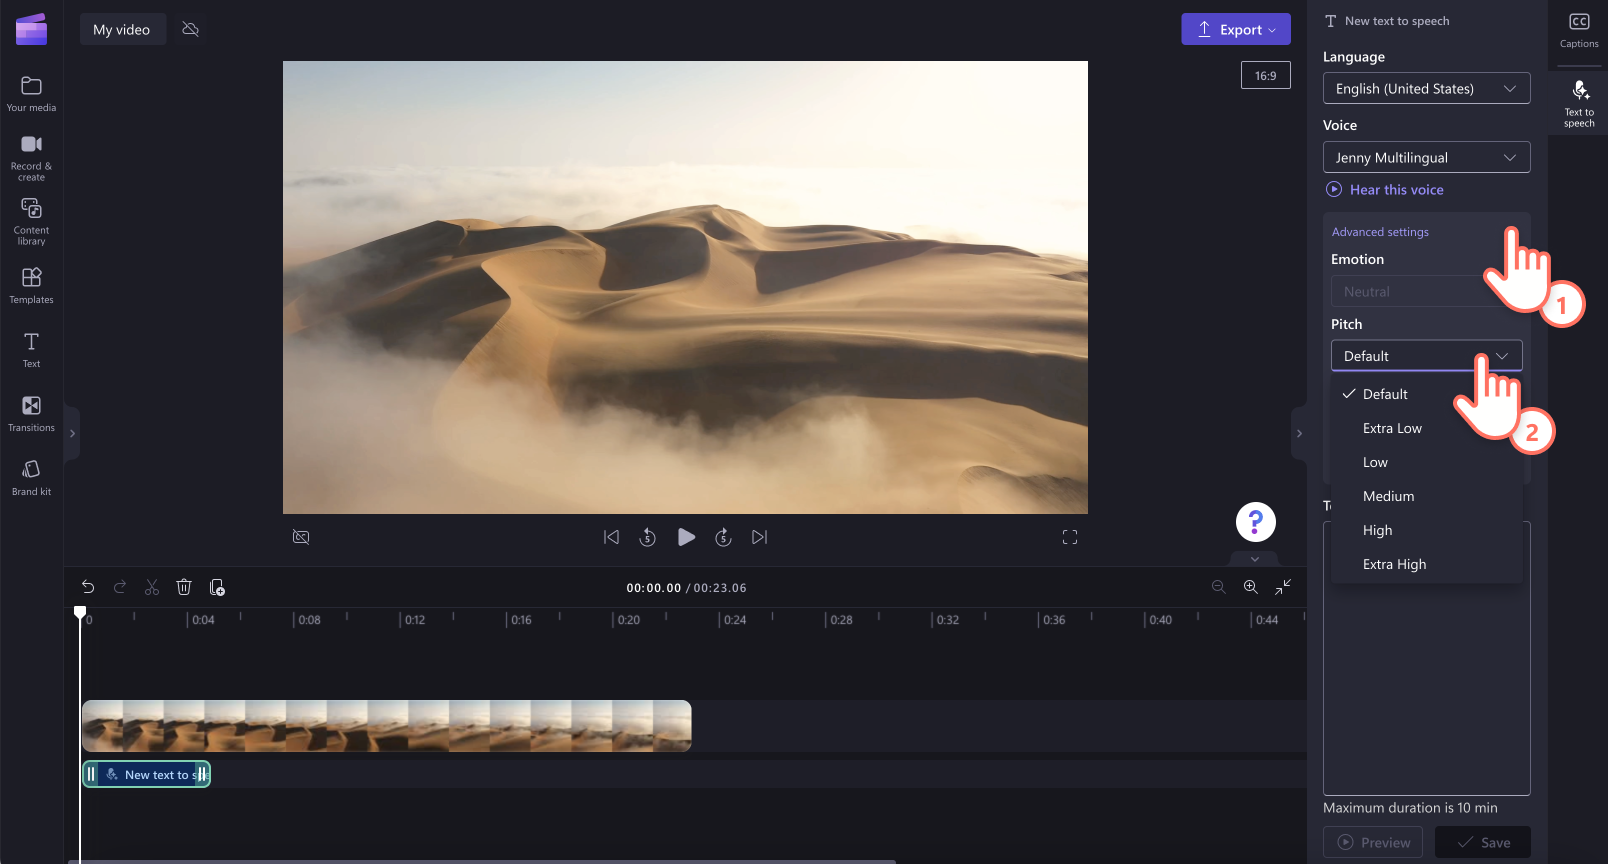
You can also adjust your pitch and pace using the advanced settings drop down arrow. Choose from different pitch options like extra low, low, medium, high, and extra high.
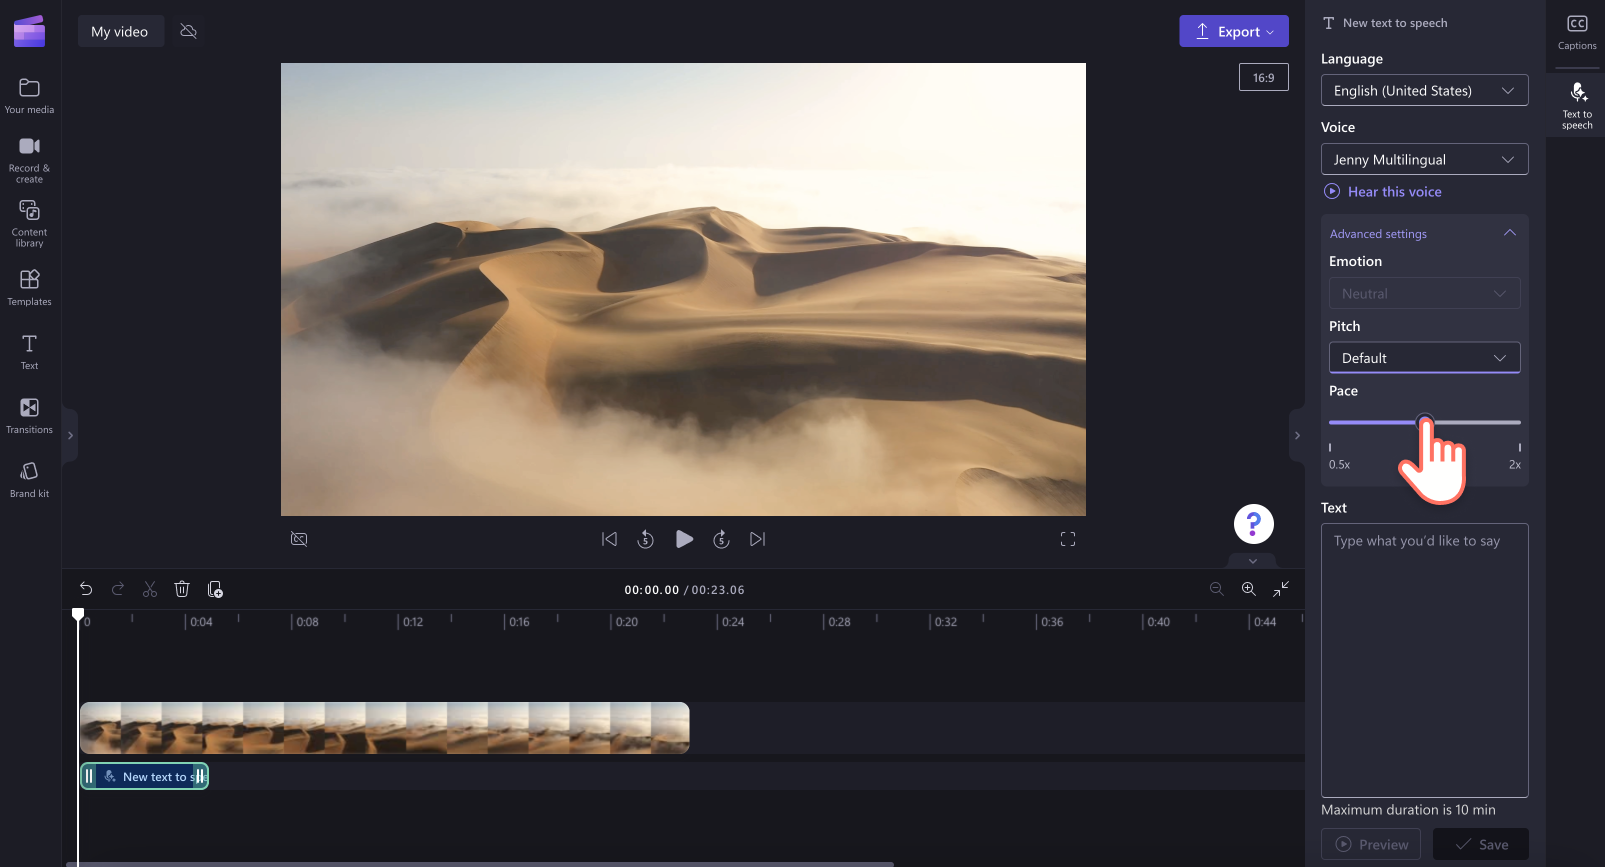
To edit the pace of your voiceover, use the pace slider. Drag the slider to the left to slow down your voiceover, or drag the slider to the right to speed up your voiceover.
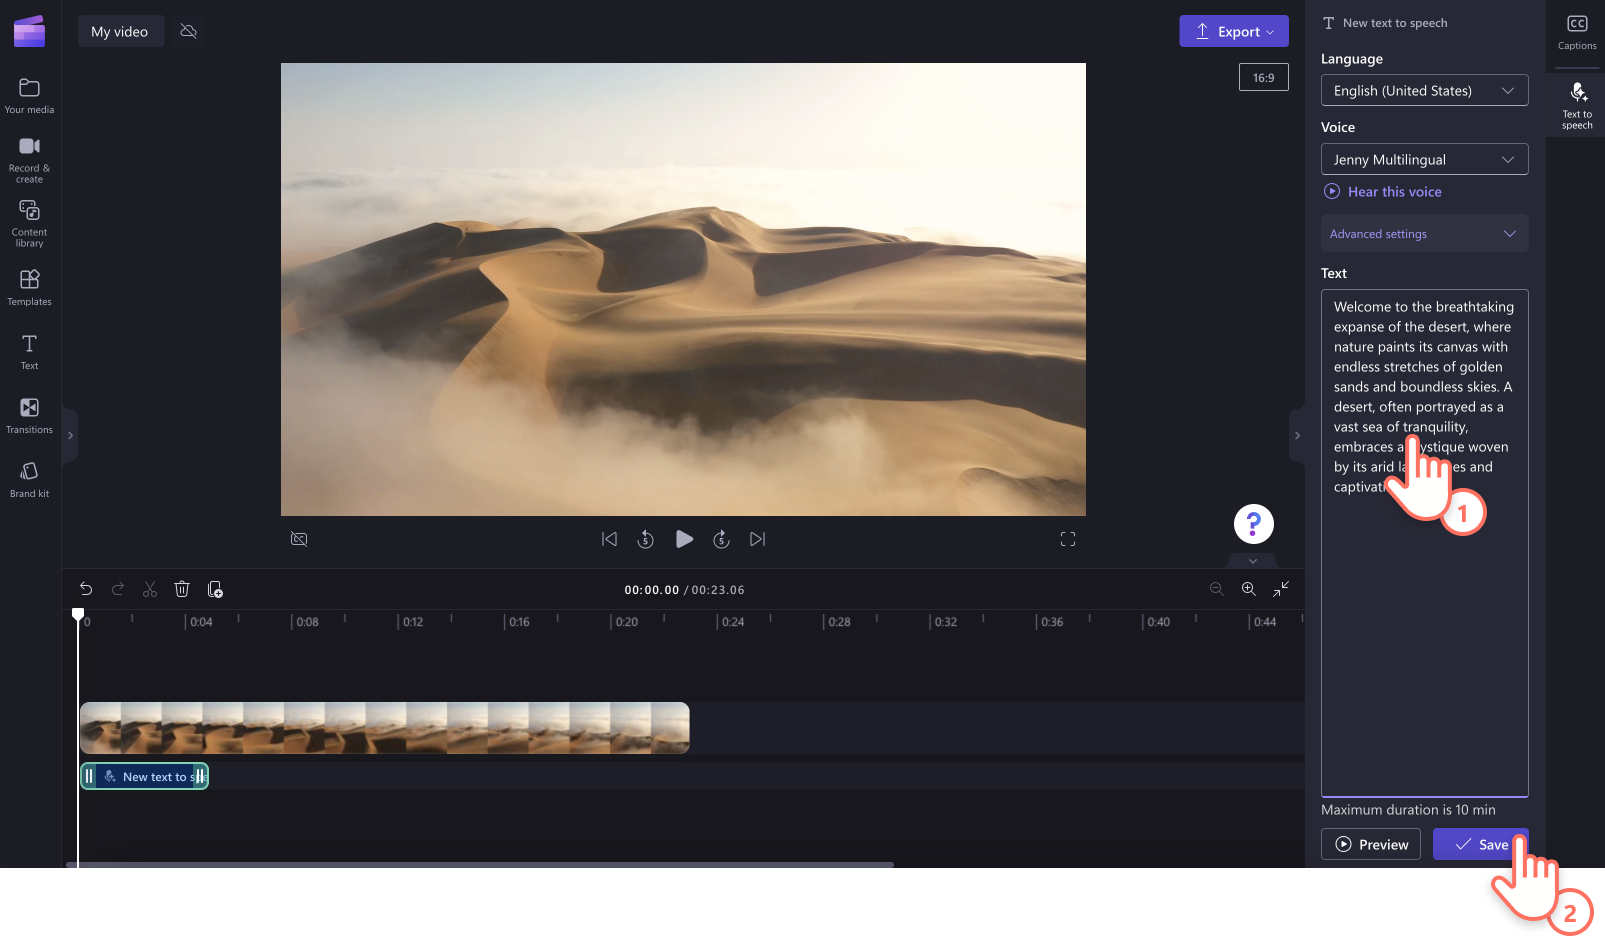
Next, add your text to the text box. Type in what you’d like to say in your voiceover into the text box on the property panel. Remember there is a maximum duration of 10 minutes per voiceover. Once you have added your text, click on the preview button to listen to your voiceover. Select Save to add your voiceover to your video.
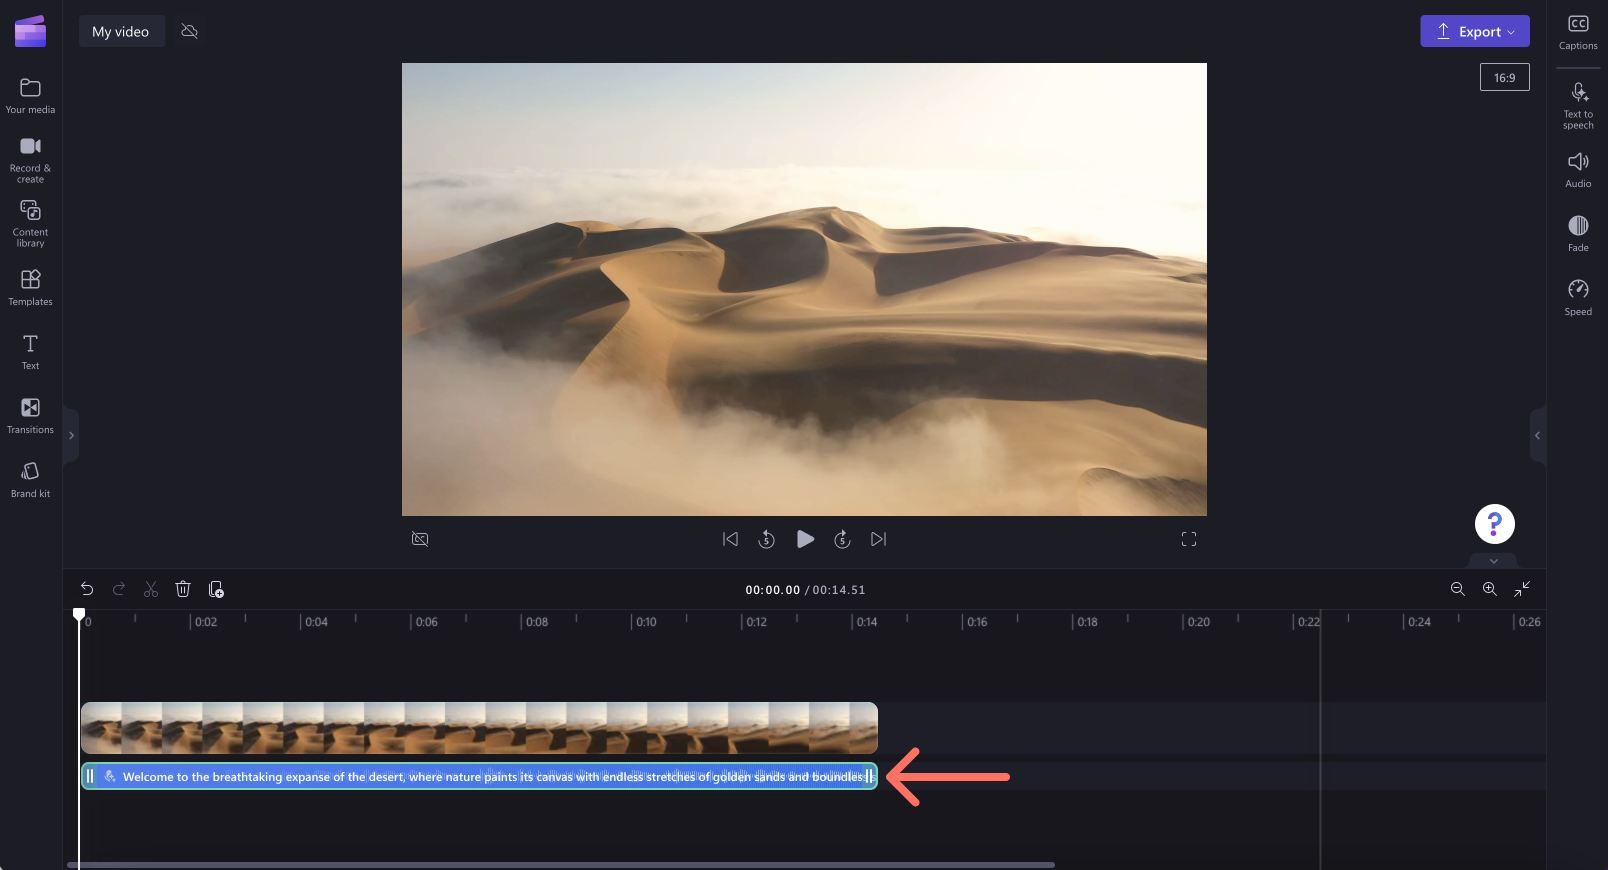
The track will automatically appear on the timeline below your video clip and also get added as a new audio file in the project's media library in the sidebar on the left.
Step 3. Preview and save your video
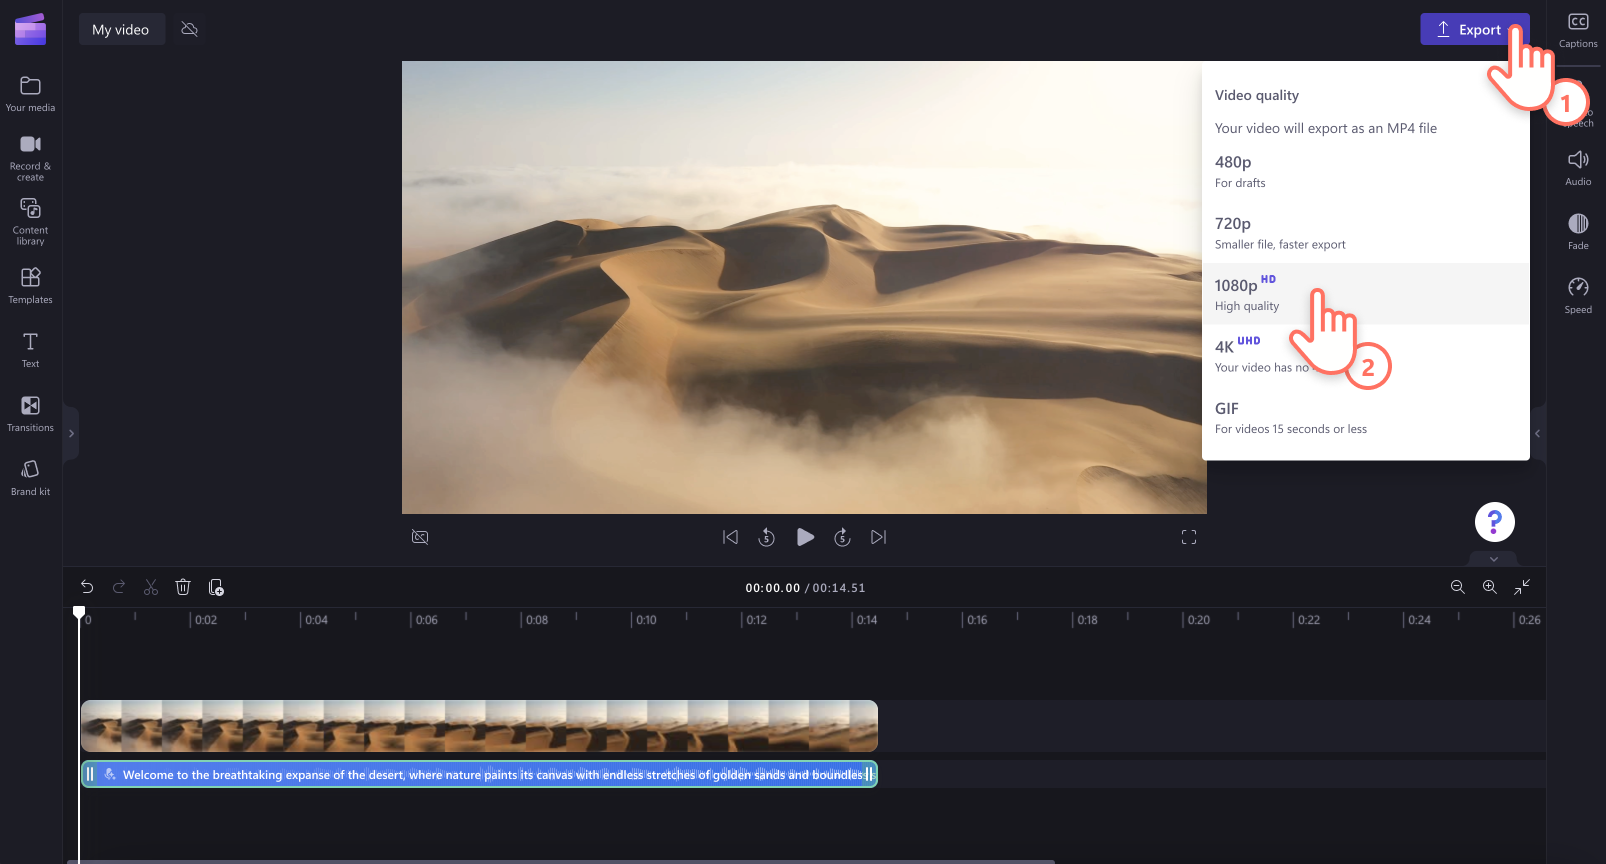
Before saving your video, make sure to preview by clicking on the play button. When you’re ready to save, click on the export button and select a video resolution. We recommend saving a project at the resolution of your input videos. For instance, if your input videos are at 720p, export your Clipchamp project at 720p. If in doubt, export in 1080p resolution and check if you're happy with the result. Paid subscribers can save in 4K video resolution.
How to edit or delete a voiceover
If you want to make changes to your voiceover after saving it, select the track on the timeline, then click the text to speech tab on the property panel. Edit your text, then click on the save button to save your changes. The voiceover will automatically update on your project timeline.
How to delete a voiceover from the timeline
To remove your voiceover from your video, just select the track on the timeline so it's highlighted green, then click on the trash can button to delete. You can also select the audio file in the media library and remove it from there, which will also remove it from the timeline.

How to adjust punctuation to get the perfect pronunciation
You can use punctuation to make small but impactful changes to your text-to-speech delivery.
Full stops/Periods: These will add a moderate pause to your text-to-speech before the next sentence begins.
Commas: A comma will add a short pause before the sentence continues.
Exclamation marks or all caps: At this point in time, exclamation marks or typing in all caps is unlikely to affect the delivery of your text-to-speech.
Use the preview option to hear the changes these edits make to the track.
How to make further edits to your voiceover
Splitting audio on the timeline
For instance, you can use the split tool to divide text to speech audio files into segments and move them around individually. This can be used to add or shorten pauses or remove unwanted words or sentences for the voiceover.
Adjusting the volume of your voiceover
To turn down or turn up the volume of your voiceover, click on the audio tab on the property panel. Drag the slider to the left to make the audio softer or drag to the right to make the music louder. You can also type in a specific numeric percentage.
Adding fades to your voiceover
To fade in and out voiceover audio, click on the fade tab on the property panel. To add a fade in to your voiceover, drag the fade in slider to the right. To add a fade out to your voiceover, drag the fade out slider to the right. The numeric value will also change simultaneously with the audio fader slider.
Adding captions to your video
To add captions to your video assisting your voiceover, click on the captions tab on the property panel. Turn on captions and follow the on-screen instructions.


