
“Freehand” refers to using your cursor to change a media asset in the preview window of Clipchamp instead of relying on presets for cropping or positioning.
With the freehand crop tool you can crop certain areas of videos, images or other visual assets and even change the aspect ratio of an asset by adjusting the corners inside the preview area. This editing function helps you keep the focal points of your video in frame with ease.
Note: The screenshots in this article are from Clipchamp's personal version. The same principles apply to Clipchamp for work accounts.
How to use freehand crop in Clipchamp
Step 1. Create a project or open an existing project
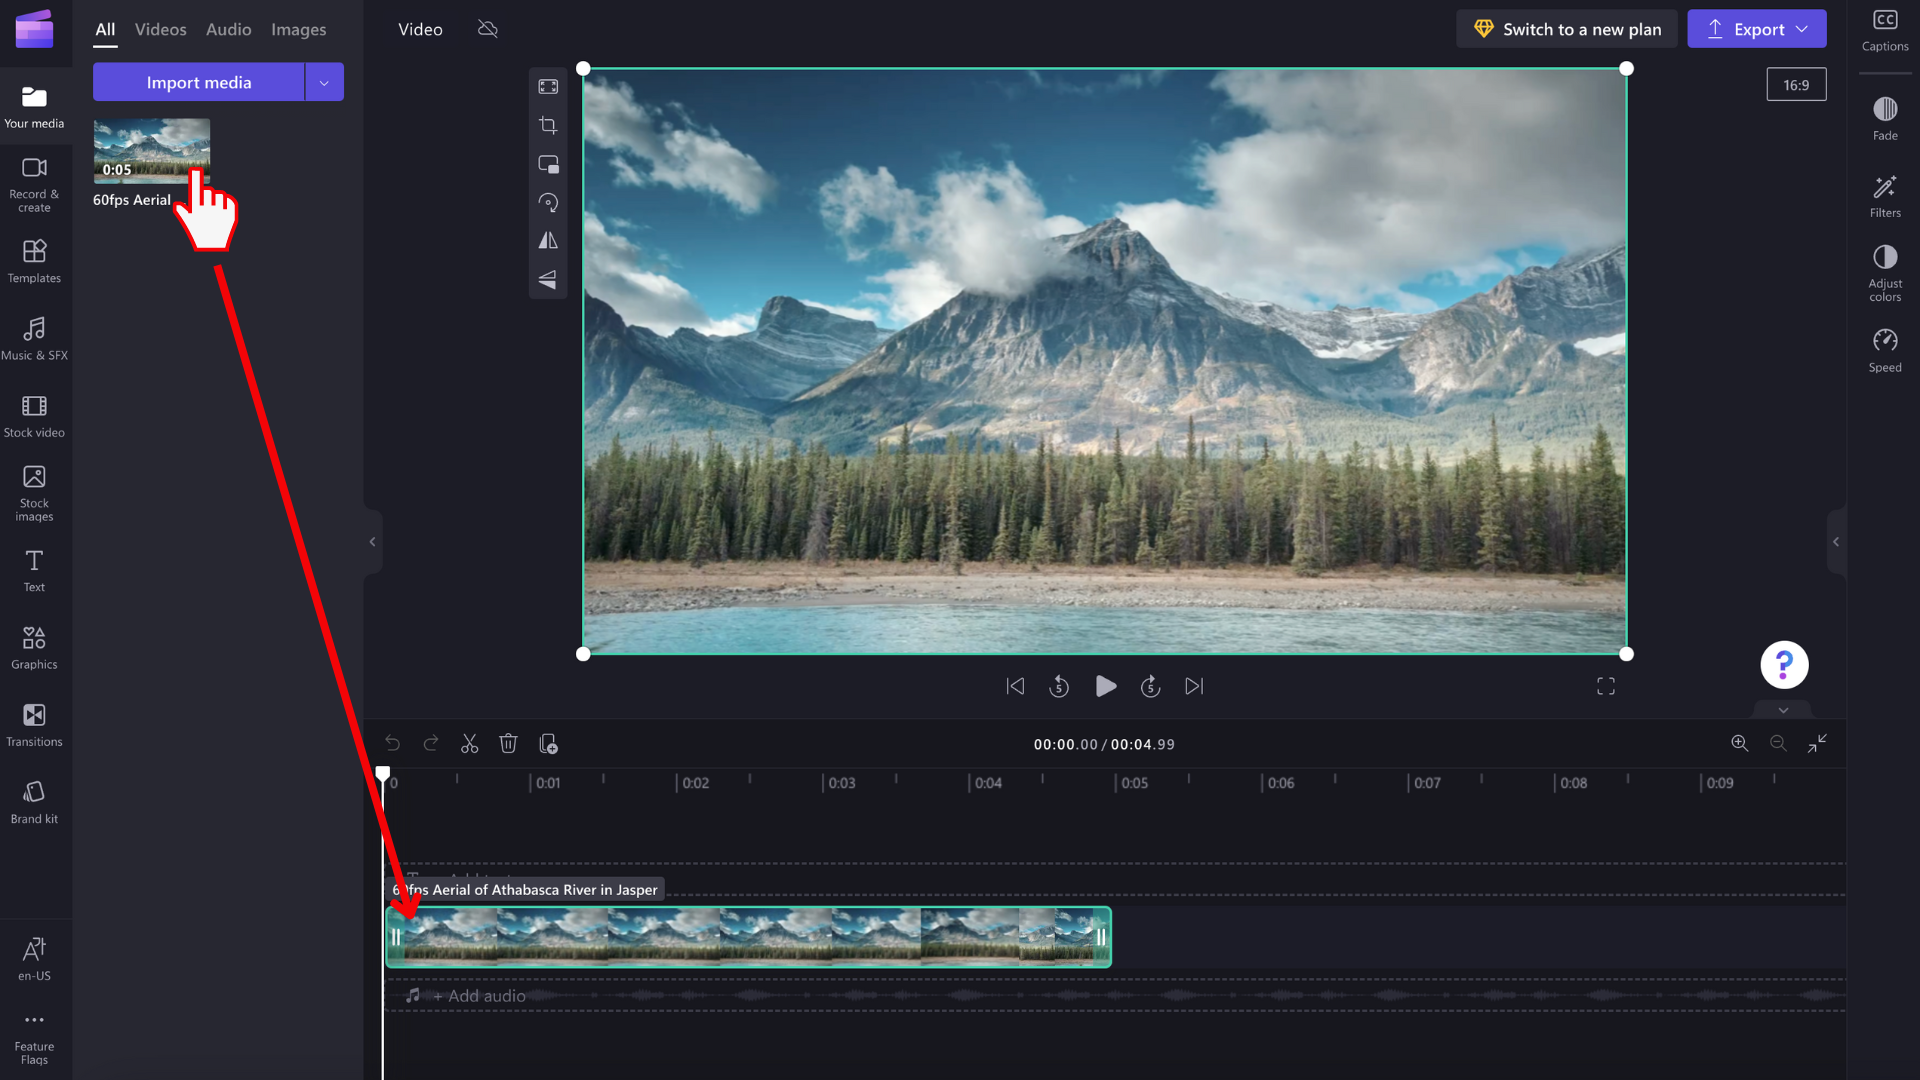
If you're creating a new video editing project, add media files to the media library, then start by dragging and dropping items onto the timeline.
Step 2. Select the asset in the timeline
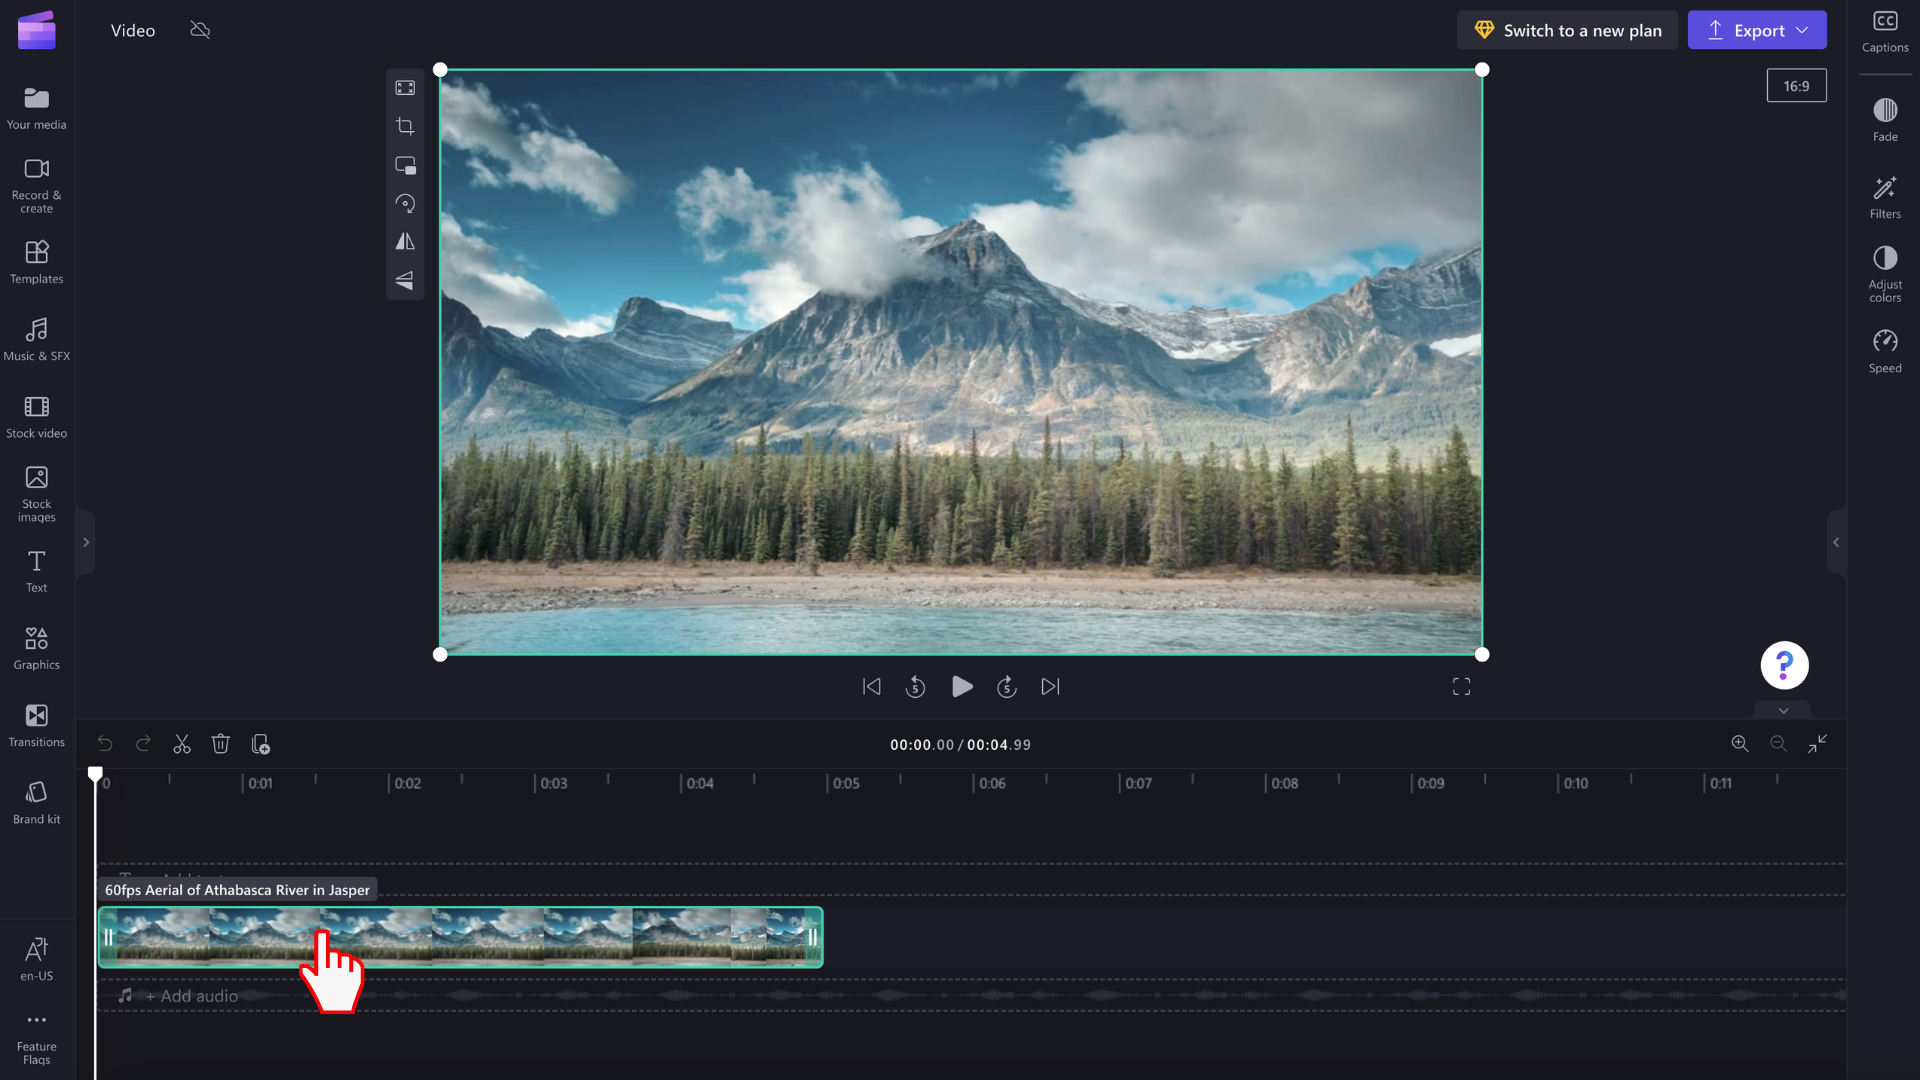
Select the clip on the timeline you would like to freehand crop. Your chosen asset will get highlighted on the timeline and in the video preview window when it is selected.
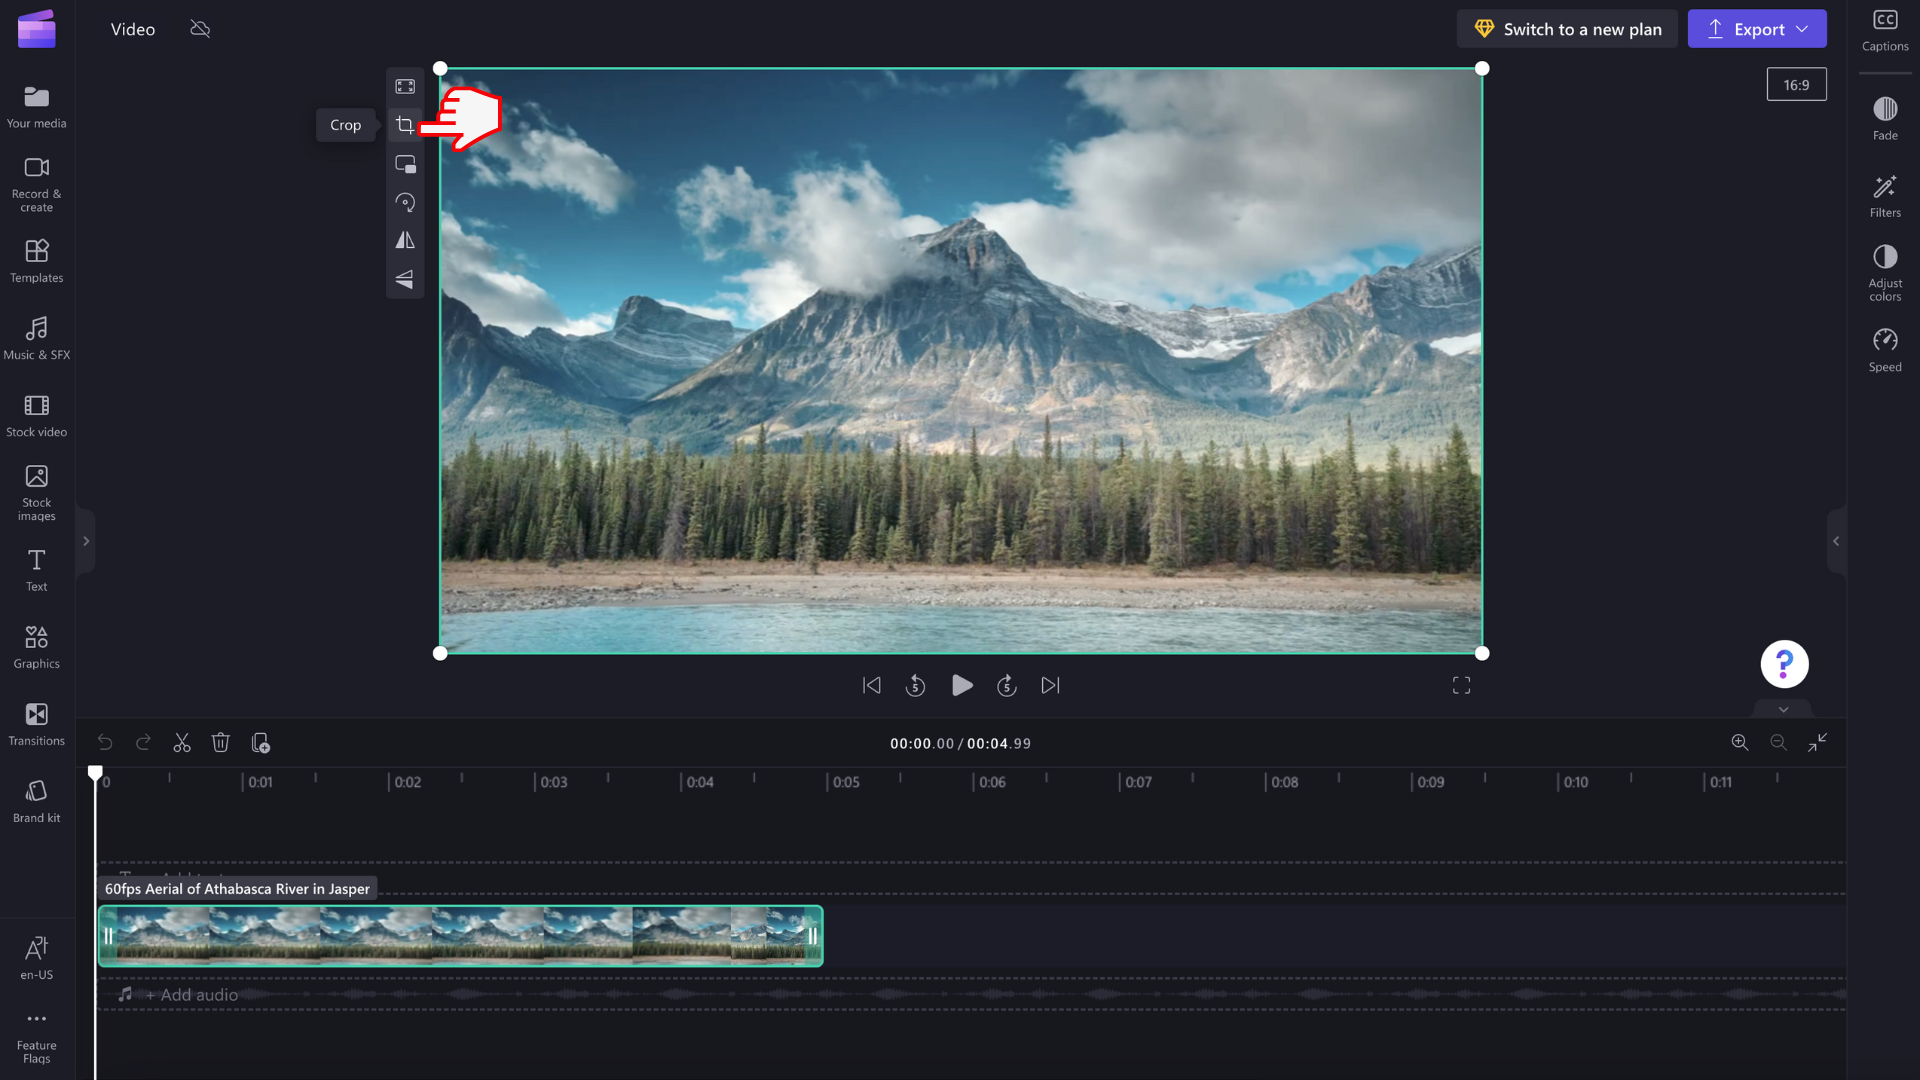
Step 3. Select the Crop button
The floating toolbar will appear. Select the crop button.
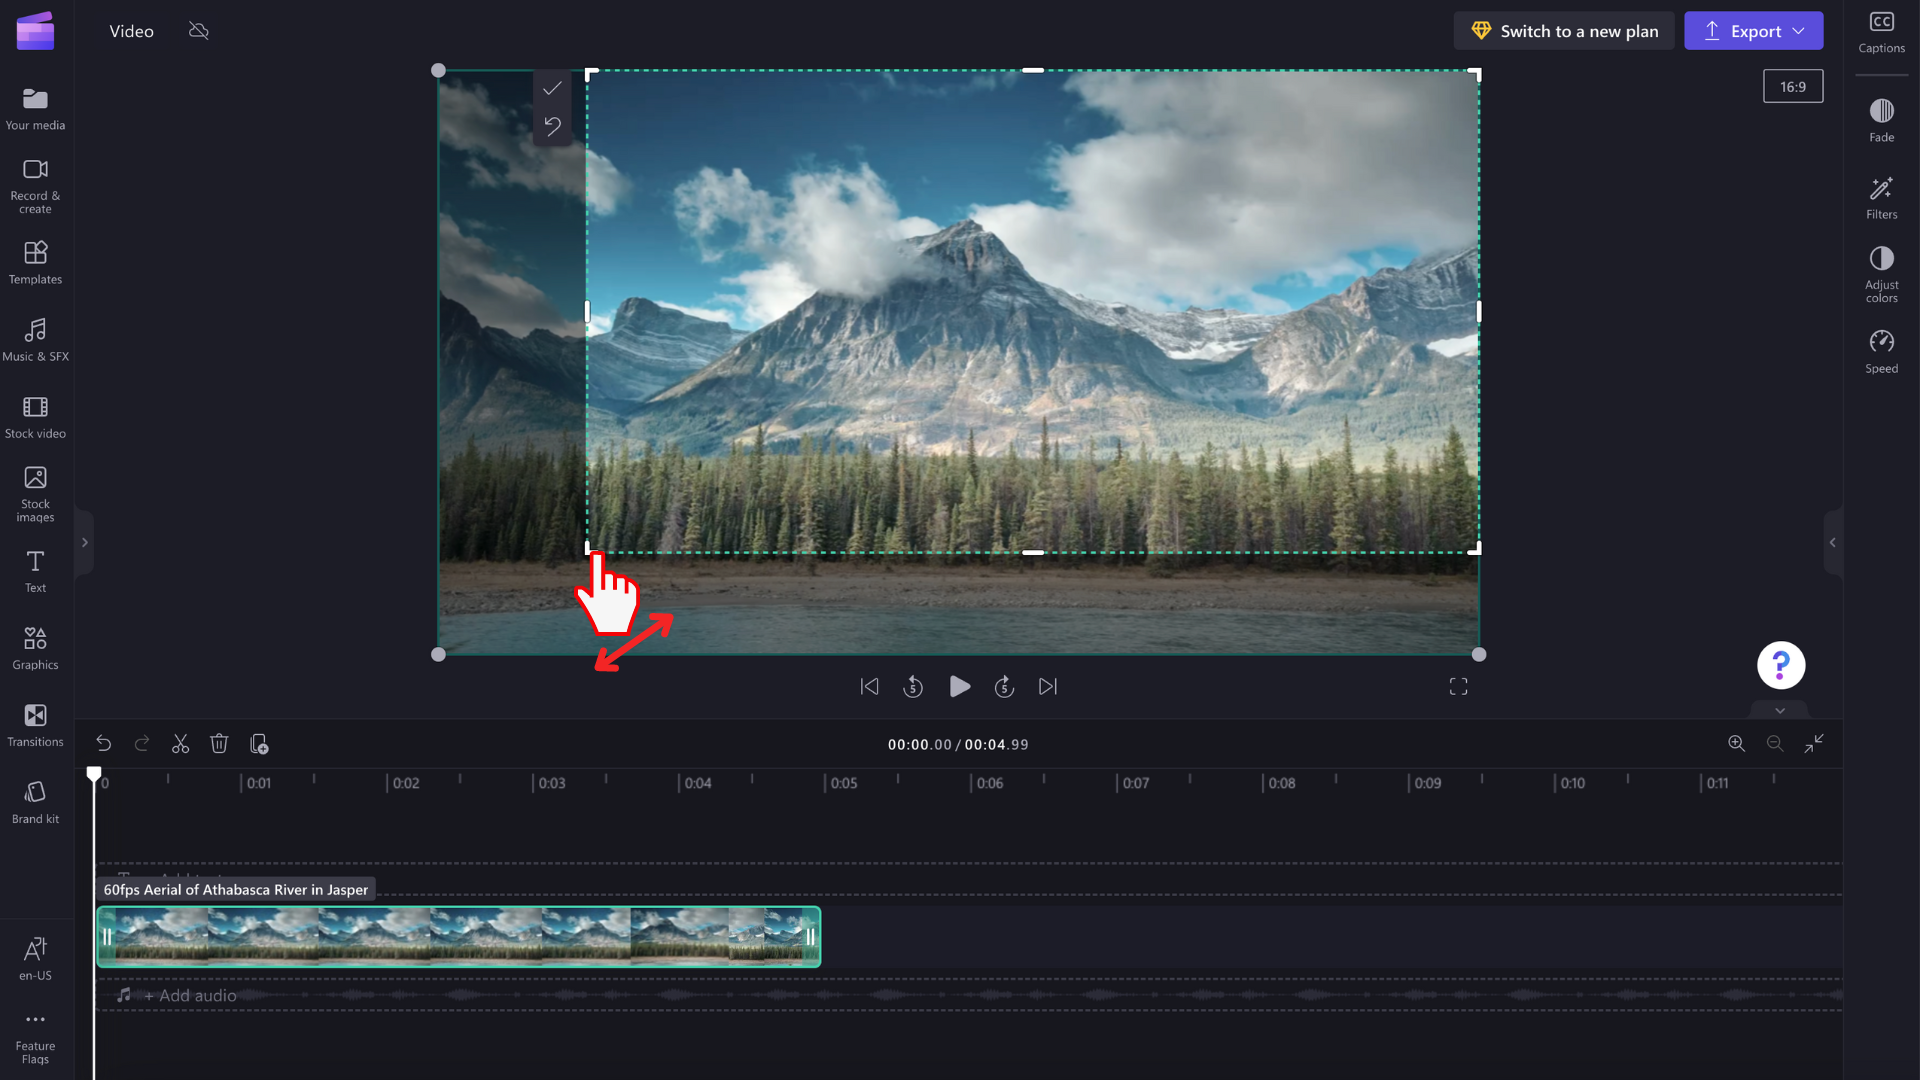
Step 4. Crop your asset
Cropping handles will appear on your video preview's corners and sides. Using your cursor, drag the cropping handles in and out to freehand crop the asset. You can use the corner cropping handles, or side cropping handles to change the size and aspect ratio of your asset.
Step 5. Select the Done or Revert to original button
Select the Done button if you are happy with the freehand crop. The changes apply to the selected asset in the timeline only.
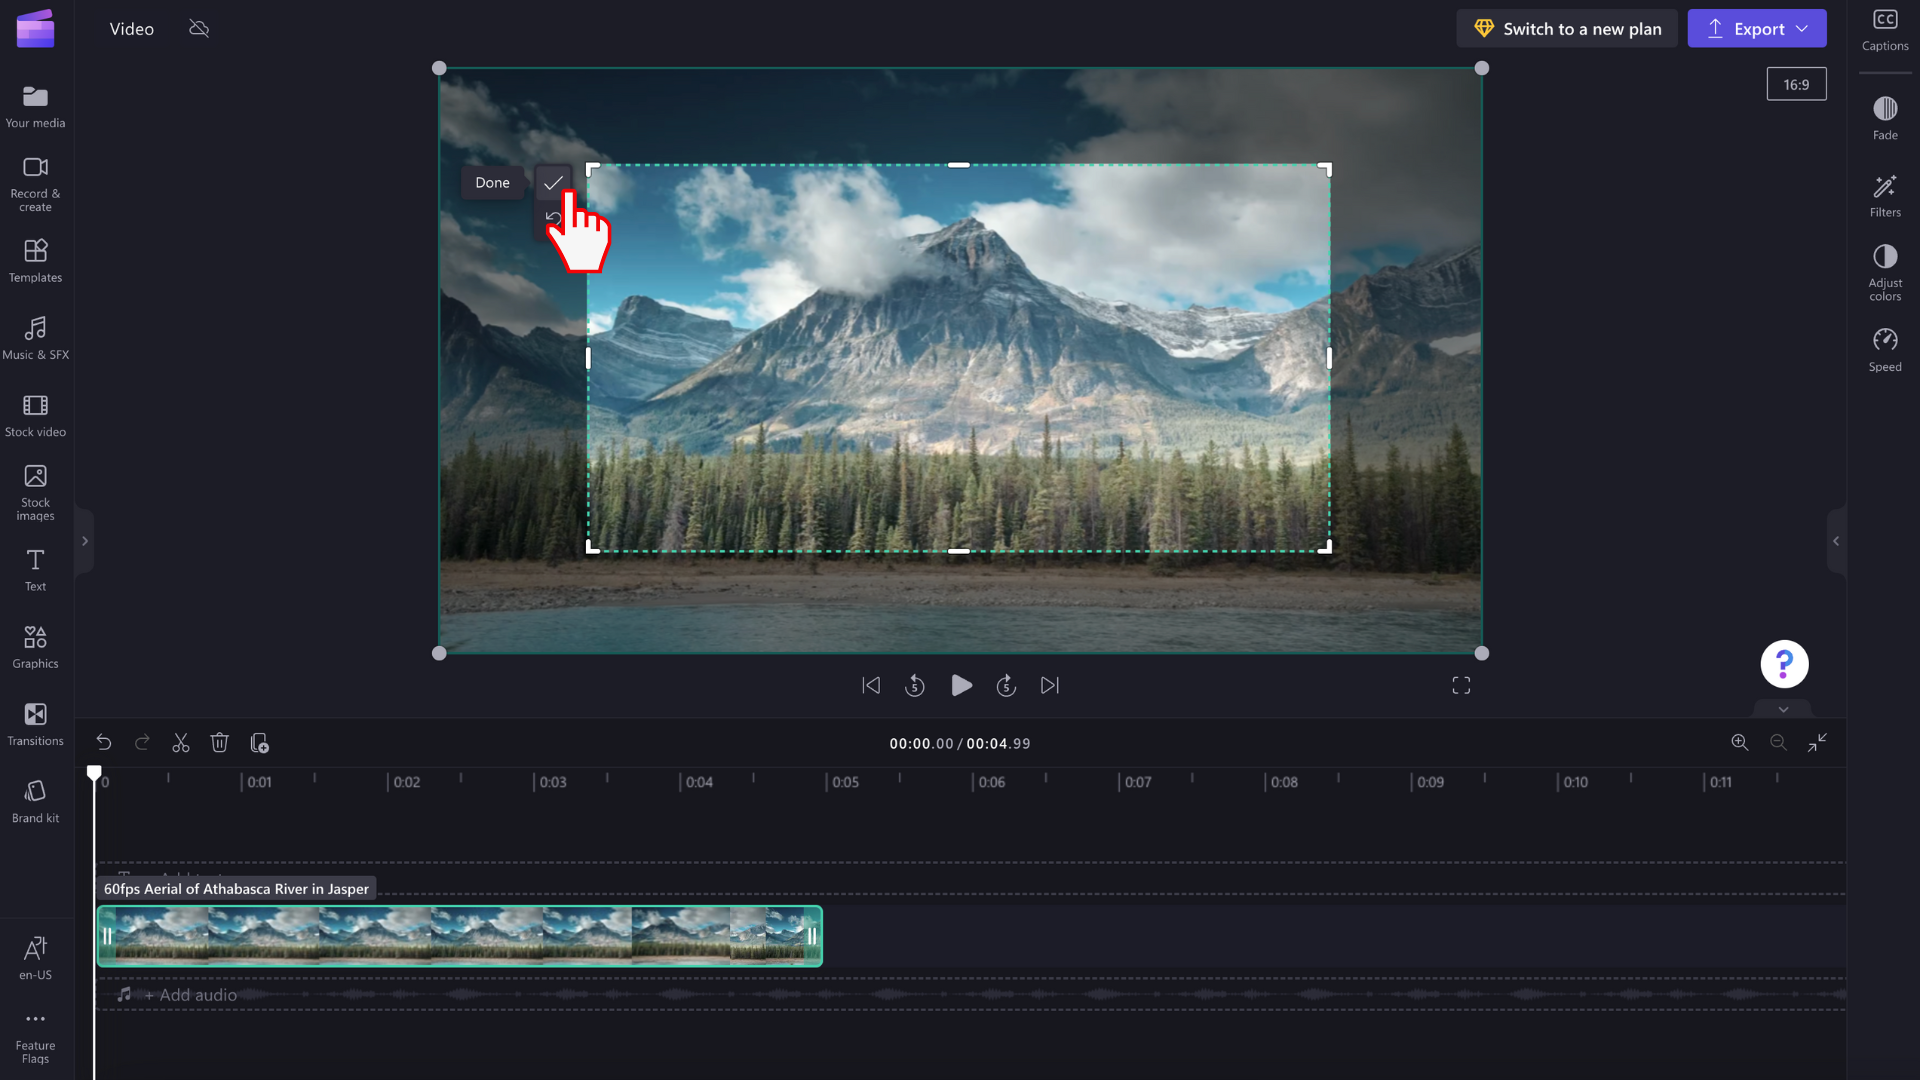
If you would like to redo the crop, or revert back to the video's original state, select the Revert to original button instead.


